by Justin Willmer •
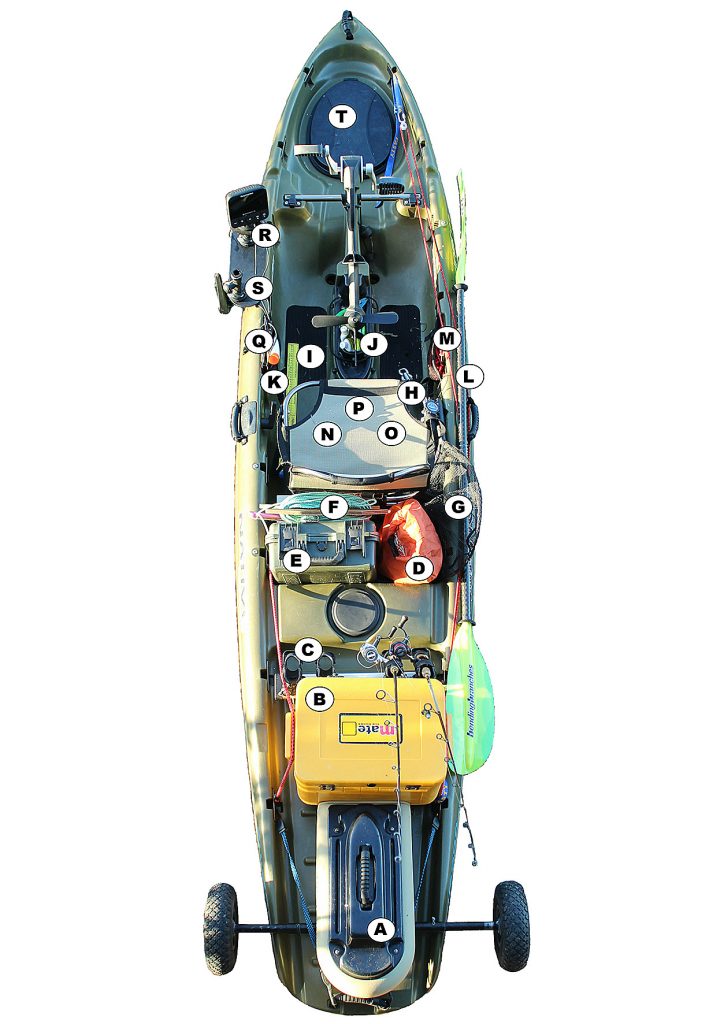
This issue I thought I would walk you through one of my kayak setups from tail to tip, outlining the kit that I carry on my kayak, what I use it for and any tips associated with that piece of equipment. Your kit may vary depending on your kayak and the fishing adventure that you’re undertaking, so I have opted to describe my larger pedal kayak kit, allowing you to trim back the gear to suit your requirements.
Winter is a time when being kitted out and prepared makes your adventures safer, more comfortable and more productive. For those that have the kayak off the water during the cooler months, it’s a great time to fit out your kayak and prepare your gear for when the weather warms.
A: Kayak Trolley
A trolley makes it easy to transport your kayak to and from the water, especially when the kayak is rigged with gear. Some kayaks, including Hobie and Native Watercraft, have specific trolley options designed to suit their hull shape, while for many kayaks a more generic trolley option is suitable.
Some kayak trolleys are designed to insert into scupper holes, while others have the kayak simply sit on top, strapped securely in place. Once I have launched I simply secure the trolley to the rear of the kayak with a couple of octopus straps.
One of the best options I have seen and used is the C-Tug trolley. Its features include a kickstand that keeps the trolley in position while you load up, materials that won’t corrode (even when used in salt water) and a simple strap system to secure the kayak on the trolley. The C-Tug also dismantles so that it can be stored in larger hatches.
B: Icebox
An icebox allows you to take a feed out or bring a feed home, while keeping your catch in optimum condition for the table. The size of your rear well will dictate the size of the icebox you can carry, with 20-26L a popular choice. Iceboxes generally feature better quality insulation than cheaper coolers, including insulation in the lid, and they are also often more robust.
I generally use a few ice bricks, stored in a large ziplock bag to keep them clean, while other anglers prefer ice or frozen bottles of water that they can then drink as they thaw. I set up my icebox with the lid opening facing my back so I can reach around and access it. I also leave it unlatched so I can swing a fish around on the lip grips, lift the lid and unclip the fish into the box. Being insulated in the lid, the icebox lid has more weight and will close itself, resisting any escape attempts of a lively fish.
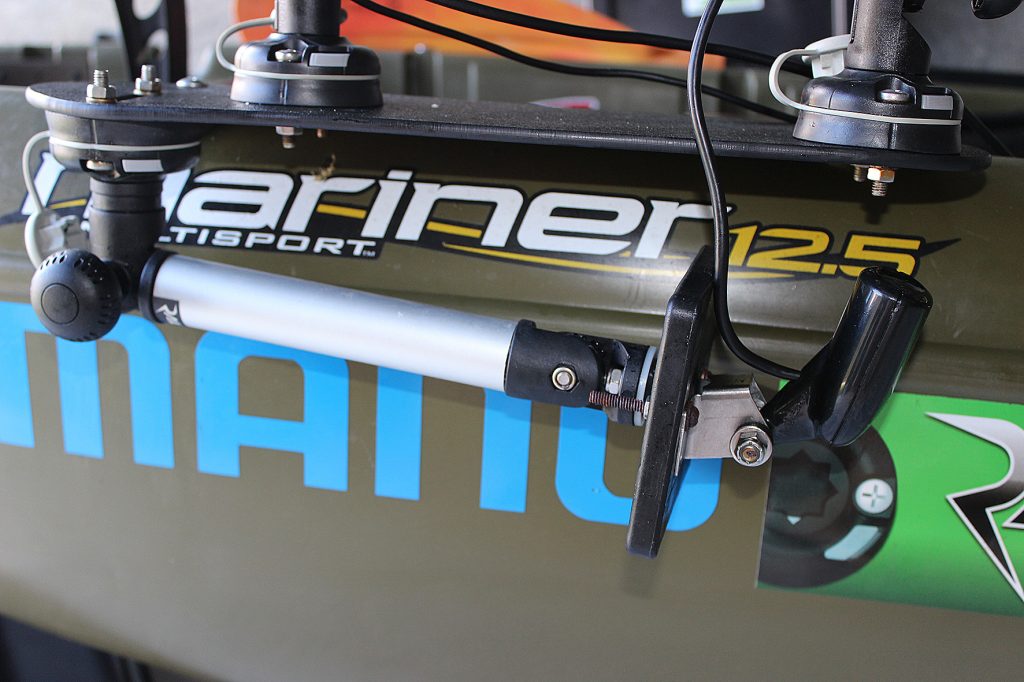
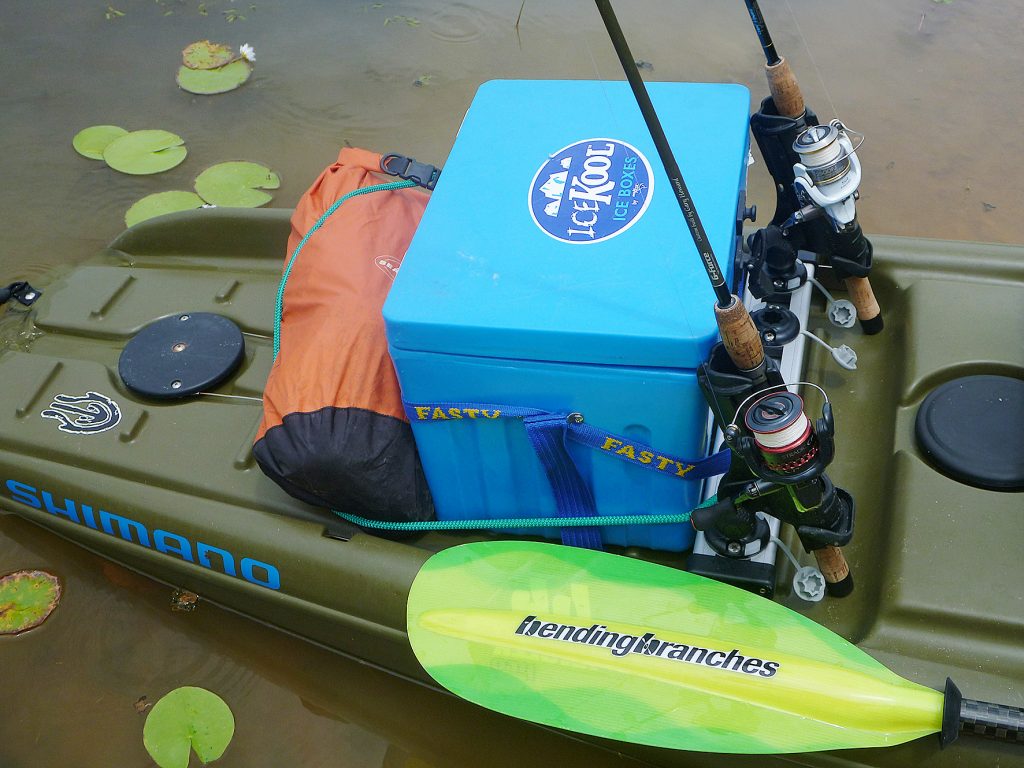
C: Rod Holders
Most kayaks come fitted with a few flush mount rod holders and these are ideal for storing landing nets, lip grips and other tools. I prefer not to store my rods in these holders as they are too close to the water, where the reels can get wet. I’ve also seen too many end up in the drink after being lifted out of the rod holder accidently with a paddle.
Rod holder extenders are a simple addition and these pieces of pipe slot into your existing flush mount rod holders to position your rods and reels further from the water.
I prefer adjustable rod holders, like those from Railblaza, as I can have additional mounts on the kayak and move the rod holders around as required to suit trolling, storage behind the seat or horizontal storage if I’m paddling under low bridges or overhanging vegetation.
I have invested in a Railblaza TracPort Dash that attaches to the kayak using two StarPort mounts and allows me to then attach four Railblaza Rod Holder II adjustable rod holders. This means I can securely lock in four rod and reel combos behind my seat for easy access and switch out a rod holder for a Railblaza Extenda Pole and light for night fishing, or remove the whole unit when transporting the kayak.
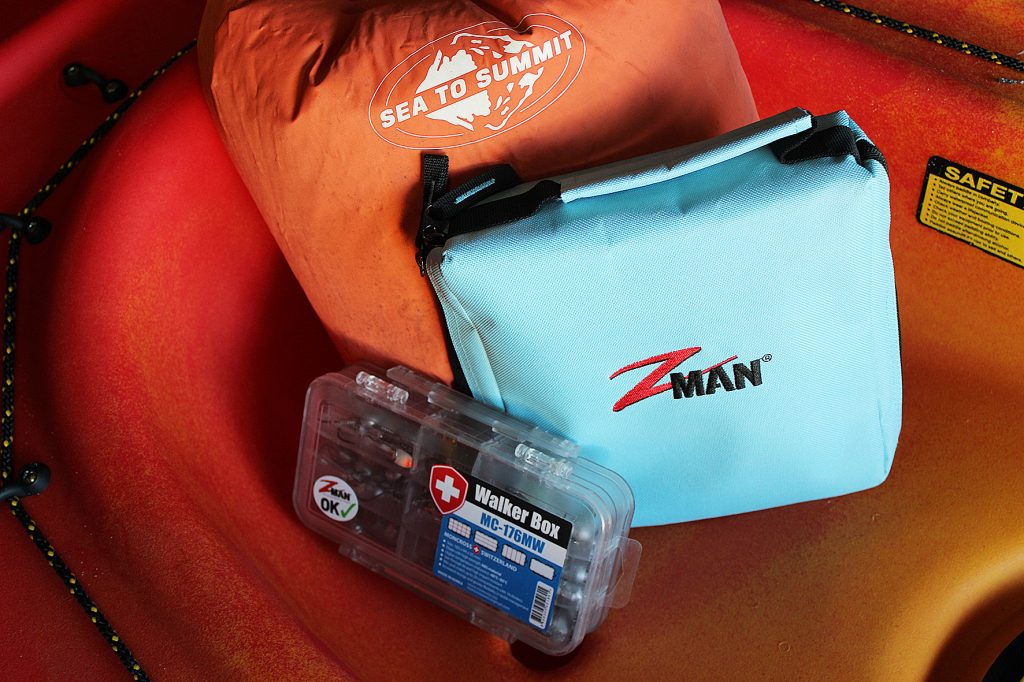
D: Dry Bag – Fishing Tackle
In the cockpit of the kayak I carry a double-sided tackle tray loaded with my favourite fishing tackle, along with a soft plastic wallet loaded with my go-to plastics. At times I carry additional tackle and leader items for longer sessions or new environments and these are stored in a dry bag that is kept behind my seat.
I have found that the dry bag allows quick and easy access, keeps the gear in top condition and floats if anything goes wrong.
E: Camera Case
I carry a waterproof camera in my pocket that is ideal for taking photos on the fly, especially if you come across some wildlife or a brief photo opportunity. A digital SLR allows you to take some amazing photos though, so I opt to carry mine in a waterproof camera case behind the seat and I will take it out to capture sunrises and sunsets, scenery, wildlife, other kayak anglers and fish photos when there is an opportunity available to get quality images. It’s important to regularly check the seal on the camera case to ensure it’s free from dirt and objects that may cause a leakage point. I leash my camera case to the kayak using a T-Reign retractable gear tether.
F: Cooper Anchor
I use a Cooper poly anchor. It’s lightweight, extremely effective and inexpensive. I attach it via a thin rope to the front connection point on the anchor, with the rope running back along the anchor shaft and zip-tied to the attachment point at the end of the anchor shaft and from there to the floating, timber winding spool. This setup allows the zip tie to be broken and the anchor retrieved in reverse, should it snag on the bottom.
If you loop the zip tie through twice before zipping it up, it should remain in the attachment point for disposal in the bin. On my anchor rope I have two stainless steel rings tied into the rope, one at a common rope length for shallow water anchoring and one at a common rope length for deep water anchoring. This allows me to quickly and easily let out enough rope and then attach the stainless steel ring to the tag line on the anchor running rig.
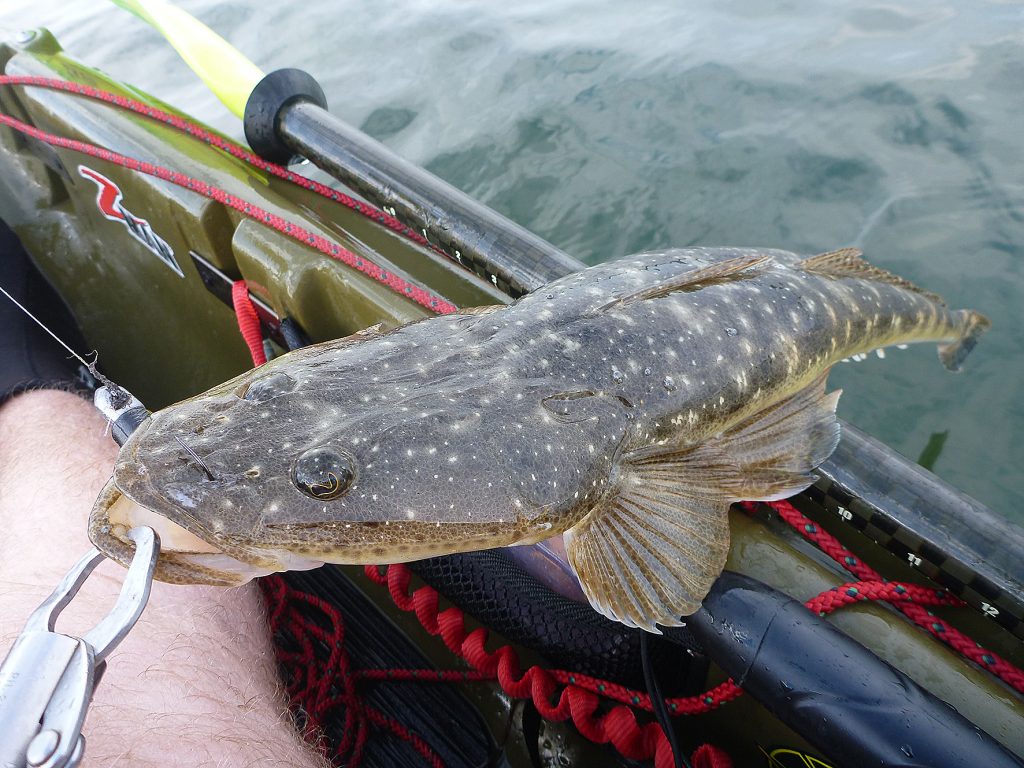
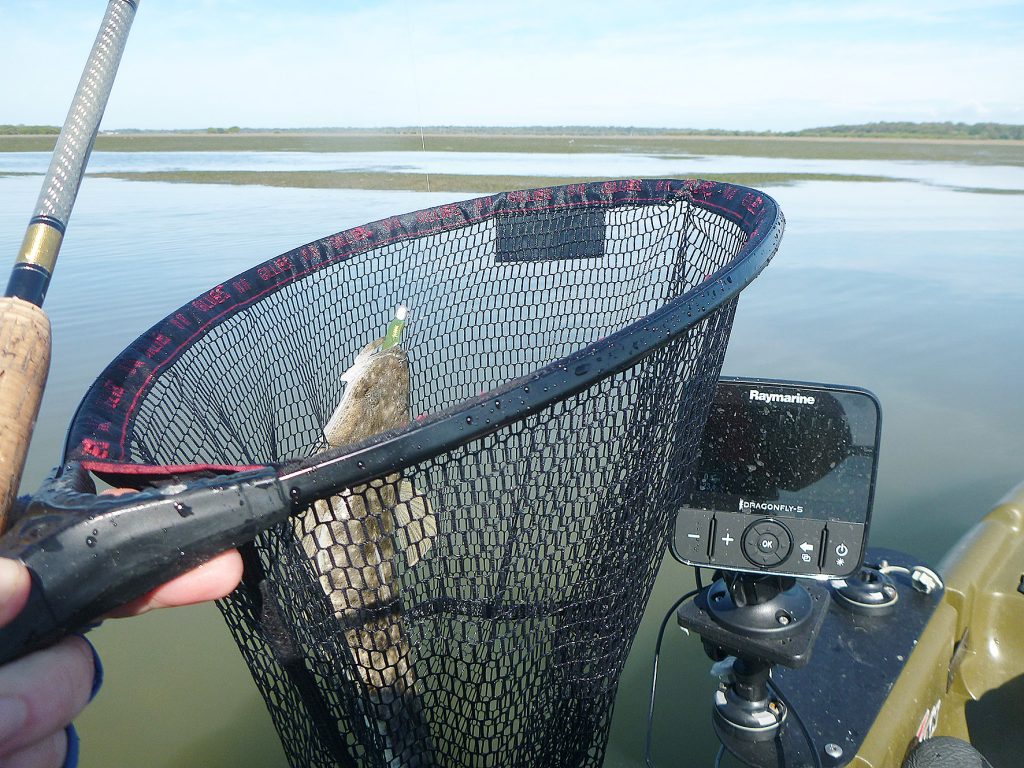
G: Landing Net
A short handled landing net with a large enough opening to handle your target species makes landing fish simpler, safer and less stressful, although you’ll still lose a few yakside. I prefer a short handled net, as I can tuck it beside my seat or store it in a rear flush mount rod holder without it acting as a sail. You will quickly learn to leave enough line outside the rod tip to guide the fish into the net.
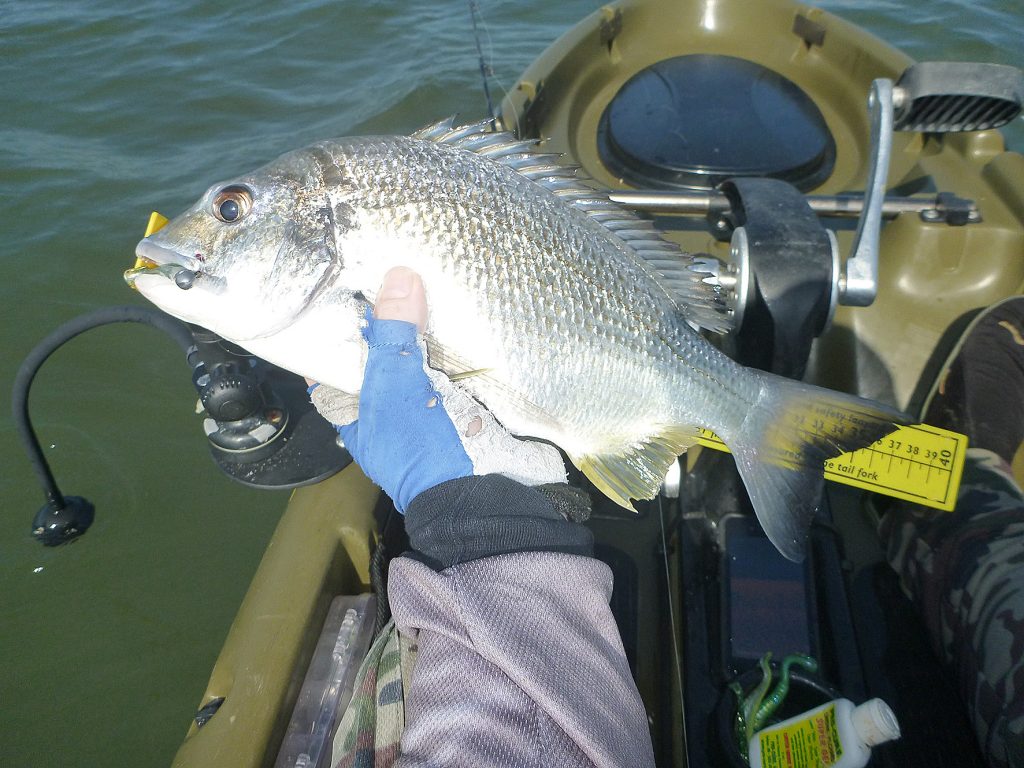
H: Lip Grips
Lip grips are ideal for safely and securely handling many species of fish. I generally net my fish then attach the Boga Grips for handling and releasing fish. The grips also make it easy to transfer fish from the cockpit area to the icebox if you’re keeping a couple for a feed. As with all accessories, leash it or lose it.
I: Ruler
I keep my ruler in the cockpit area, attached to a T-Reign retractable gear tether and tucked under my seat, out of the way. It’s hard to go past an Alvey ruler or their longer folding ruler for a ruler that is compact, durable and easy to use in the kayak.
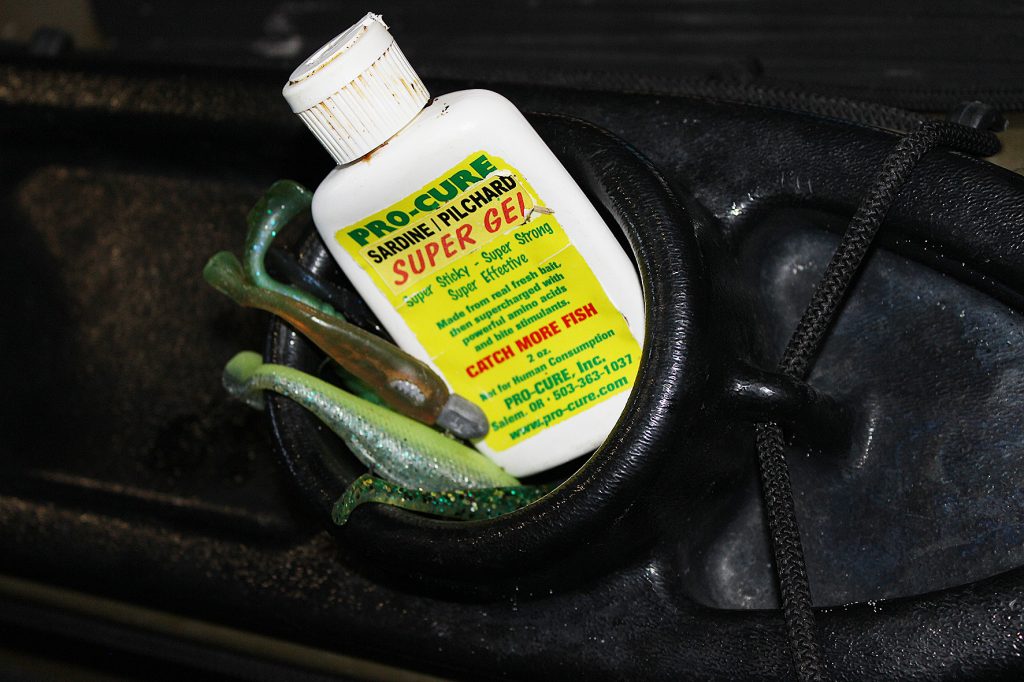
J: Scent
I’m a believer when it comes to adding scent to my lures and it has proven itself time and again, whether switching on a bite or turning tentative taps into more aggressive strikes. I generally carry a couple of flavours. Mullet and pilchard flavour are my favourites on the bream and flathead. I store these in the centre console’s drink holder, applying scent every 20-30 casts.
K: Boomerang Tool
It’s a good idea to keep some line snips handy for rigging and I will either attach my Boomerang Tool Snips to my shirt or to the mesh pocket on my kayak, using their retractable leash when rigging. I always know where they are and it’s not on the bottom of the ocean!
- L) Paddle / Paddle Holder
If your kayak doesn’t come fitted with a kayak paddle holder, there are solid clip and bungy models available that can be retrofitted at a later date, allowing you to stow your paddle out of the way when fishing. Remember to leash your paddle onto the kayak.
M: Anchor Running Rig
I have written about anchor running rigs (anchor trolleys) before and there are plenty of videos and articles on how to set one up, so I won’t go into great detail. If you are going to anchor, an anchor running rig is a loop of rope attached to a pulley toward the front and a pulley toward the rear of the kayak, with a tag of rope coming off the loop where you attach your anchor line.
It allows you to move the anchor from the front to the rear of the kayak and retrieve your anchor easily and safely. I transfer my running rig between kayaks. On the longer kayak I use Fasty Straps from the pulleys to mounting points on the kayak to pull the anchor running rig tight, so it operates effectively.
N: Tackle Tray
A double-sided tackle tray slid under my seat holds all of the lures and terminal tackle that I use regularly. If you don’t have access under your seat, this can be stored under your legs, in a side pocket that can be fitted if not included on your kayak, or even behind your seat.
O: Soft Plastics Wallet
I also keep a range of soft plastics handy in a wallet under my seat. Again, this can be stored under your legs or in a side pocket if you don’t have under-seat access. A leash can be added to assist in retrieval from your rear well.
P: Water Bottle
Drink plenty of water. I like to keep a smaller water bottle under my seat or under my legs out of the sun, and refill it from a larger bottle stowed in my icebox.
Q: Sunscreen
Take a tube of sunscreen with you and re-apply when you change locations or stop for lunch. I keep it handy in a side pocket, so it’s visible and not forgotten.
R: Sounder / GPS
Although not essential, a sounder and GPS has many applications for anglers, including locating and marking fish and fish holding structure. I run Railblaza mounts for my sounder and transducer, as it makes it quick and easy to remove the unit when transporting the kayak, store the unit or switch it from one kayak to another. A small 7 or 18amp battery stored behind the seat provides me with plenty of power for a session on the water.
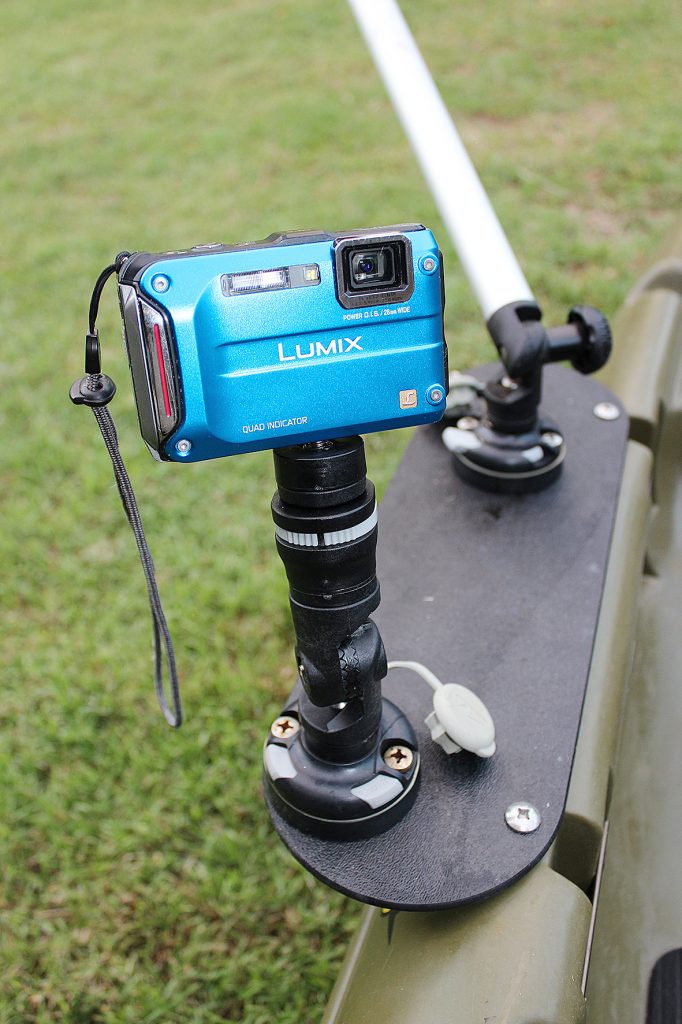
S: Camera Mount
A camera mount attached within reach and a waterproof camera will allow you to capture much better images of you holding fish, with less chance of lost cameras or phones while attempting to hold them upside down at arm’s length taking selfies.
T: Dry Bag – Clothes / First Aid
A dry bag containing additional clothing and your safety kit can be inserted in your front hatch or attached with bungy cord to the front of your kayak.
This is a quick overview of my kayak kit and how I have everything laid out for a fishing adventure. I hope it helps you set up your first kayak, gives you a few ideas for your current setup or just fires you up to get out on the water and onto a few fish.