by Spero Kartanos •
Unlike spotted mackerel, school mackerel (also called ‘doggie mackerel’) don’t feed on the surface very often. To catch them, you need to get your lure down to where the fish are, and the best way to do this is with a paravane or a diving board.
Lots of anglers who read my weekly Moreton Bay reports see all my photos of schoolies caught trolling, and ask how and where to catch them using this method. I get asked how to attach the line to the board and to the spoon, what fishing gear I use, the time of year, tides and times. So far I have been just emailing people back with advice, or replying on the forum, but I have decided to write a complete article to cover everything.
SPOTTIES AND SCHOOLIES
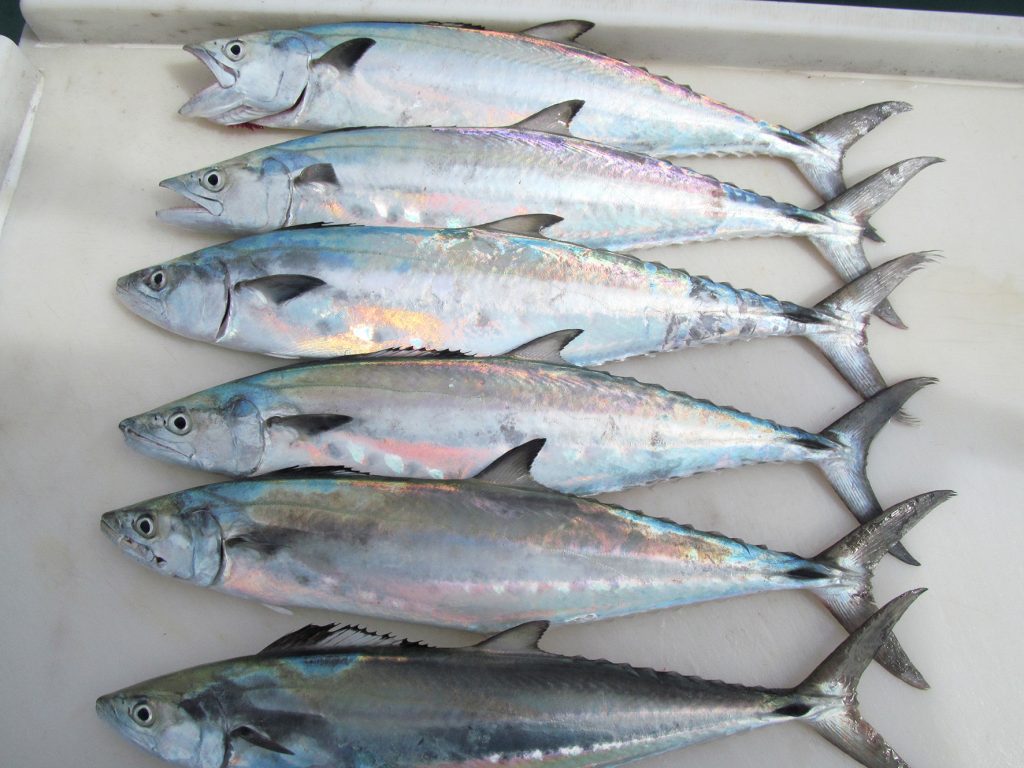
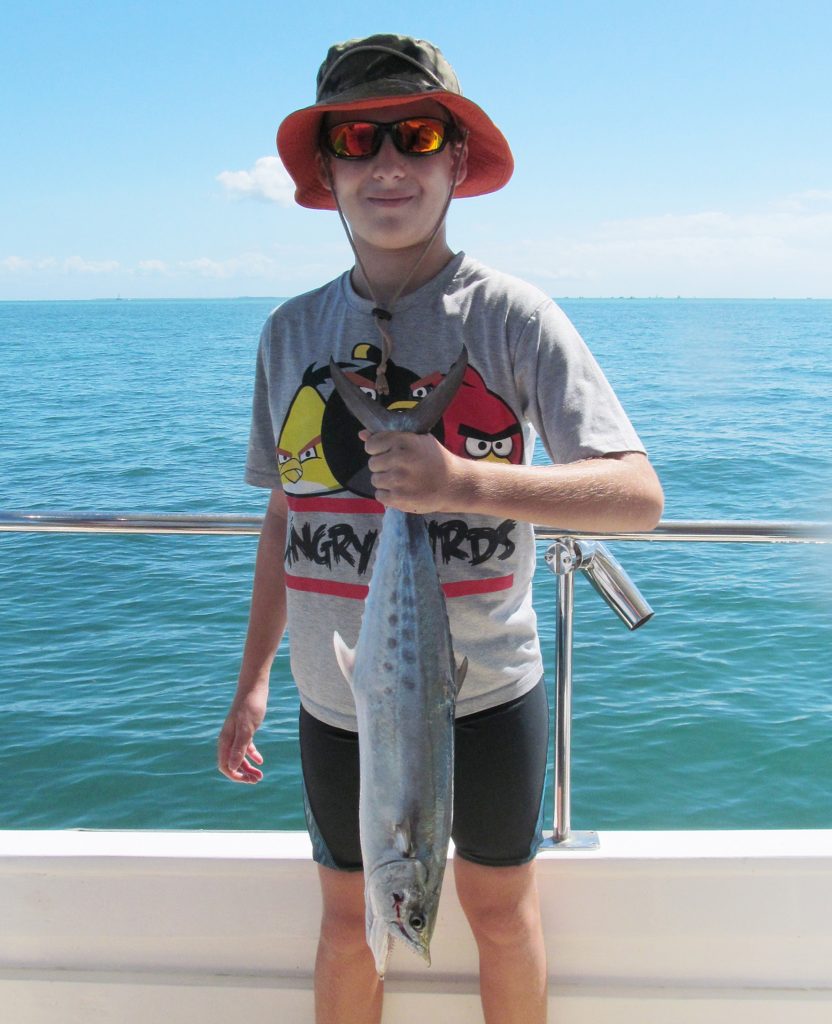
School mackerel can grow up to a metre but are most commonly caught at around 35-80cm. At the time of writing this article, the minimum legal size for schoolies in Queensland is 50cm, and they have an in-possession limit of 10. You can check the regulations here.
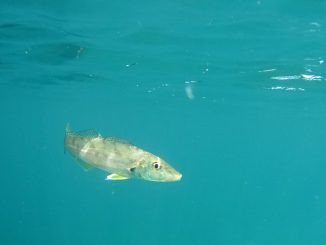
Schoolies are around the same size as spotted mackerel, and to the untrained eye the two species can look similar. However, school mackerel have larger and fewer spots, which are often poorly defined in adults. These bronze-grey blotches are distributed haphazardly and can extend all the way down to the fish’s belly. Spotted mackerel, on the other hand, have smaller and more numerous spots, which usually extend no further than two thirds of the way down the fish’s side.
Another difference is that a school mackerel’s first dorsal fin is black with some areas of white, whereas a spotted mackerel’s dorsal fin is blue when it first comes out of the water.

LEARNING CURVE
Pro fishermen have been trolling for pelagics since almost the beginning of time, catching Spanish mackerel, tuna, kingfish and other sought-after species. When I lived in Victoria decades ago, couta fishing was big business, and can still remember the pros trolling with large Smith jigs with two hooks attached, and catching thousands of fish.
The old method for catching school mackerel in Moreton Bay was to anchor up or drift where you thought they were, or where you saw the pros targeting for them, and throw out a pillie and wait. We had some success, but nothing like the consistency of the pros who we’d see methodically going up and down, pulling in one schoolie after another. We found out they were paravaning, and decided to try it.
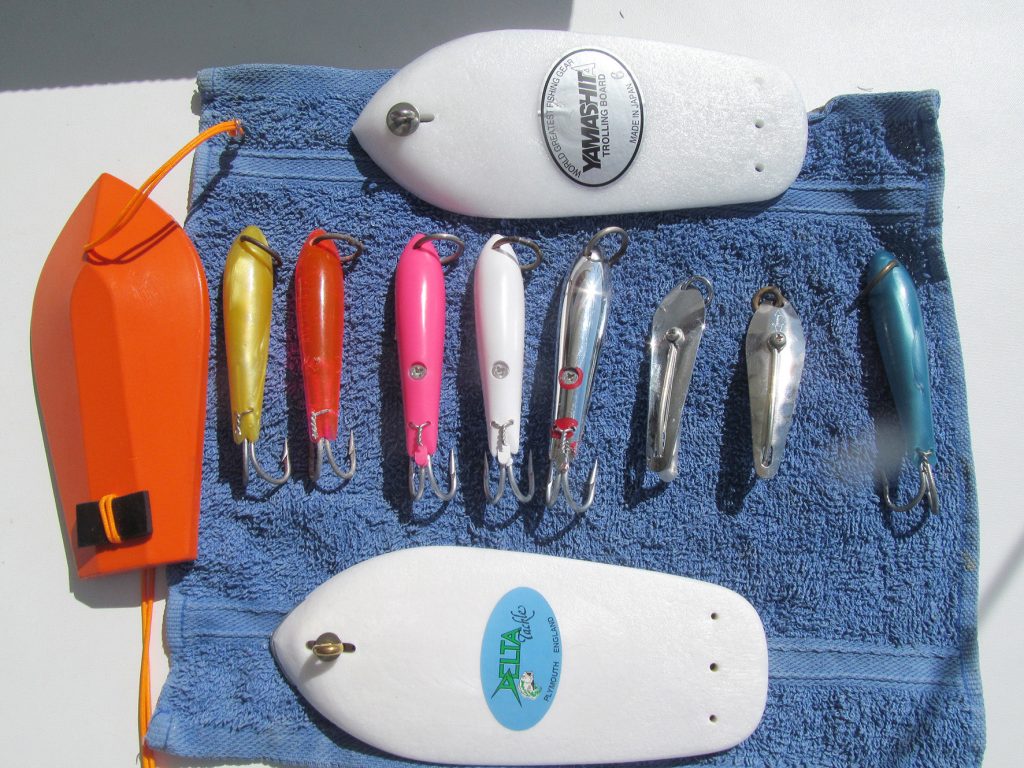
For this type of fishing you can use either paravanes or trolling boards – they’re similar, and are designed to do the same thing. Both have holes at each end, so you can attach the mainline to one end and the leader to the other.
The difference between the trolling boards and paravanes is that paravanes are shaped like a paper plane with a keel, while trolling boards look like a mini surfboard and have no keel.
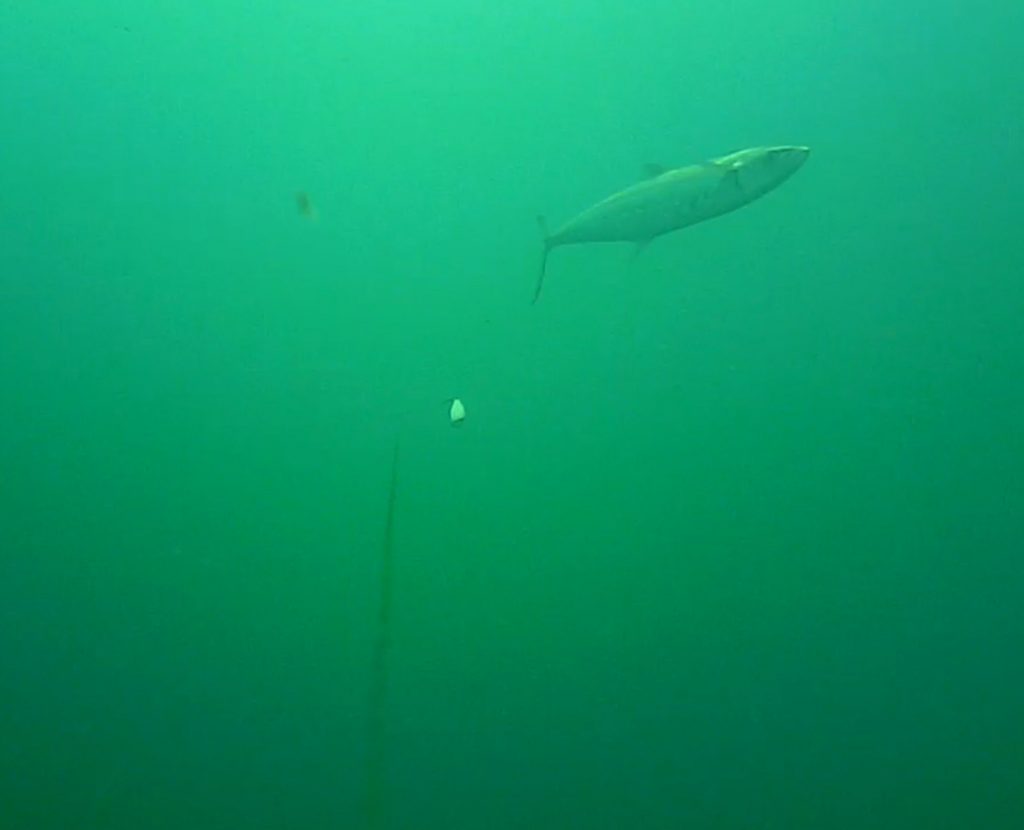
Whichever one you use (I strongly recommend diving boards for this) the idea is to tie it on above your spoon and troll it. The shape of the paravane or trolling board causes it to quickly dive down, and either shimmy or sway from side to side. It drags your spoon down behind it, and its large profile provides an additional visual attractant to predators prowling below.
Once we decided to try paravaning, we went out and bought our first trolling boards, grabbed some 3” Halco and Makka spoons, and off we went. In the early days our results were terrible – we ended up with spinning diving boards and lots of tangles. We had no choice but to use trial and error until, after many unfruitful days, we figured out the technique and achieved very good results. The good catches have continued to this day.
GEARING UP
If you want to catch schoolies this way, the first thing you should do is find a good quality trolling board. We use the 50cm and 60cm Yamashita boards, and the Delta brand boards and the orange tuna boards work as well. More local stores are starting to stock trolling boards, so they shouldn’t be too hard to get.
Over all the years I’ve fished in the bay, I’ve found the best spoons to use are the 3” Halco or Makka spoons and the old style Halco Smith Jigs. I prefer white, but I’ve also found that pink, red and silver catch fish on their day. The speed for trolling them is between 5 to 7 knots.
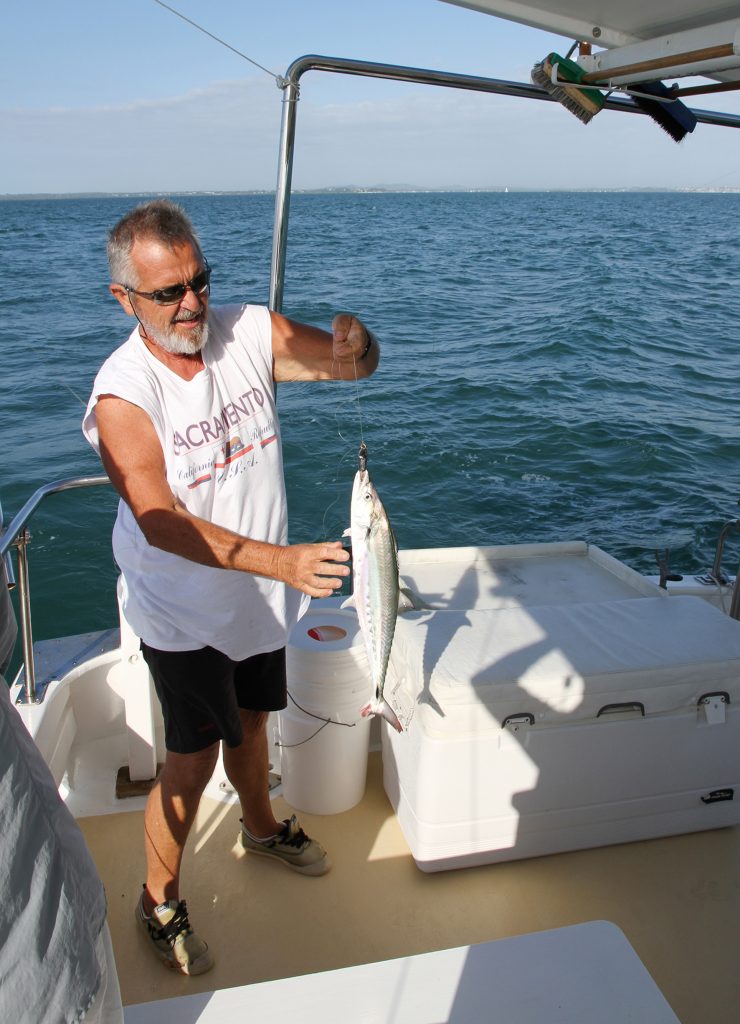
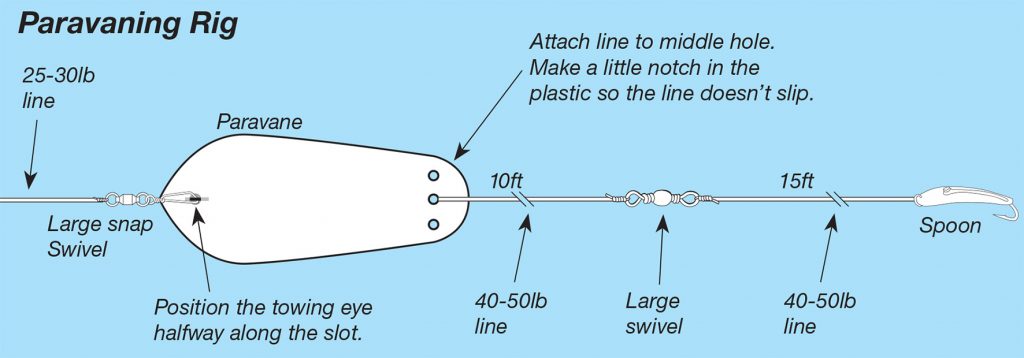
The rig I use consists of a 20-30lb main line connected to the pointed end of the trolling board with a large snap swivel. I then tie a 10ft length of 30-50lb line to the blunt end of the trolling board in its middle hole, with a little notch cut in the plastic so the line doesn’t slip with a locked blood knot, and connect this to a large swivel. From this I attach 15ft of 40-50lb line to the spoon. You can expect to get snipped off on occasion at the swivel, but spoons aren’t too expensive so that’s no great loss.
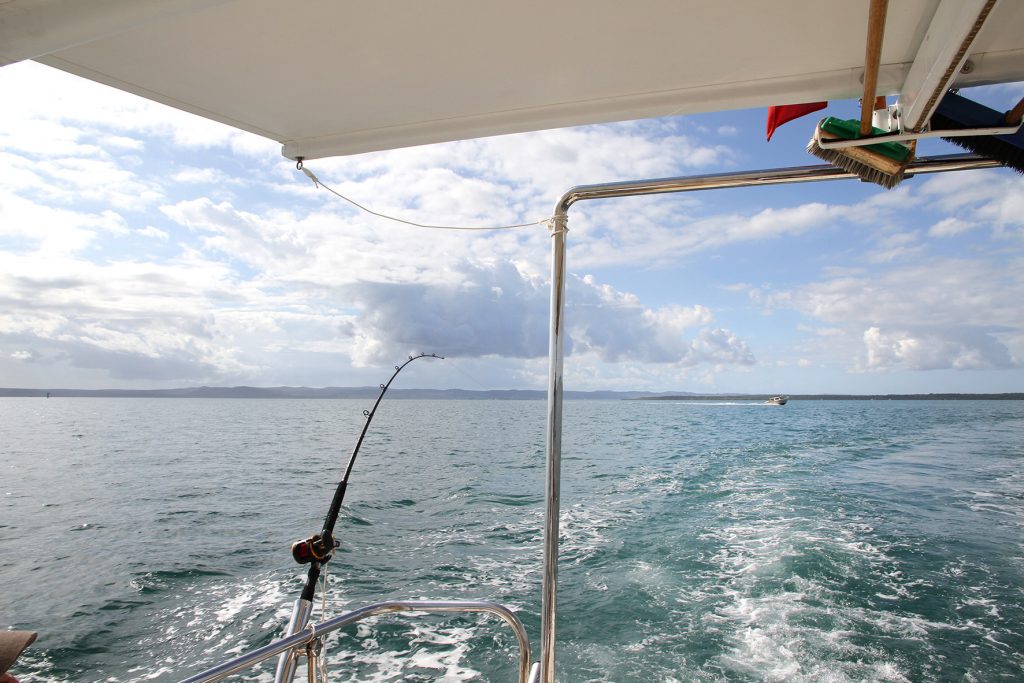
I use overhead reels for trolling, with 10-12kg rods. I normally have two running at the back of the boat – one at about 20m and one 30m back (I have even seen pro fishermen catching mackerel in the motor wash). Having your lures at different distances helps in two ways. Firstly, you can see what depth they are at, and secondly you don’t lose as much gear because your lines are less likely to cross when you get a fish. You really don’t want crossed lines, because the mackerel’s razor-sharp teeth always tend to find the other trolling line, and there goes your expensive trolling board.
If you find yourself catching grinner after grinner, that means you are too shallow or you have your board too far back. The depth the boards dive to are between 12-18ft depending on your speed and distance behind the boat. I position the towing eye halfway in the slot.
Trolling can also work very well for spotted mackerel, especially on the days when the spotties are not feeding aggressively on the surface. When you are travelling at 5-6 knots looking for surface bait balls to cast to, and you have the trolling boards out, you can catch a spotty where you’d least expect it.
FINDING THE SCHOOLIES
I started mackerel fishing in Moreton Bay around 40 years ago, and we fished for years around the ring netters, who were catching tonnes of spotted mackerel a year. They were true gentlemen and I have to say I miss them. Surprisingly, we recreational anglers still caught as many mackerel as we wanted, despite the pros – the schools were that thick.
Back when the netters were around, the school mackerel season was different. These fish were only a winter/spring option, with a season that ran from June to October. The rest of the time we chased spotted mackerel off the surface.
Then the government stopped ring netting, and the spotted mackerel seasons became very unpredictable, with some very short seasons. On the plus side though, the school mackerel fishing has made up for this. The schoolies have made the bay their home, and you can catch them most times of the year.
These days the areas that we fish for them are around the Hope Bank beacon, the four reds at the end of the Rous Channel in front of the Lazaret gutter from Green to Peel islands, Rainbow Channel, Days Gutter and Browns Gutter. We also catch them in front of the Big and Little Sand Hills at Moreton Island where the two ‘go slow’ yellows are, one in front of the Big Sand Hill and the either at Shark Spit. And of course, the Measured Mile beacon in the shipping channel and all the beacons in the shipping channels. The Rainbow channel, which was the prime spot in the early days, still produces many fish as well.
I’m a fair weather fisherman with calm seas so the only thing I really look at are the tides. There are no guarantees, but overall I prefer the run-in the tide rather then slack water. The exception is the big king tides, when I try to fish the slower part of the run, but I think the smaller tides are best for the schoolies. And, judging by the amount of undersized fish this year (in the thousands!) it’s going to be a very good schoolie season.
ON THE TABLE
While school mackerel aren’t generally regarded as highly as Spanish mackerel as a table fish, they are still great on the plate. I personally can’t tell the difference between the different mackerel species when eating them fresh. Schoolies are delicious smoked, in curries and paellas, or just pan fried or tempura. Possibly the best thing about them though is that their frames are delicious! Just like roast lamb, the meat closest to the bones is the most moist and delicious. When I fillet mackerel I always leave some extra meat on the back frames, and then grill them with a mixture of olive oil, lemon juice, crushed garlic, fresh or dried oregano, salt and pepper. The bones are no problem, as the meat slides away very easily from them.
I hope this article helps you get some fresh fish on the table after your next trip out on the bay. Since I started my weekly online reports, I’ve received literally hundreds of emails from readers who gave this method a go and caught schoolies for the first time ever, plus some very happy children catching their first big fish. It’s great to see.
To learn how to catch spotted mackerel, click the link below.