by Gordon Macdonald •
Whether you call them luderick or blackfish, there is no denying that these stripy, bronzed estuary fish are very underrated. Whether you target fish for sport or table fare, the luderick will fill your criteria. Luderick are easily available for all anglers to target from either a land-based or boating perspective.
Few target them in South East Queensland, possibly because you need specific techniques and baits to catch luderick and they rarely respond to lures. Some believe they are not that good to eat, however their flesh can be exceptional when handled and processed correctly.
Luderick predominately eat weeds and other estuarine salad that they pluck off the rocks, pylons and other hard structures from which they grow. Occasionally luderick will eat worms and saltwater yabbies, however they are primarily vegetarians. Like many fish, their environment will affect the flavour of the flesh. I am not sure of the scientific reason why, however, if a luderick is dead for a long period before processing, the flesh will be almost unpalatable at times, which is why they fetch such a low price at the fish markets.
In fact, the flesh can even possess an unpleasant, tainted taste, which is probably the reason luderick haven’t gained popularity as a table fish amongst the fish-eating community. Correct handling and processing of a luderick will have you licking your lips and yearning for more of the soft white flesh with its distinct, delicate flavour. Good cooking methods are similar to the ones you would employ for other quality table fare, including shallow frying, oven bake, barbecuing, grilling and deep frying, either wrapped in crumbs or batter.
The way you store your catch before processing and how you process and handle it will go a long way to putting a tasty fillet of fish on the table. There are a few varied ways of doing this, but let’s look at one of the more common methods to get the best out of luderick.
Step 1.
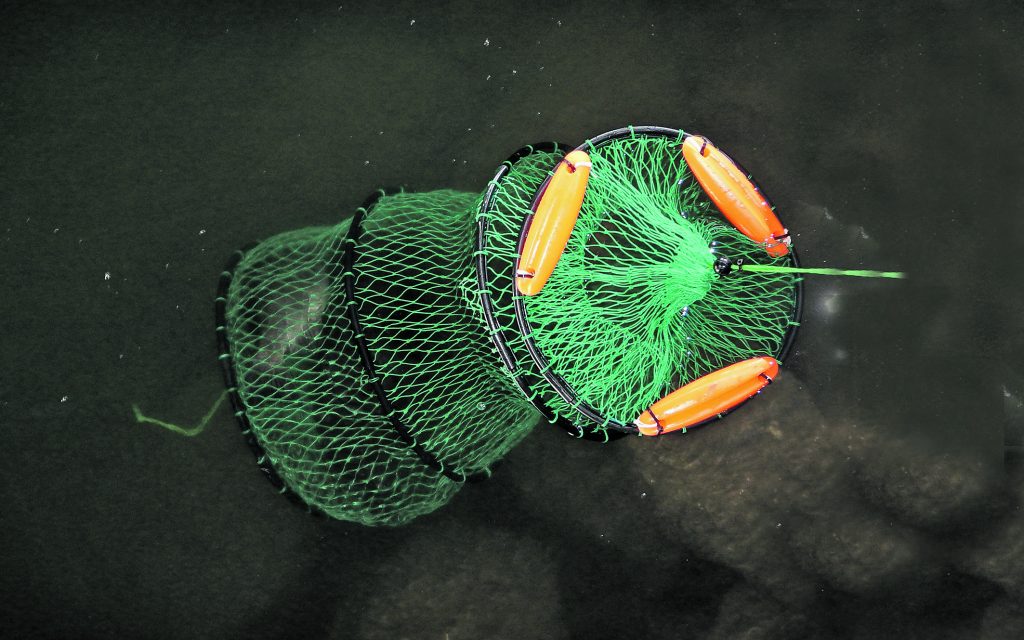
You need to keep your luderick alive until filleting. This is extremely important. This can be achieved using a simple scaler bag or hessian sack, which is kept in the water. The concertina style fish storage net (pictured) will stay erect to allow the luderick to swim freely and remain healthy until processing. Additionally you can upgrade your catch and release the smaller fish in a healthy condition if necessary. Luderick are very hardy and it shouldn’t be too hard to keep them alive.
Step 2.
At the end of your fishing session, the next step is to dispatch the live fish. This can be done in several ways, however brain spiking the luderick in the iki jime method or severing the spinal cord with the knife point by stabbing the fish just behind the head are both quick and humane. You can also slit the fish’s throat to allow it to bleed out for a few minutes if you wish.
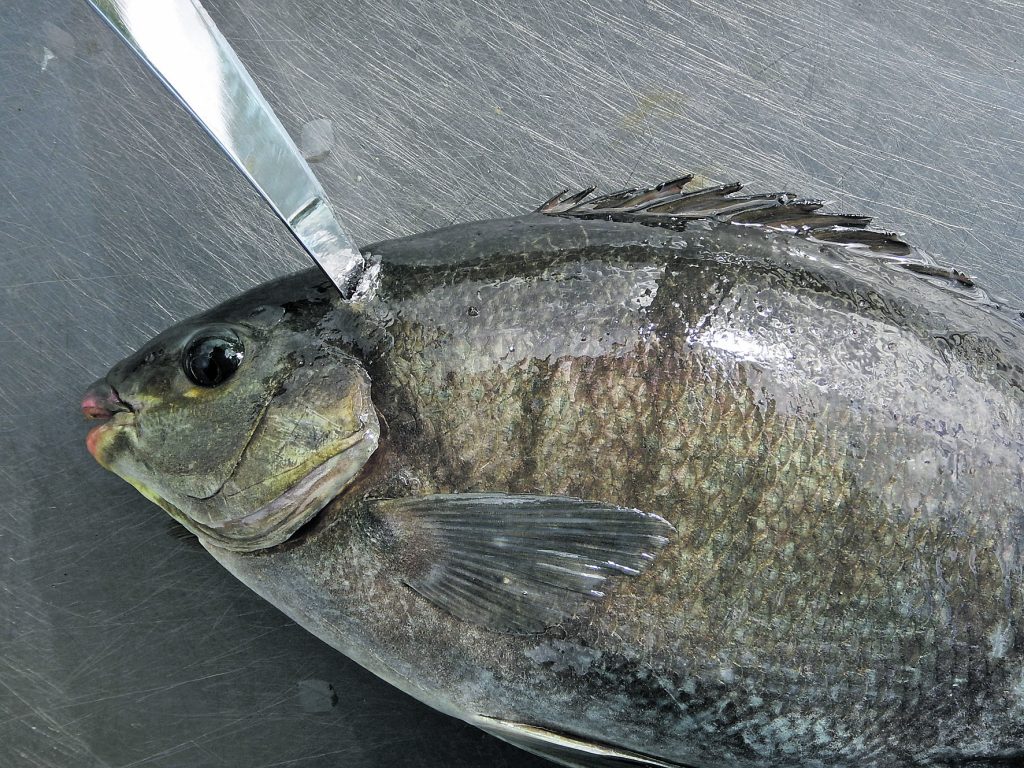
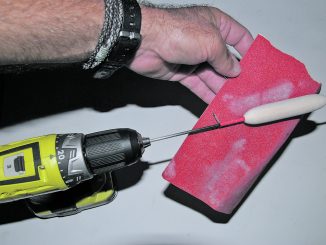
Step 3.
Luderick have fairly tough scales so the easiest place to insert the knife is just behind where the dorsal fin attaches to the body. There is a soft patch with minimum scales here and the knife will pierce into the flesh easily.

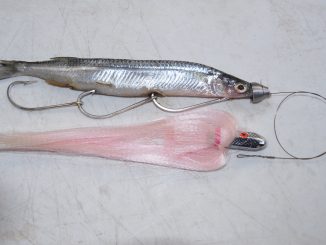
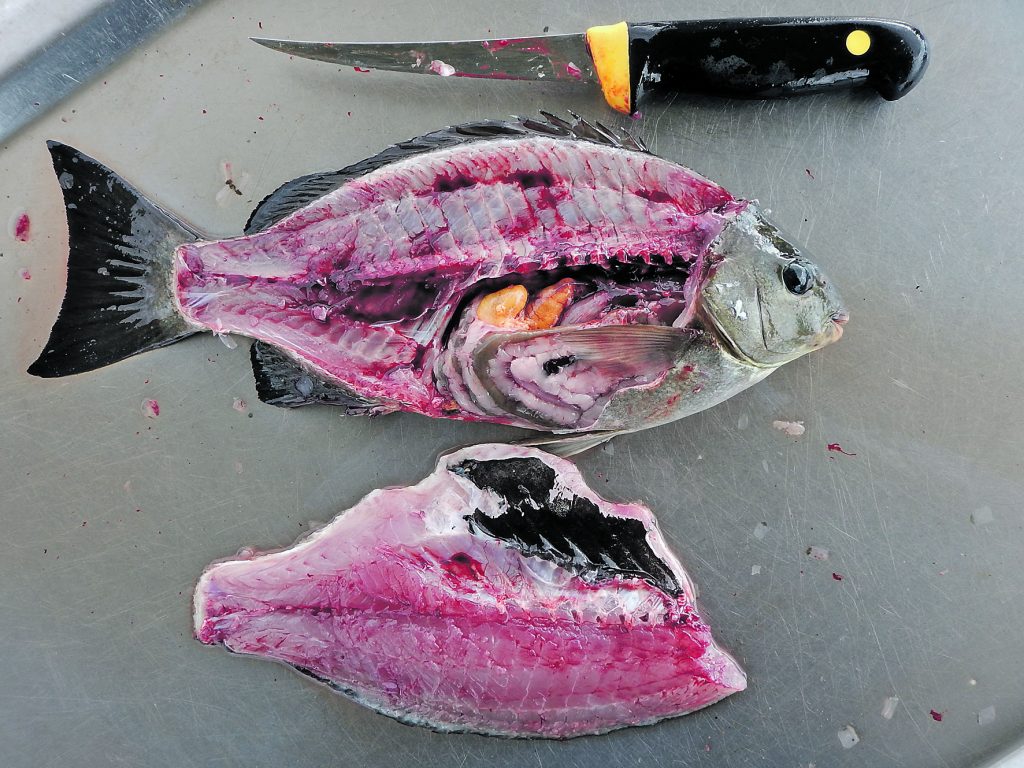
Step 4.
Cut along the backbone and remove the entire fillet in the usual fashion by cutting through the rib cage bones. You will now be able to see the black gut lining on the fillet.
Step 5.
If you are fairly handy with a fillet knife you might be able to remove the fillet without cutting through the rib cage bones. If you can do it this way then you will be able to skip Steps 6 and 7 and will already be at Step 8.
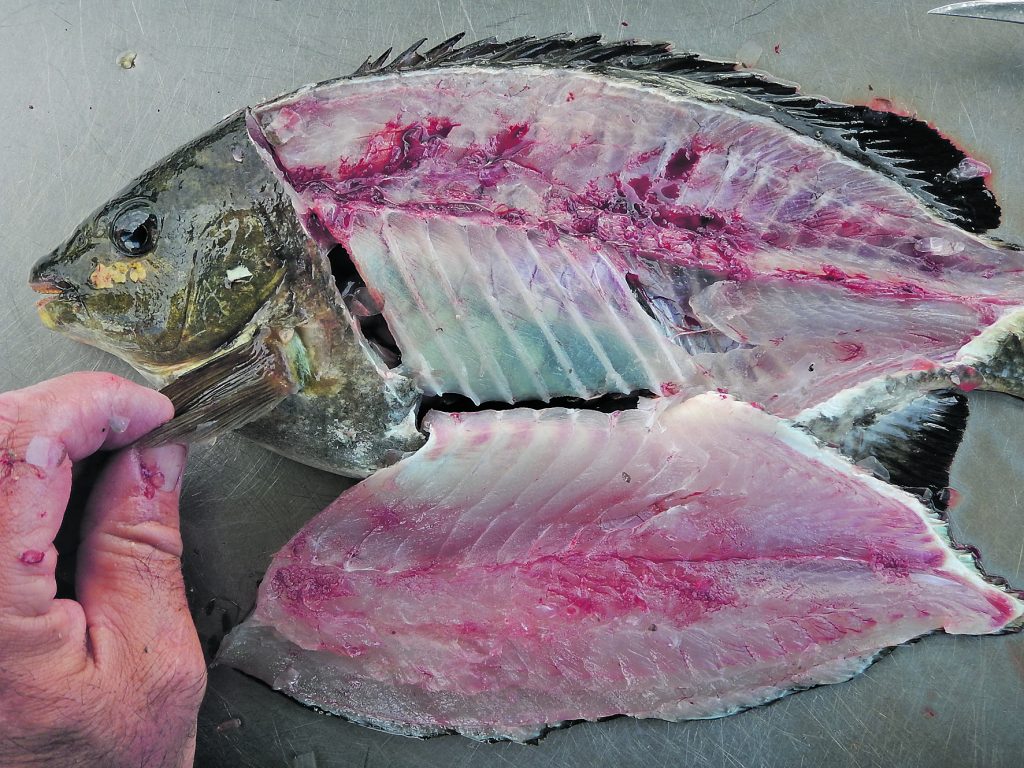
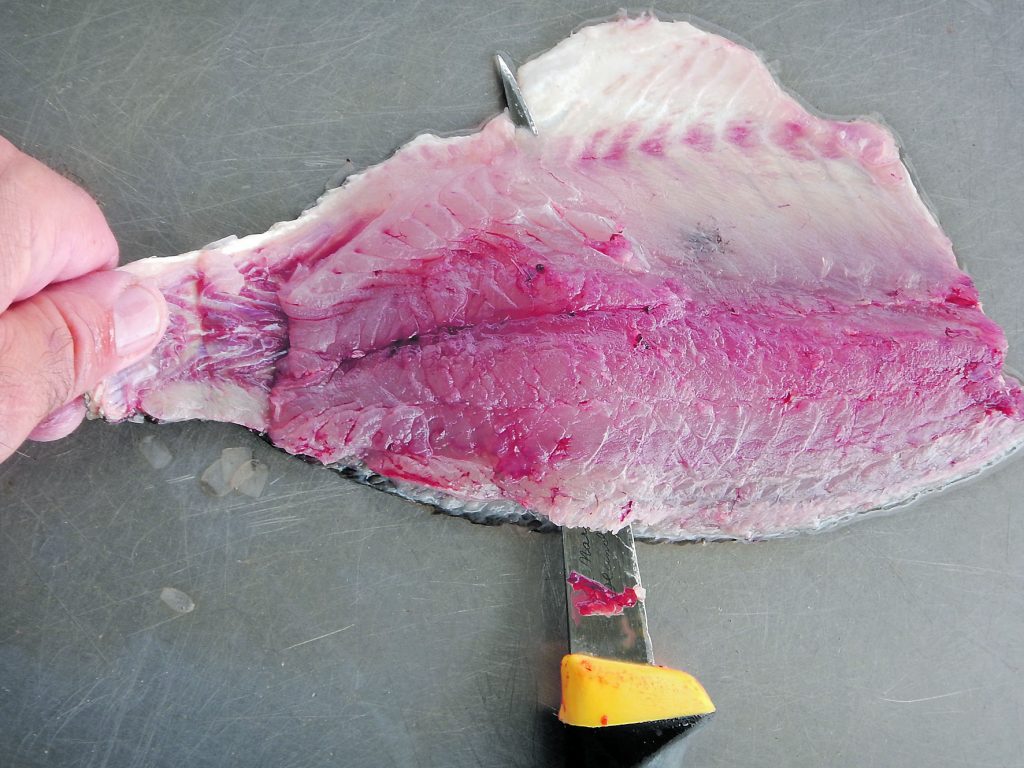
Step 6.
The black gut lining must be removed from the fillet. You will be able to see the end of the rib cage bones (that you cut through in Step 4) in the middle at the front of the fillet. Place the blade of your knife right next to these and begin cutting down.

Step 7.
You will be able to slide down and around using the curvature in the rib bones as a guide for where to cut. Keep the blade next to the bones and follow the bones around until this rib cage section is removed along with the black gut lining. This can be discarded.
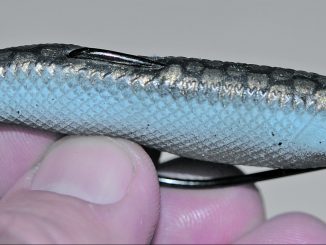
Step 8.
Now it is time to skin the fillet. Starting from the back of the fillet (thin end), cut in, leaving just enough flesh for your fingers to grip the fillet. Begin cutting in along close to the skin.
Step 9.
Continue along the fillet, keeping the knife blade close to the skin and pressed flat against the cutting board or bench you are filleting on. Rock the knife gently as you slice through the flesh to sever and remove the skin.
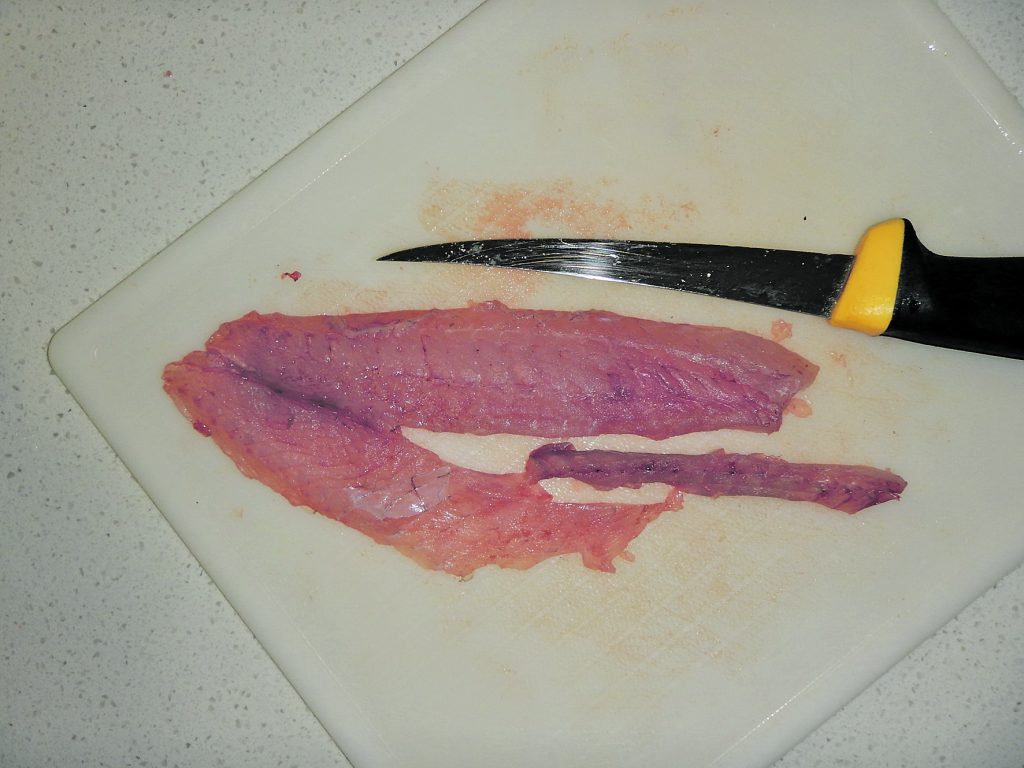
Step 10.
Once the flesh is removed from the skin (which can be discarded), you now have to remove the pin bones. You will be able to feel these if you press your fingertip along the centre of the fillet from the front to about halfway along. Cut down each side of these bones and remove this section to leave a totally boneless piece of fish.
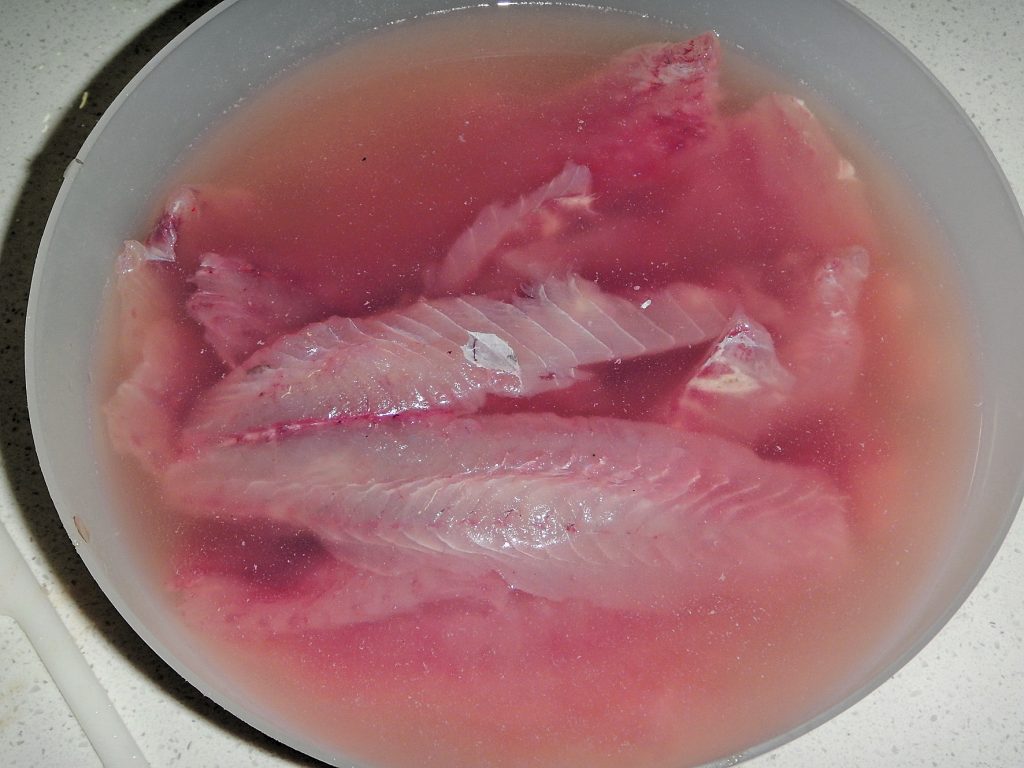
Step 11.
To get the excess blood out of the fillet, soak it in some salty water. You can use some clean sea water or combine about four or five heaped dessert spoons of salt with 3L of water. Soak the fillets for 15-30 minutes. I often rub the fillets with my fingers to help remove the excess blood on the outside of the fillet. This process seems to suck the blood out of the flesh and will greatly improve the quality of the fillet.
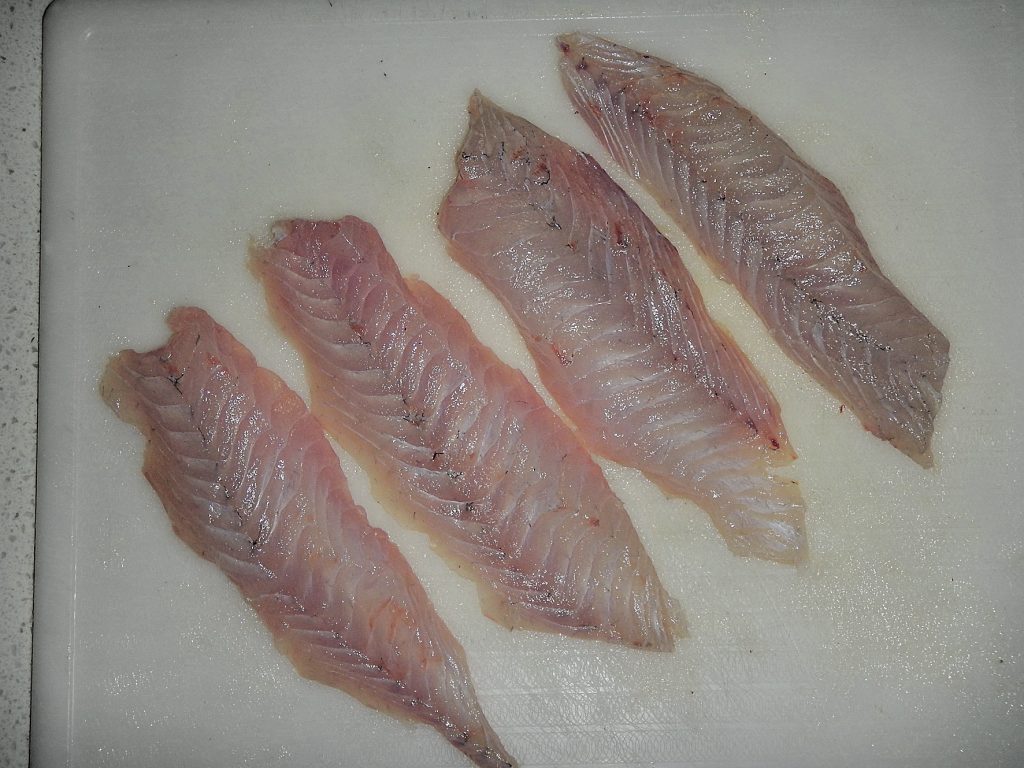
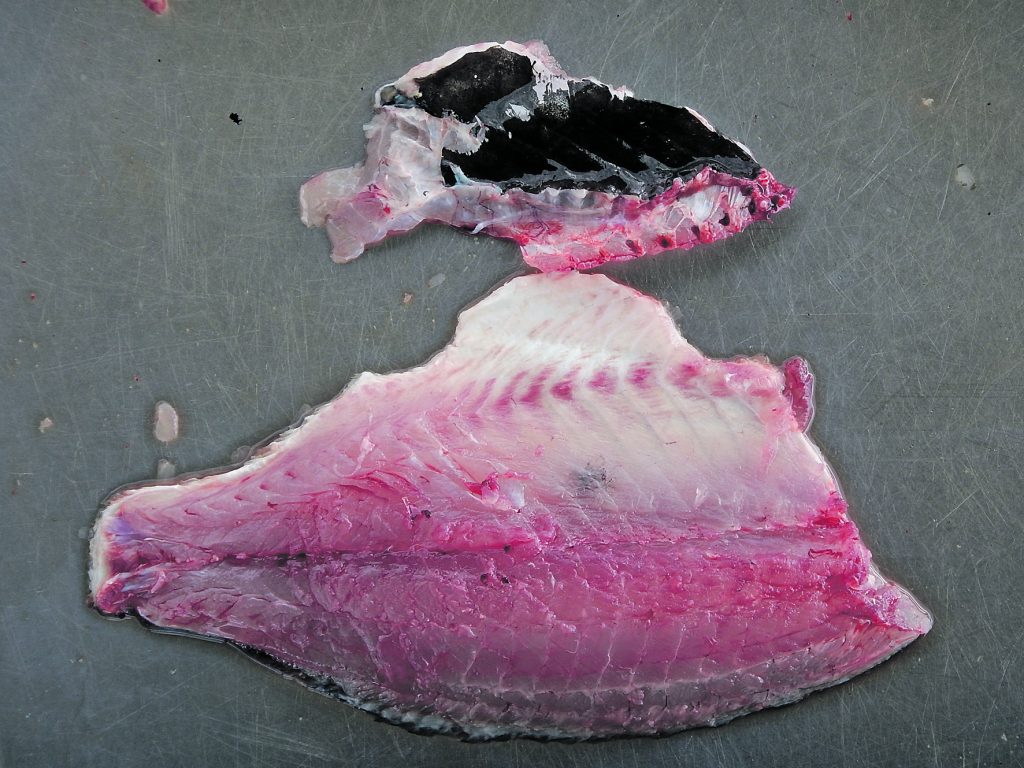
Step 12.
When taken out of the brine, the fillets will be clean and white. The upper side of the fillet is quite thick while the low side is thin due to the removal of the rib cage. I split the fillet in half lengthways and keep the upper (back) portion separate to the lower sections as each will cook at a different rate, due to the difference in thickness. You now have some tasty luderick fillets, which are as good as many quality reef fish.