by Gordon Macdonald •
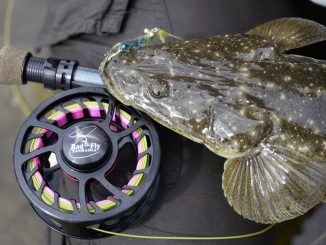
As the inshore waters cool, anglers who make the effort can be rewarded with quality luderick or blackfish. Not a species that is regularly encountered by chance, specific targeting is required for consistent results.
Luderick are primarily vegetarian and will eat most weeds found on the rock walls, bankside snags and man-made structures throughout the estuaries. On occasion, they will engulf a yabby, peeled prawn piece or estuarine worm floated within their precinct, however weed is their main food source. Presenting these aquatic weed baits correctly will maximise your chances of catching luderick, however this will require a somewhat difference rig than you use for most other offerings and species.
Cabbage and string weeds are the most common types used for bait, however both purple and black weeds are also worth using. Basically, if it is available in the area you are fishing, then there is a good chance that resident luderick will be eating it.
Presenting these weeds in a natural manner can often be the key to success. Usually, weed baits are drifted under a float, weighted so that it is just above neutral buoyancy. As such, there is little resistance for the luderick to be able to pull the float under the water once the bait is engulfed. This lack of resistance increases the hookup rates, especially for wary or pedantic specimens.
Seasoned luderick anglers can definitely turn the odds in their favour using finesse techniques combined with their wealth of experience. However, newbies to this form of fishing can also score some solid luderick. Specialised tackle includes centrepin reels, slow actioned rods, hand-made floats, floating monofilament (or polymer) lines, fluorocarbon leaders and sneck hooks. You don’t need to possess all the specialised gear to catch luderick, although it can help.
Many are able to score a few on a light spin or sidecast combinations by manually feeding out the line to allow the float to drift with the current. However, once a few blackfish are secured with conventional gear, some fall in love with this form of fishing and soon invest in the specialised outfits. Blackfish specific rods are hard to find these days, however Gary Howard still produces a few between 10’6-12’ at prices ranging from $100-$150. Some even use rods as short as 9ft, especially when fishing under bridges. Most specific blackfish rods have guides very close to the reel seat to prevent line sag. This can limit the flow of line out through the guides, which alters the drift rate of the float and affects bait presentation.
Good places to start looking for blackfish include the oceanic and estuarine rock walls, the canal entrance walls, deeper mangrove-lined channels and basically anywhere that you can locate weed within the estuaries. Checking out an area at low tide and locating a decent weed supply will often mean it is worthwhile fishing that area on a higher tide. Low tide also offers the best time to collect weed in many areas.
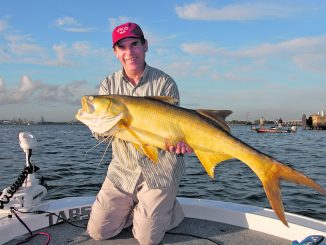
Once your rig is ready, you only have to find some weed and try a few spots until you are into your first luderick. These often-striped estuary brawlers give a great account of themselves once hooked and will repeatedly dive to the bottom. However, the slow actioned rod will absorb a lot of the head shakes but you will need to withstand a close quarters tug-of-war to turn the odds in your favour. Luderick can really test your skill due to their often pedantic feeding habits and dogged power but they are a lot of fun to catch and pretty good eating if bled and cleaned quickly after dispatch.
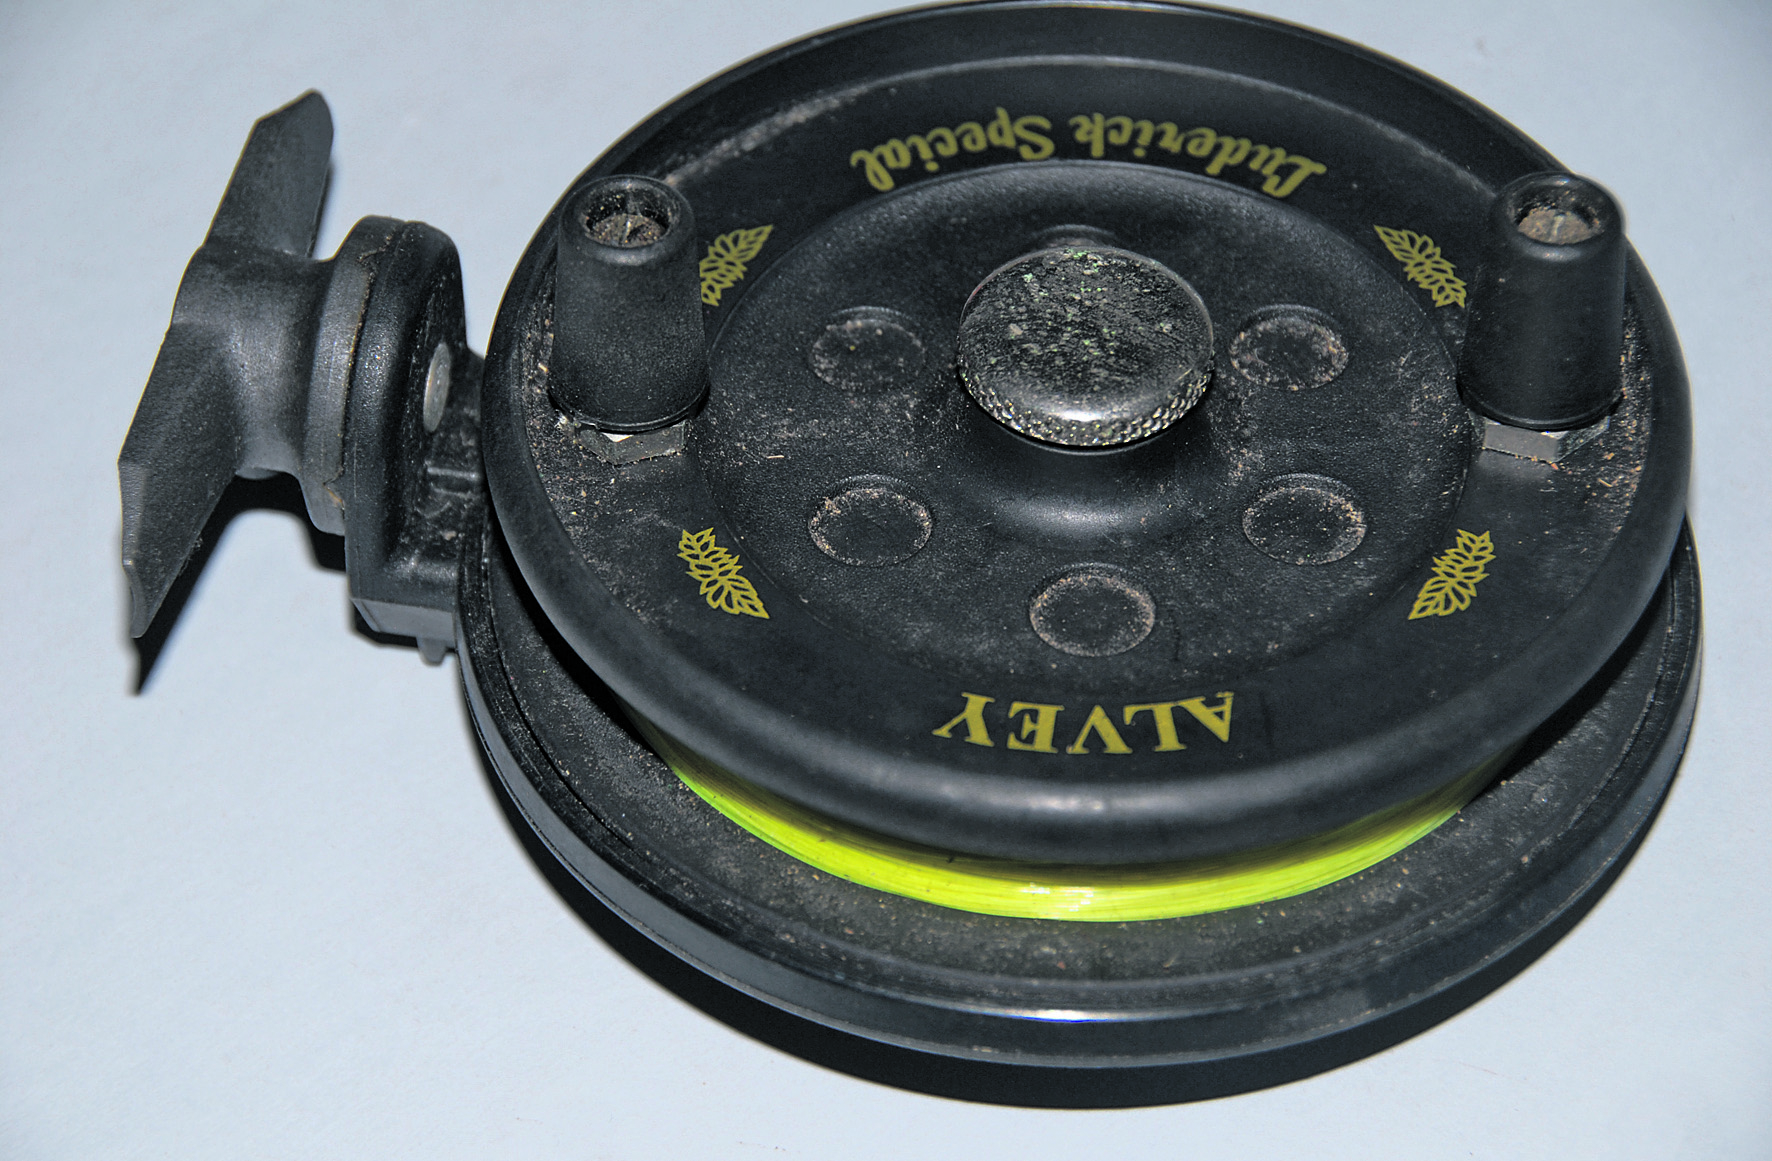
Centrepin reels like this are ideal for targeting luderick as they allow the line to peel off the spool with minimum resistance. Alvey make a good portion of the blackfish reels readily available with a total of six models that vary in price from $100 to $260. I use the base model (475B) and it does the job perfectly for me. Note that when spooling these reels that you do not fill them right up as you would other reels. Due to the close-in style of blackfish angling you will only need around 30-50m of line.
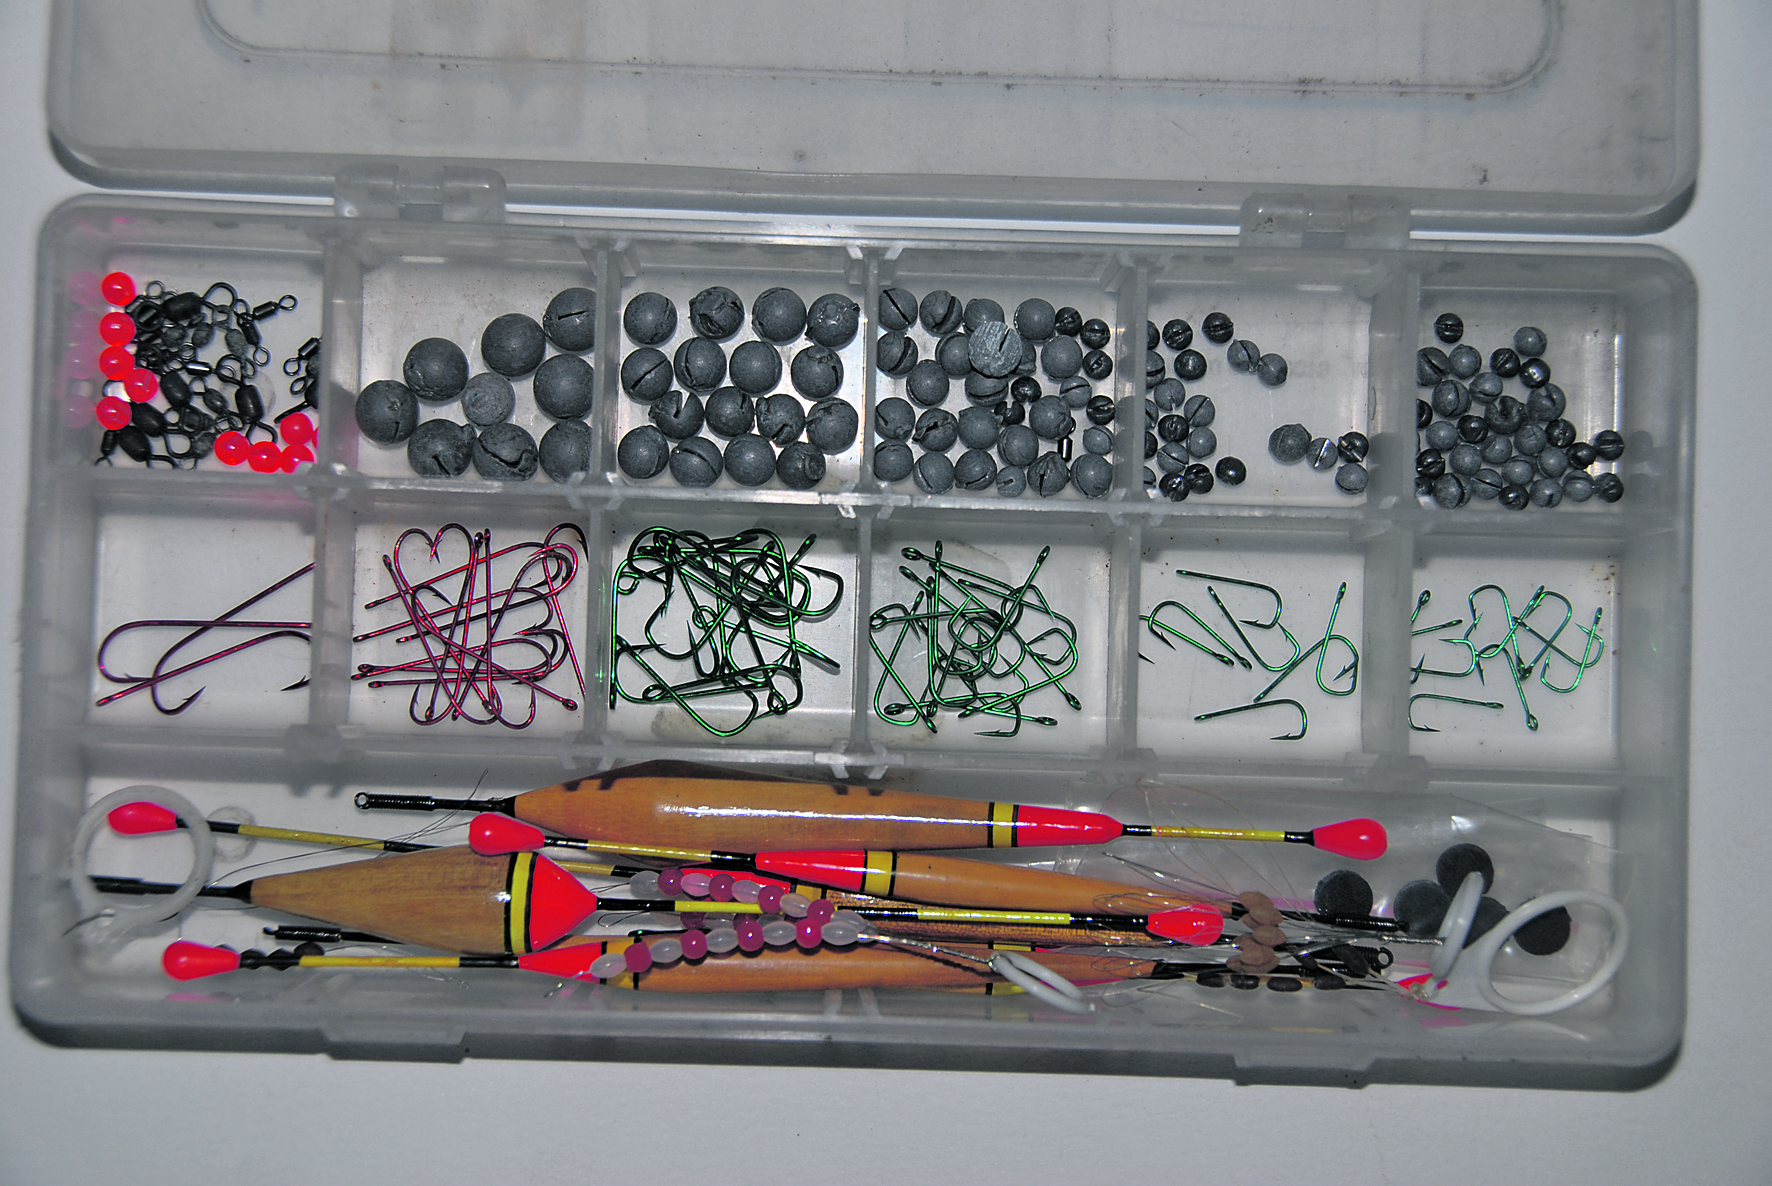
A small 3500 size box (from $8) is all you will need to store all your basic tackle. In this there should be some small strong hooks (such as a sneck pattern), generally in sizes between #6 and #10 (from $5 a packet), some float stoppers (from $3 a packet), assorted small split shots (from $1 a packet) and some small swivels (from $3 a packet). You will also require some small beads but these will probably come with your float stoppers. This box pictured is my personal selection and also contains some #8 and #6 long shank hooks and small pencil and quill floats (not used for blackfish). These I use when targeting garfish and mullet on dough baits with the same rig.
Float stoppers do just as their name suggests – they stop the float from running too far up the line. These small rubber beads are small enough to be wound through your rod tip when retrieved but will not permit the float to proceed past them up the line. They allow you change the depth at which the bait is presented below the surface by simply sliding them up or down the line. They are the first thing to be put on the main line. To do this, firstly pass the end of your main line through the loop of fine wire that the float stoppers are provided on.
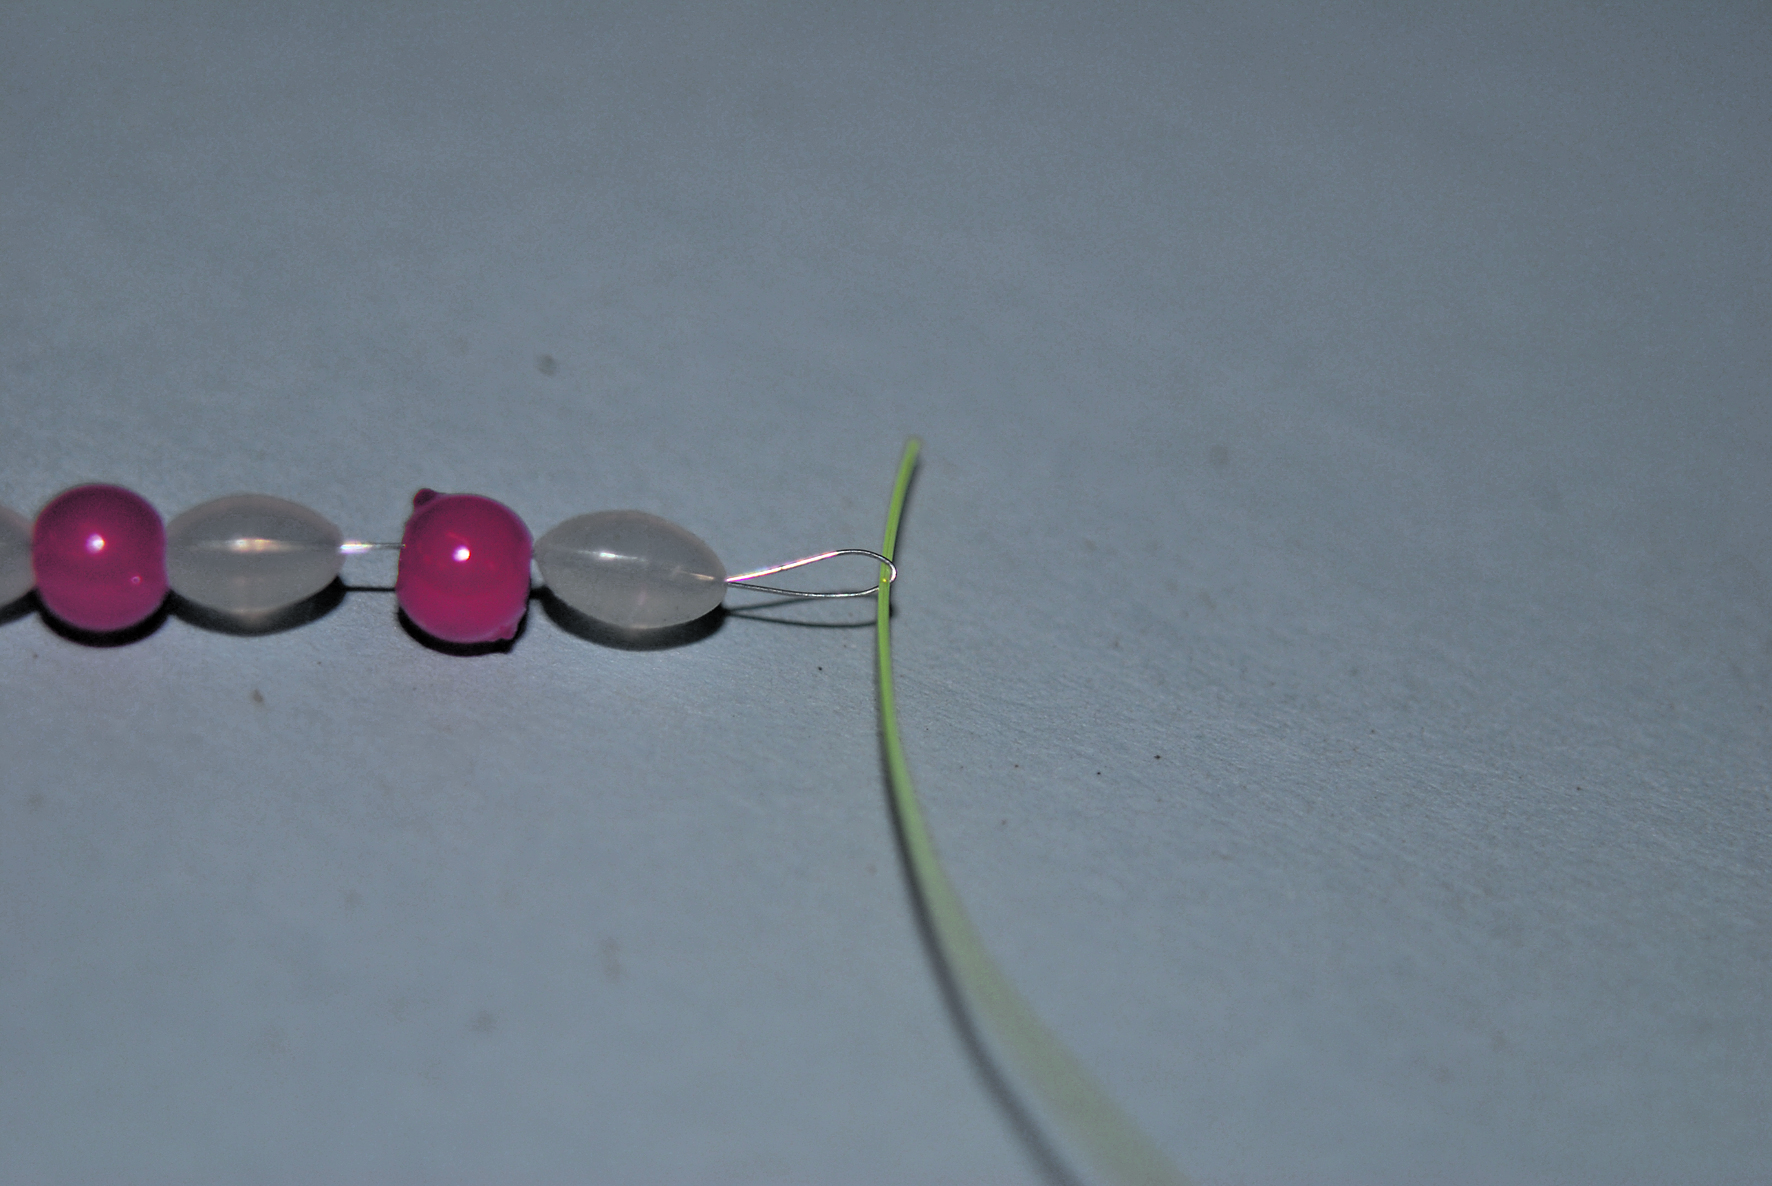
Begin sliding the float stopper down the wire loop until the main line kinks over and the bead passes from the wire onto your doubled-over main line.

Keep sliding until the tag end of your main line pops out from inside the float stopper. This can now be slid along the main line to your desired position.

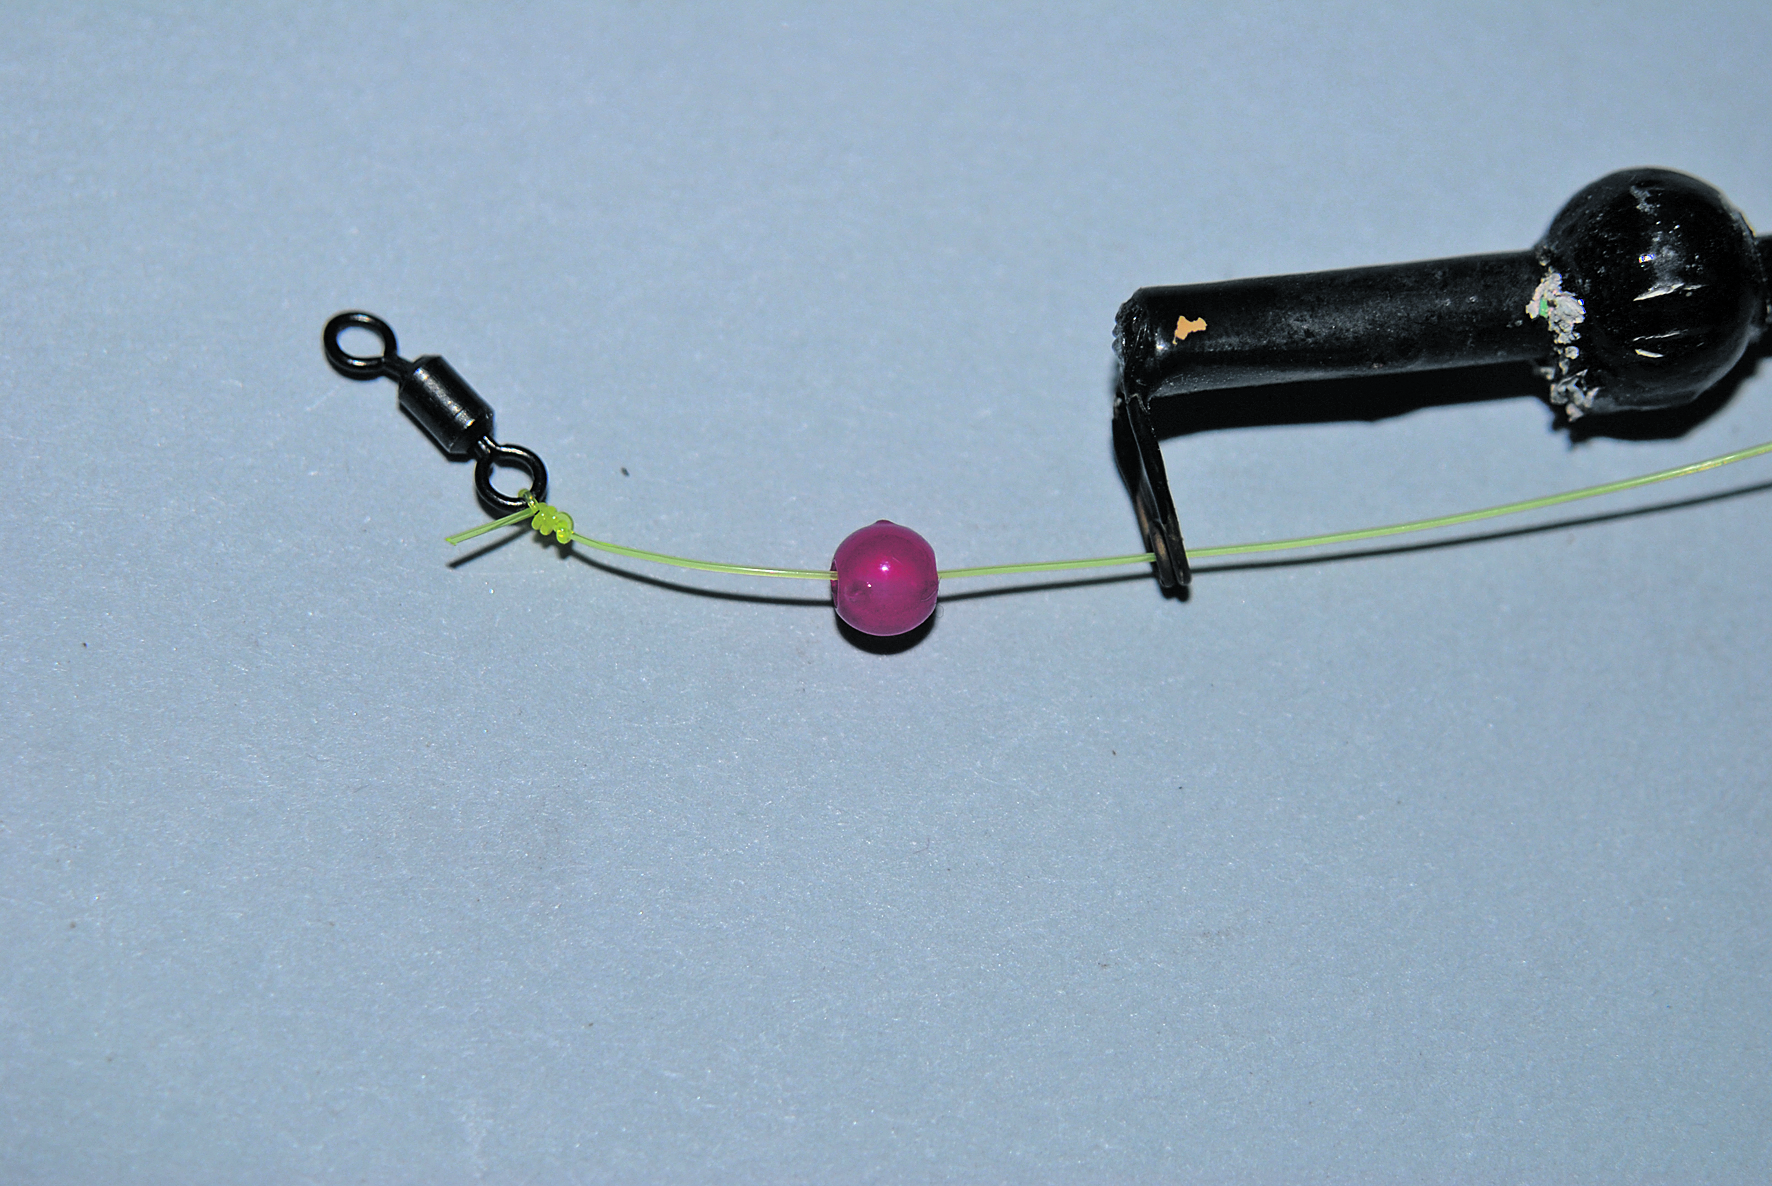
Now pass the main line through the top eyelet on your float and down through the bottom eyelet. The float stopper will rest against this top eyelet when the rig is fully deployed.

Once passed through the bottom eyelet, place a small bead on the line and then attach a small swivel with a blood knot (or similar). The bead stops the knot of the swivel jamming on the eyelet of the float, which would restrict the bait from sinking down once cast out.
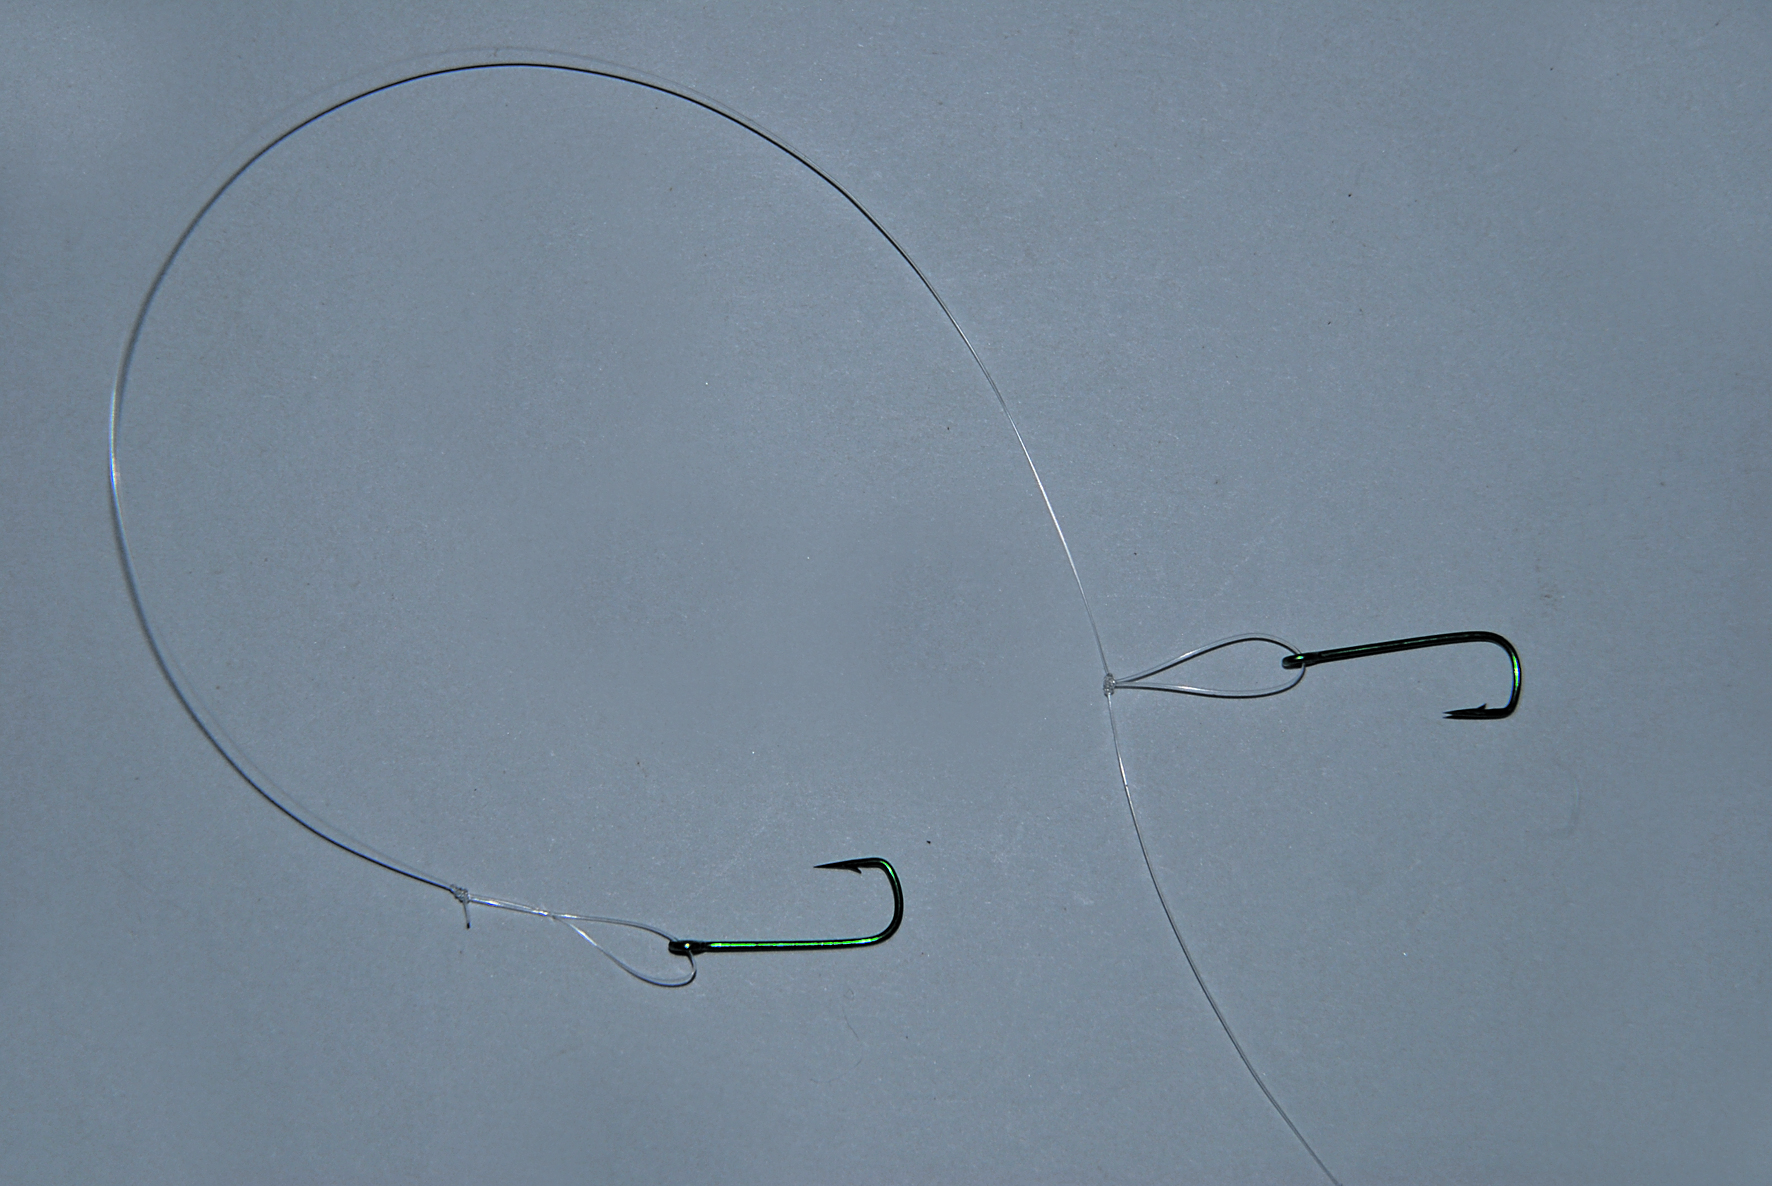
The basic rig generally consists of two hooks spaced around 30-50cm apart on a fluorocarbon leader. Each hook needs to be on a loop of leader line, especially when using string weed. The string weed is fed through the loop and then wrapped around the hook shank. This keeps it presented nicely without bunching up in the hook gape or falling off. To attach the bottom hook use a perfection loop (see instructions hereabouts). The upper hook is attached using a small dropper loop, however you will put the leader through the eye of the hook first before tying the dropper loop and pull the hook and leader through during the last stage of the knot. (see instructions hereabouts)
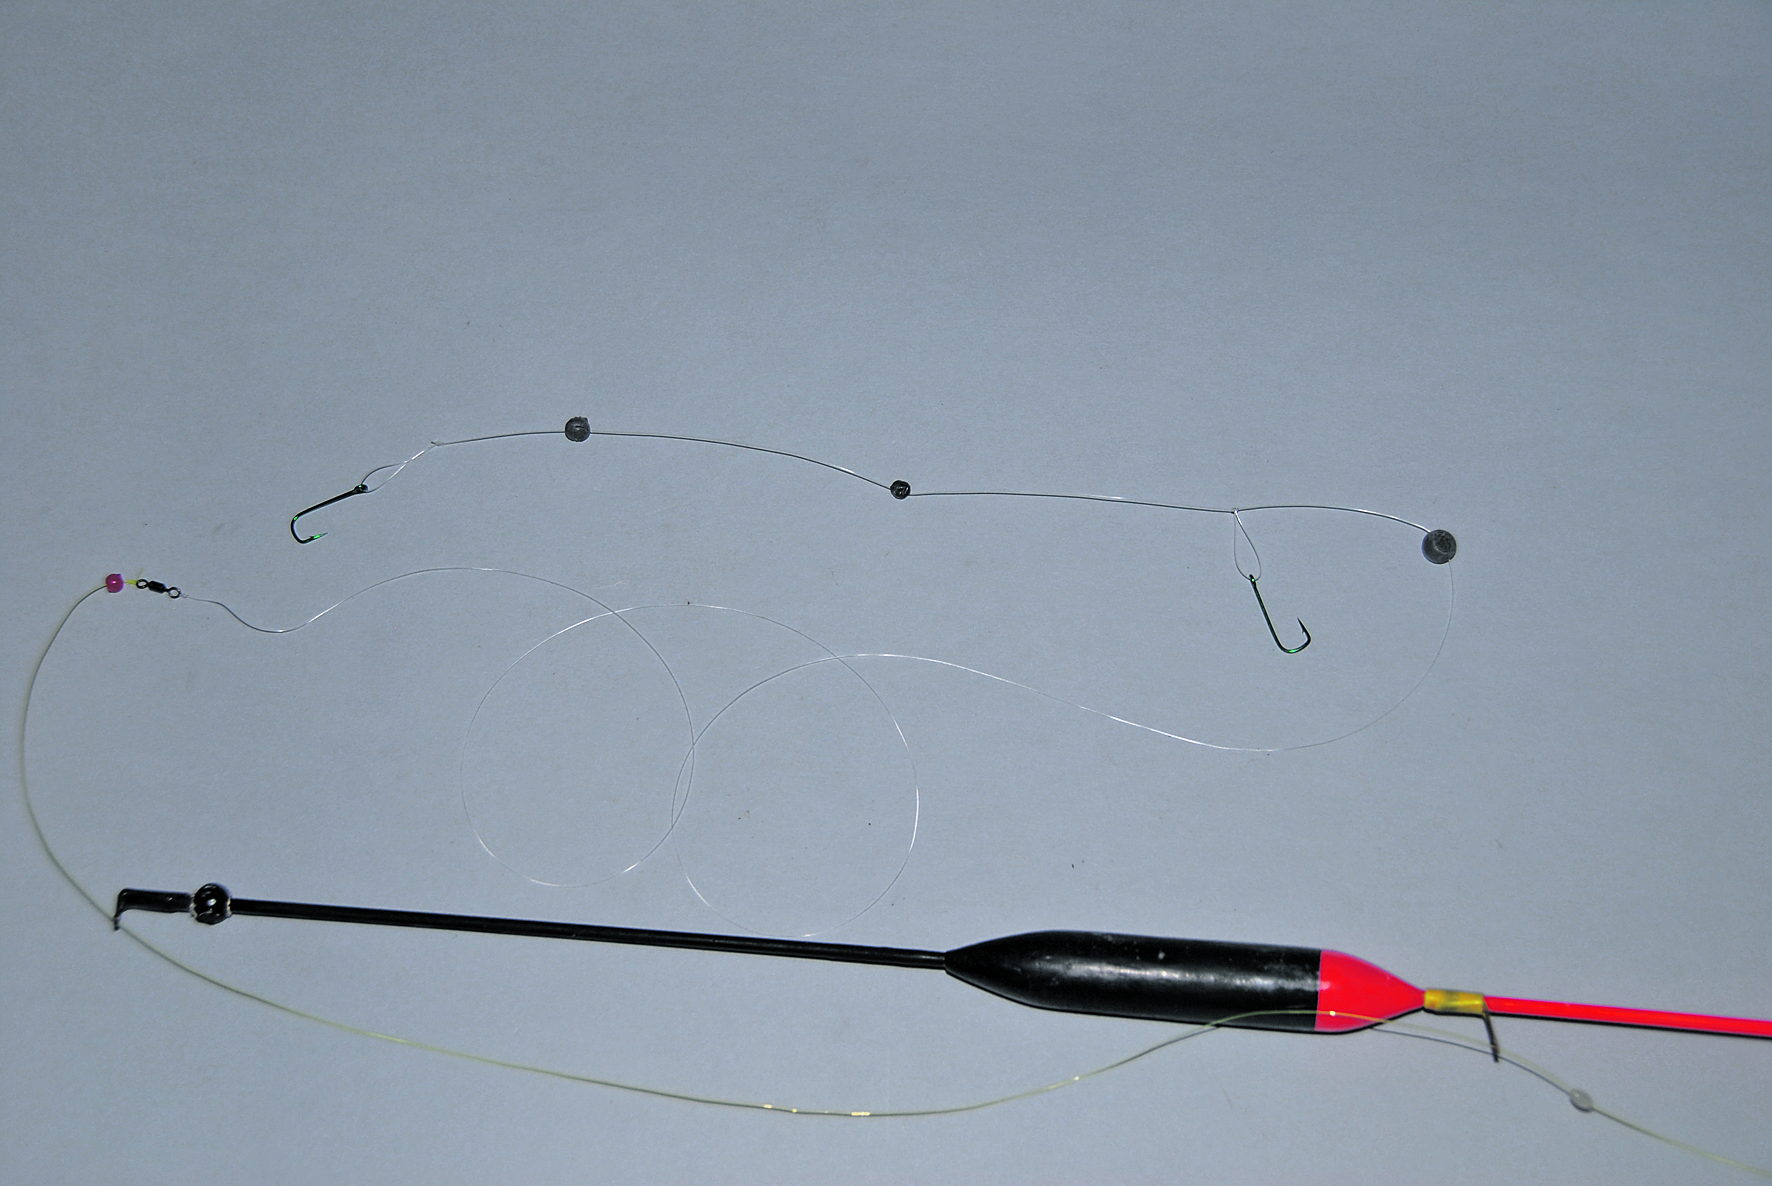
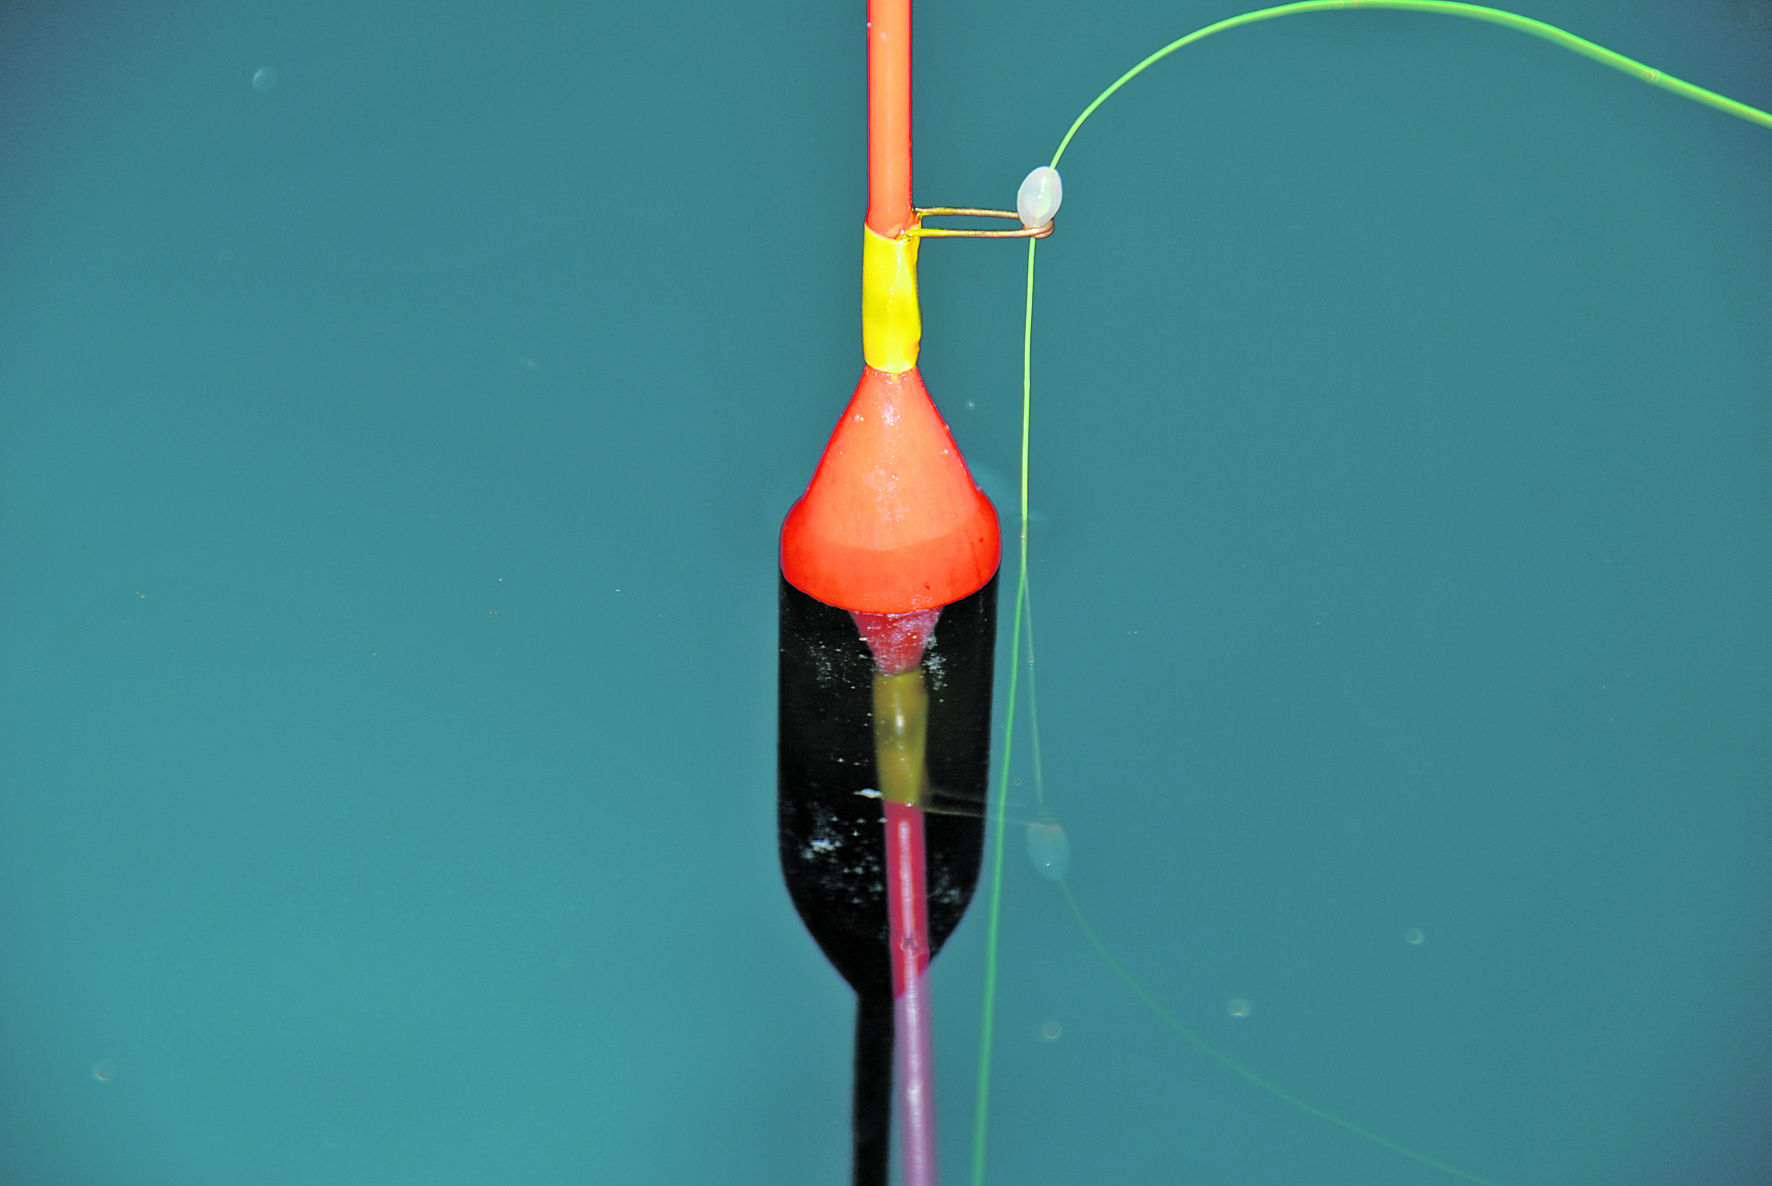
You will need to crimp some split shots onto the leader. Use a few small ones between the hooks and the larger ones further up. When the rig is in the water, you want the float to virtually all be below the water except for the top of the bulb and the upper stem. Once you have used a float a few times you will know how much weight each requires to get the float just above neutral buoyancy. Split shot can be pinched on by squeezing the split side with some pliers once the line is in the slit. To remove, pinch the opposite side of the shot so the slit opens again.

Your entire leader should be about 1-1.5m in length. Once the top of the leader is attached to the swivel (blood knot or similar) your rig is complete although you may need some fine tuning with the split shot once out on the water.
Your float should look somewhat like this when deployed. Just the top stem and maybe a few millimetres of the bulb should be visible above the water.
Once deployed the baited hooks will sink down until the float stopper hits the top of the float. The stopper can be moved up or down the line so that you can probe different depths of water with your baits, as often the luderick will only feed at a determined depth.