by Wayne Kampe •
The main ingredients for this culinary masterpiece can conveniently be found on the supermarket shelves neatly packed and ready to go. You will also need a fair-sized camp oven, a trivet for the interior base to keep the scones from burning and a long handled shovel to maintain control of the coals. A camp oven with a recessed lid is a real asset as well, because coals can be placed on it if necessary to finish the cooking.
Ingredients and Utensils
Scone mix
UHT milk
A fair-sized camp oven with a recessed lid
Trivet
Long-handled shovel
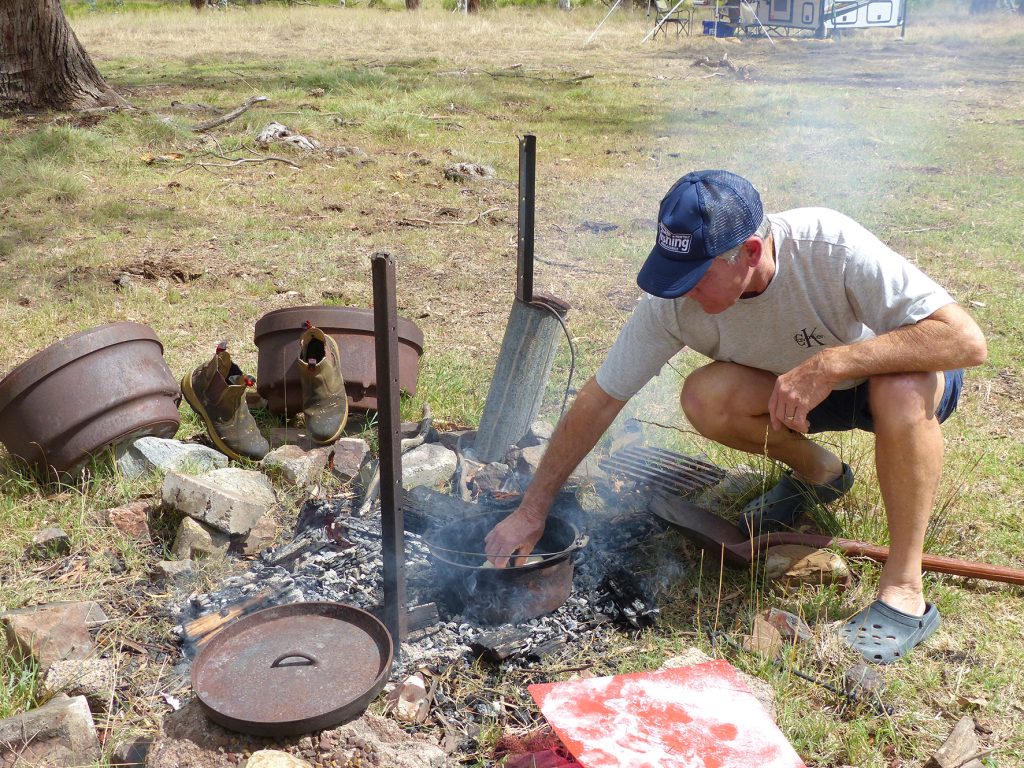
Your first job is to get a fire going with plenty of wood that will provide decent coals. We are always forced to use whatever timber is present, so if it’s she oak or gum timber, plan on using bigger chunks to provide decent coals. It’s best to get the fire going at least 30-45 minutes prior to baking so that the timber has been reduced to coals – nice solid ones without any flame present.
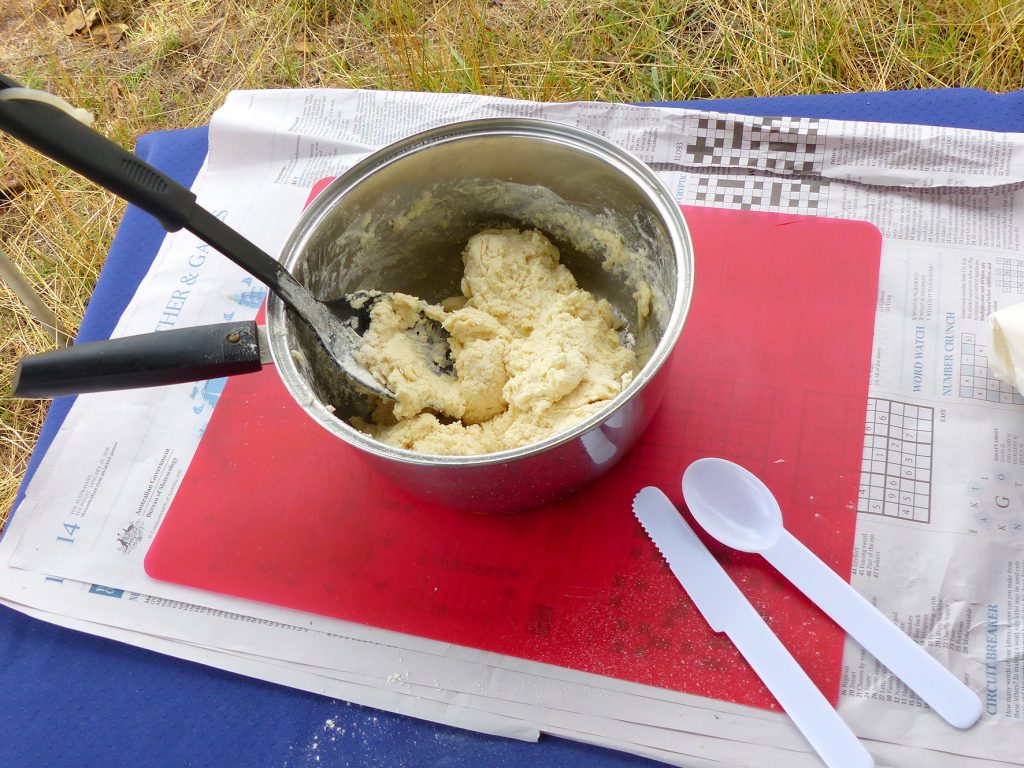
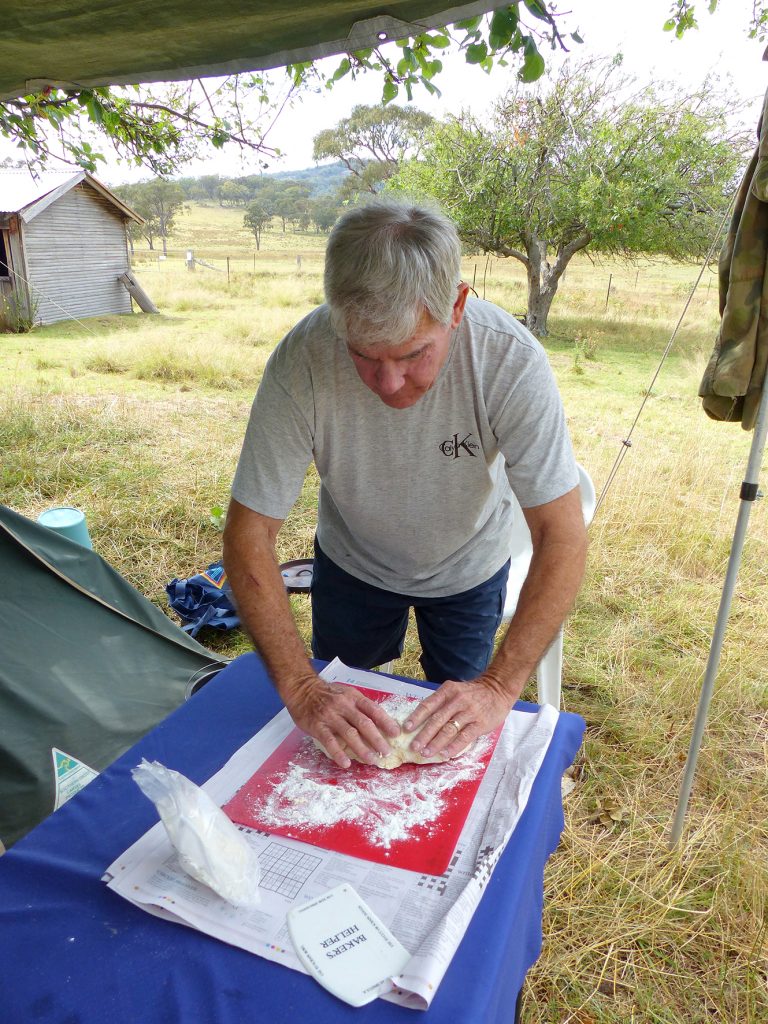
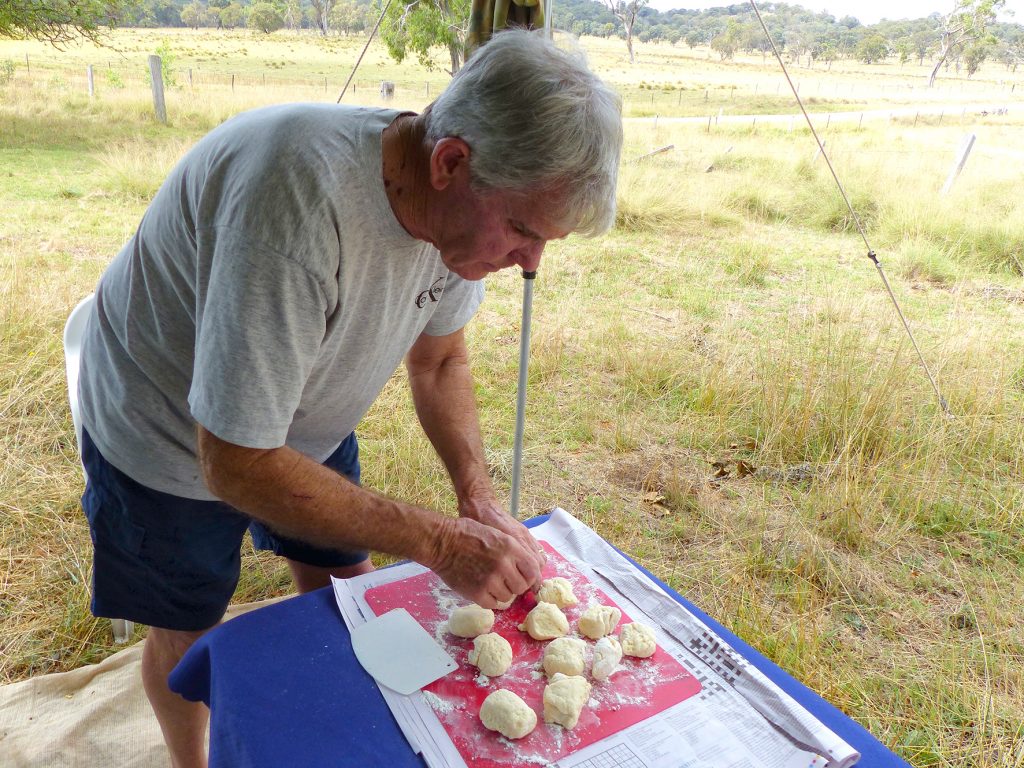
Once the timber has been reduced to coals the idea is to combine the scone mix and milk – forget water, milk is better – into a dough that is almost sticky but still able to be shaped into a long roll on a floured board, or some newspaper. It’s next cut into scone-sized portions. While making up the scones it’s smart to have the camp oven close by the fire to heat it up; turn it around so the heat is spread uniformly. We would not put scones at home into a cold oven, right? So the camp oven needs to be heated up as well.
Regulate the coals. With the fire reduced to coals the shovel is used to scatter them to one side of the fire, making an even bed upon which to sit the camp oven. Too much heat will ruin things, so an even bed of coals makes things easier. My idea of a good bed of coals is one I can easily approach and place the oven on; if I can’t approach it then it’s much too hot. Scatter the coals more in this case.
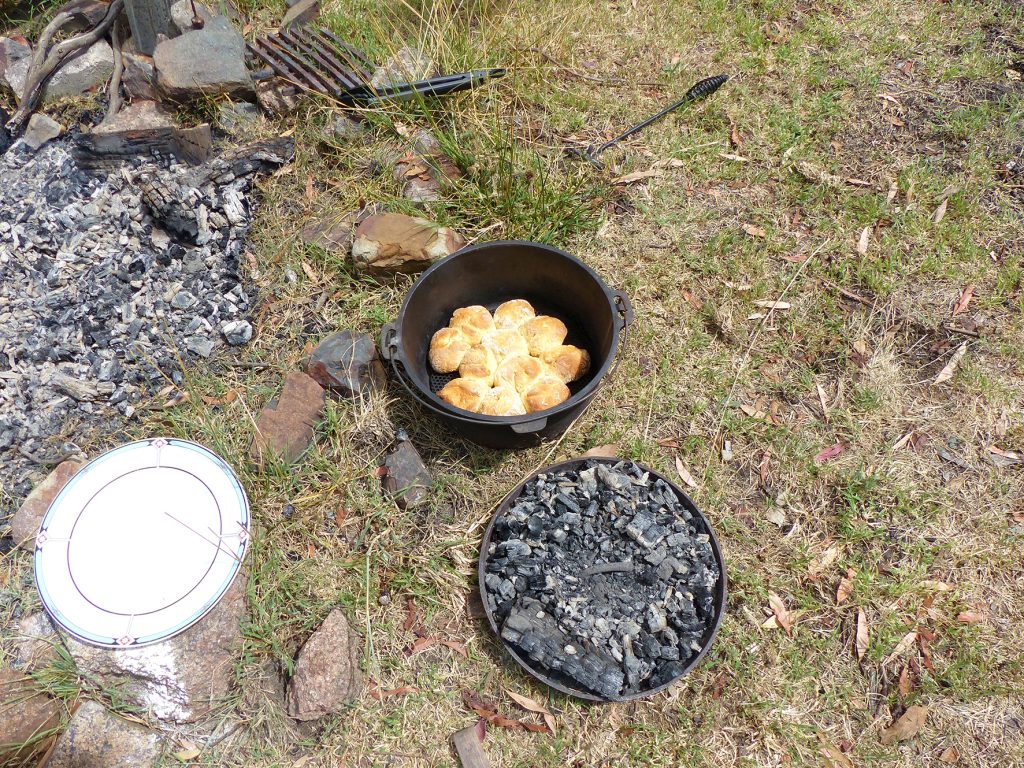
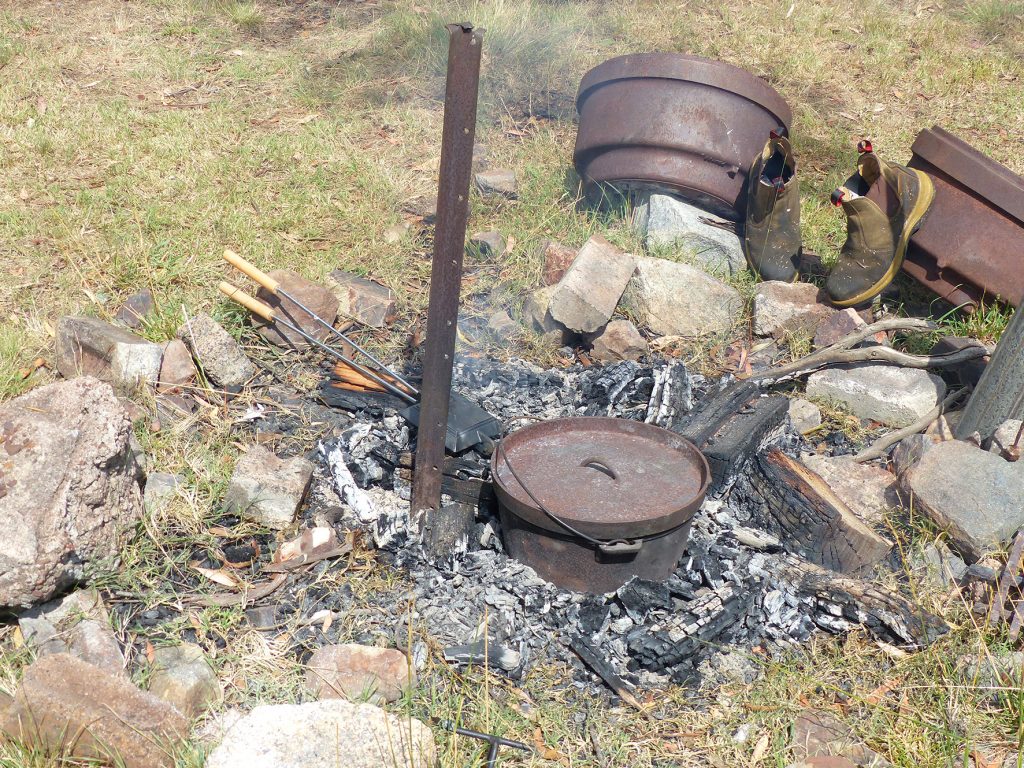
With the scones in the oven, on the trivet, the camp oven is placed fair on the coals and a few coals heaped evenly around the sides.
After ten minutes it’s wise to see how things are going. At this point the scones should be rising nicely into shape and perhaps browning a little on the sides. If they’re not browned but taking shape, give them another five minutes and check again. Once they are browned on the sides, take the camp oven off the coals altogether and then heap a good lot of coals on the lid to finish the top of the scones. Around four or five minutes with coals up top should see the scones done to perfection, yourself as a camp oven hero cook of some stature and a real tasty feed on hand.
For the record I had a lot of failures in the beginning by putting the camp oven in the fire proper. This invariably burns the scones, hence the need for a shovel to scatter the coals to the one side for cooking. Remember, if the selected coals are still so hot that it’s hard to put the camp oven onto them, it’s wise to scatter them or move them even further to one side to avoid disappointment with burnt offerings. Enjoy.