by Gordon Macdonald •
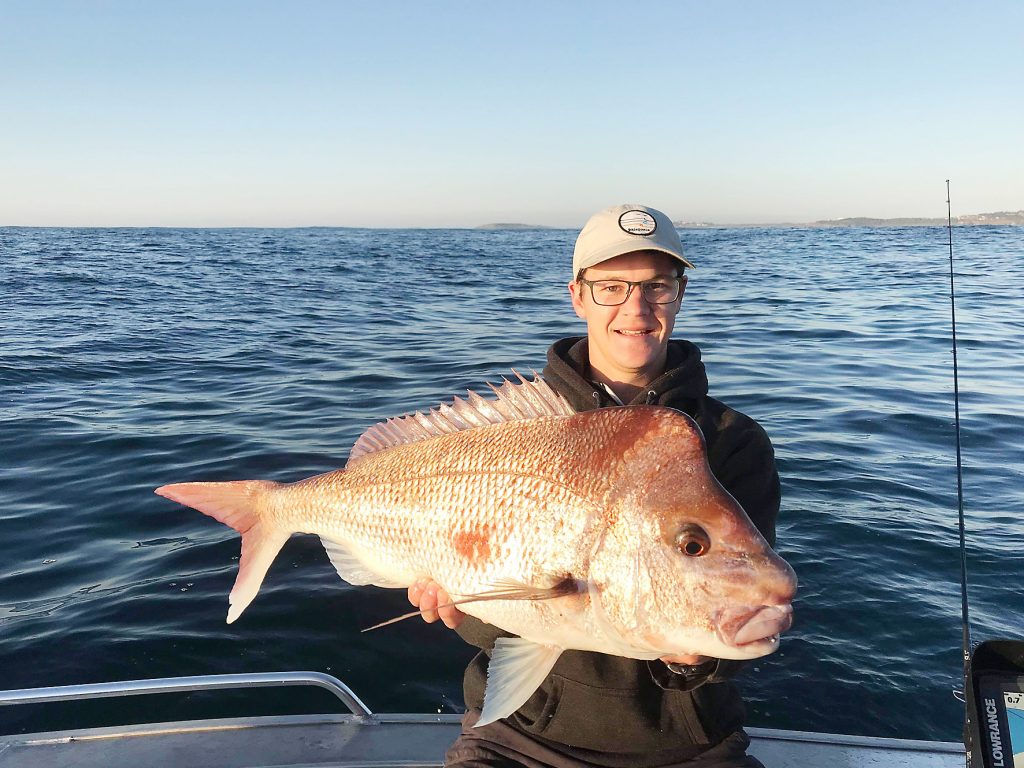
Recently I came across a great jig, which is quick and easy to assemble yourself with minimal materials. It is rather similar to a fly I have previously tied to catch an array of tropical species. This jig is a more weighted version of that pattern and could be used to catch species such as snapper, barramundi, pearl perch, flathead, trevally and numerous reef dwellers.
It can be fished in deeper offshore waters and will cast exceptionally well for shore jigging. The Snapper Jig, as it’s simply called, was initially developed and used by Kiwis for targeting snapper across the ditch. After making a few of my own and swimming them, it wasn’t hard to imagine how well they would work on our snapper as well as numerous other demersal species. When jigged near the bottom, or simply dead sticked in current, the action of the fur creates a very life-like appeal. I am sure they would also be a hit with Murray cod when tied on lighter jigheads.
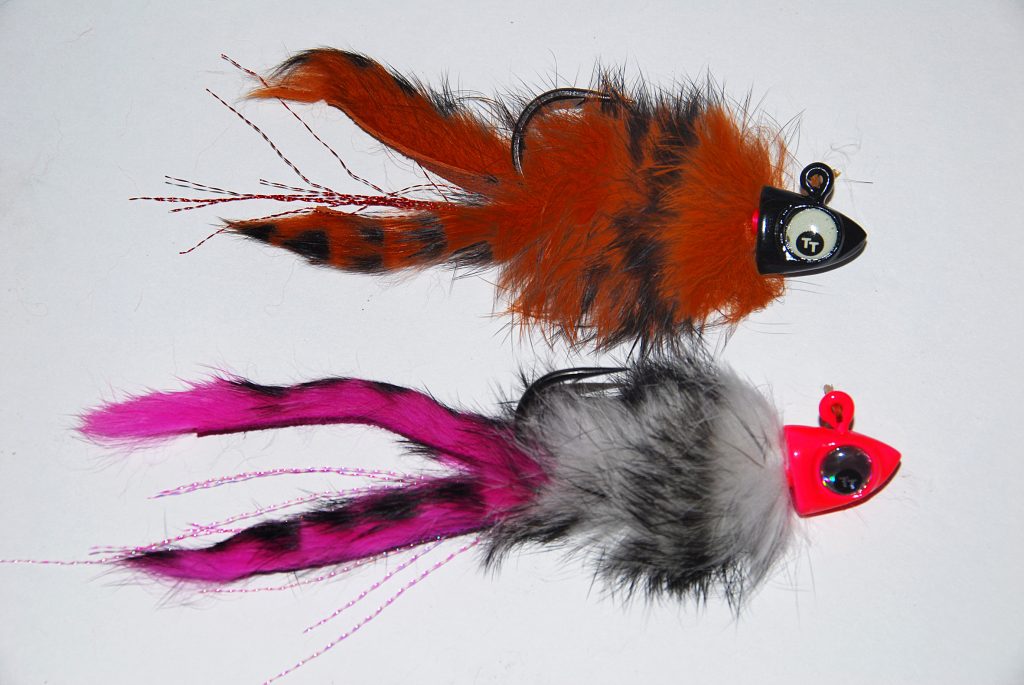
The Snapper Jig is tied predominately with zonker (strips of rabbit fur). This material possesses a lot of action in the water and will waft and ripple with the slightest movement. Even a slight current will create great action from this material. Additionally, zonker is fairly durable and comes in an array of colours, some with barring to offer greater effect.
The two strips added to the rear of this jig are similar to the candles (long tentacles) of a squid. I am not too sure how the snapper and other species visualise the snapper jig, however they seem to like it. This could either be due to hunger or curiosity. As fish do not possess hands, they will often bite something foreign to ascertain whether it is a food item or not. Regardless of why they bite it, once your rod is buckled and your drag is screaming I guess the reason doesn’t matter.
Fishing this jig can be as simple as lowering it close to the bottom and then putting the rod in the holder and allowing the rock of the boat to do its job. This dead-sticking approach can be very successful, especially in a bit of current when drifting along.
Another approach is to cast it out (either from a boat or shore-based perspective) and allowing it to hit the bottom before lifting the rod to hop the jig. Next, lower the rod, wind in the slack and allow the snapper jig to sink down again before repeating the sequence. Obviously a wide array of other retrieves could also work well.
Let’s look at how simple it is to tie a snapper jig.
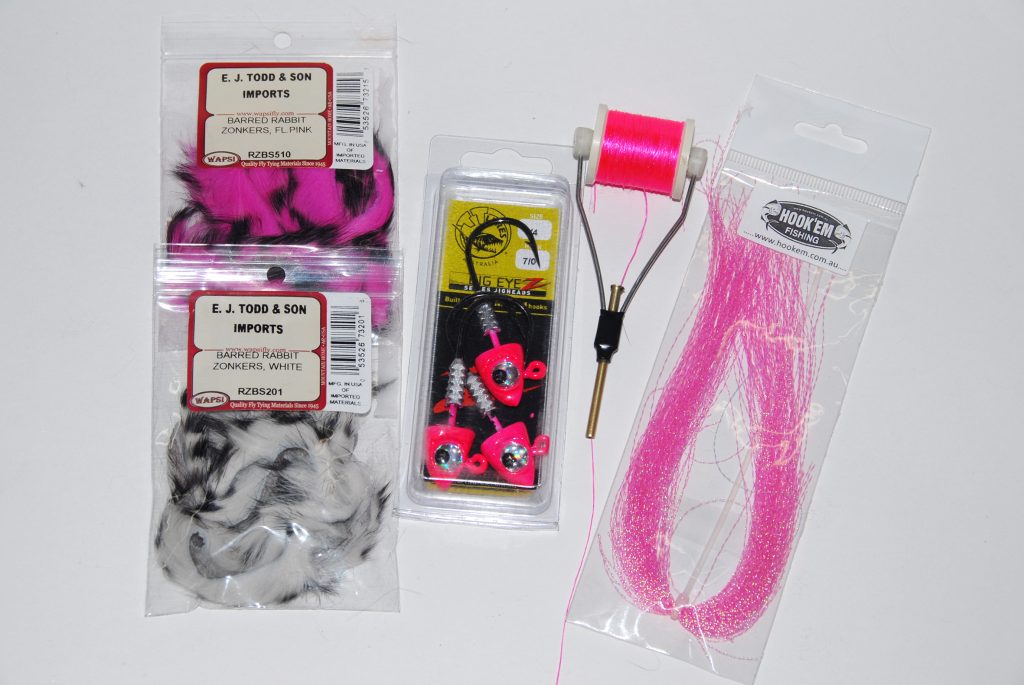
1. There is a small material list required for the Snapper Jig and most aspects will be available from a good tackle store that additionally sells fly tying gear. I have used the TT Big Eye jigheads because these have strong hooks and already come painted. However, you could use any quality painted or unpainted jighead. A little flash adds life-like appeal and flat-waxed nylon thread is used to affix the materials to the hook. You can use any colour of zonker strip you like but I have chosen a white and a pink barred zonker for this jig. A bobbin and a fly vice will make the task easier but is not a necessity. Scissors and some glue will also be required.
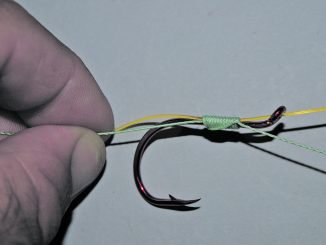
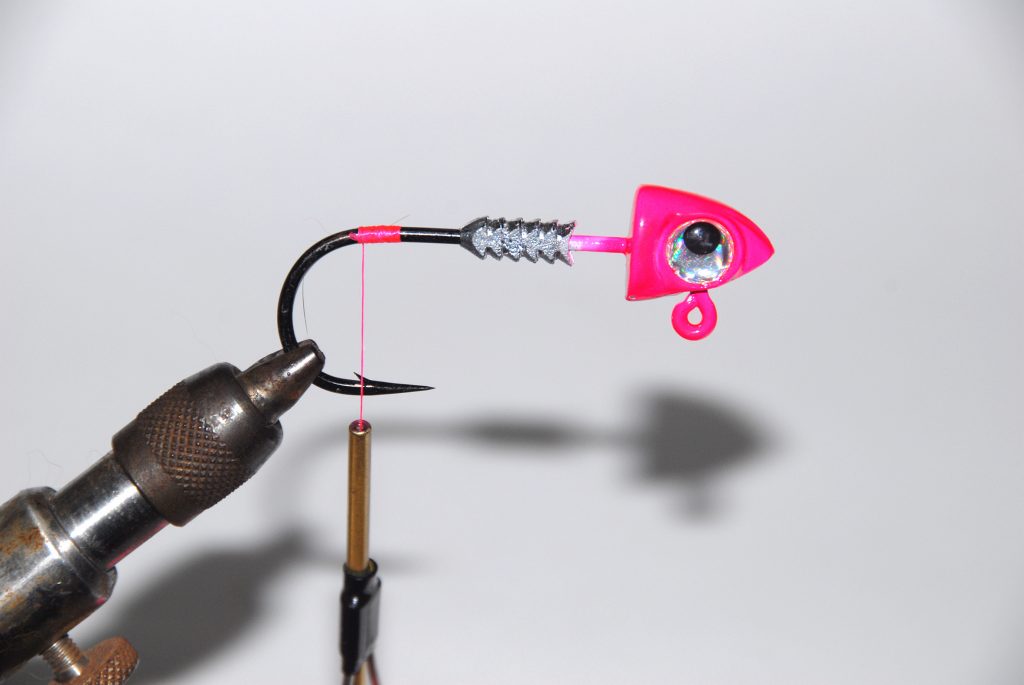
2. Attach the thread onto the shank of the hook, roughly opposite the barb. Flat waxed nylon thread will not rot like many other threads however you could even use some rod binding thread, light braid or almost any other strong thread you have at hand for this task.
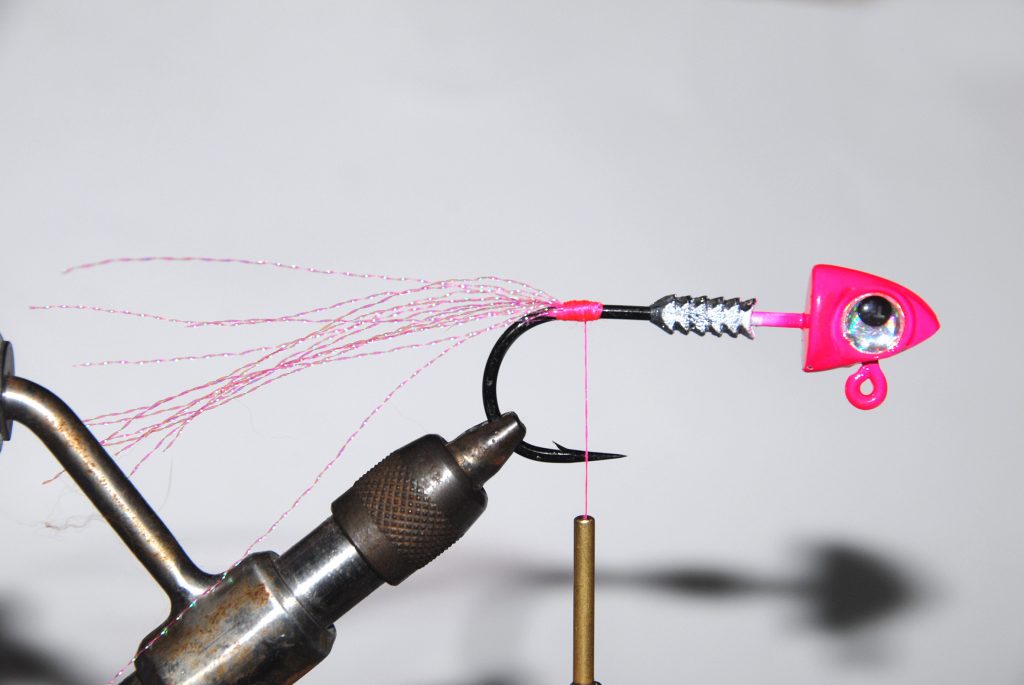
3. Cut 10-15 strands of krystal flash that are a little longer than the hook you are using. Krystal flash (twisted strands of mylar) gives life-like appeal to any lure however any reflective flash is worth using. Tie these strands in at the point where you attached the thread. Do a couple of half hitches with the thread (or whip finish if you know how) and then add a little glue to increase durability.
4. Cut a strip of zonker that is at least as long as the entire jighead. Tie the first one in on the far side of the jighead using a series of thread wraps. Again half hitch and add a little glue (fly tying head cement is ideal but superglue or Zap-a-Gap will suffice).
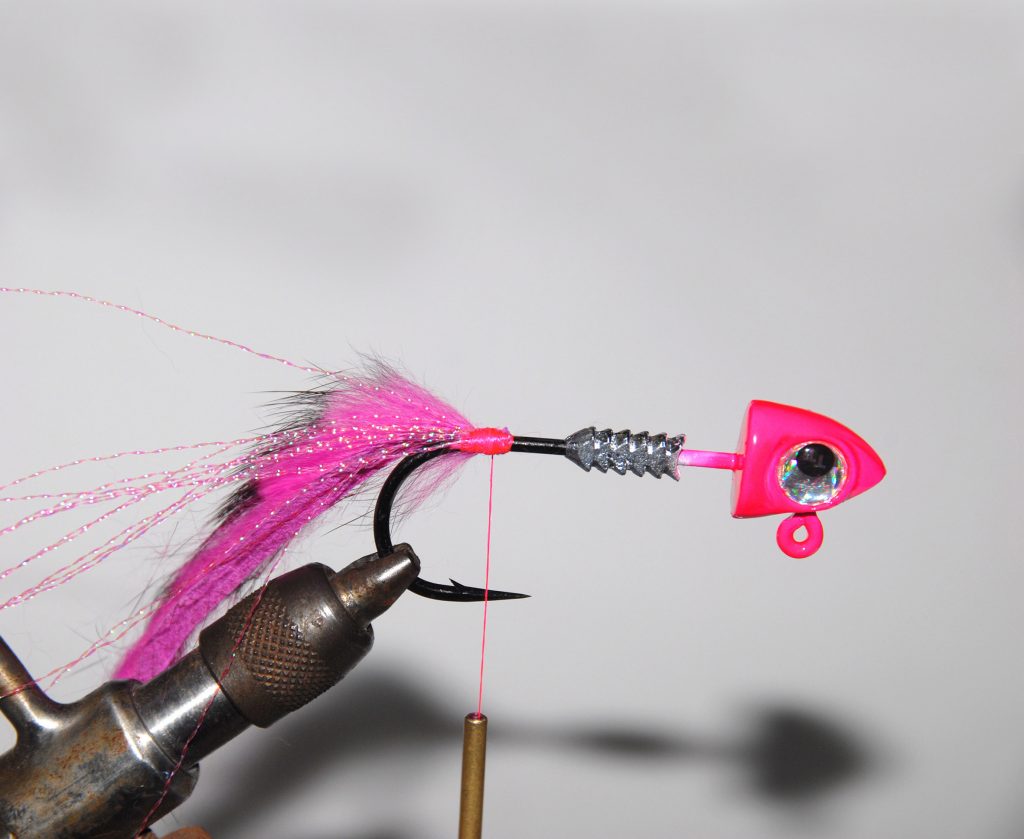
5. Add another length of zonker (which is the same length as the first) on the side closest to you. Again, half hitch the thread and add a little glue. These two strips will move enticingly and kick as the jig is retrieved.
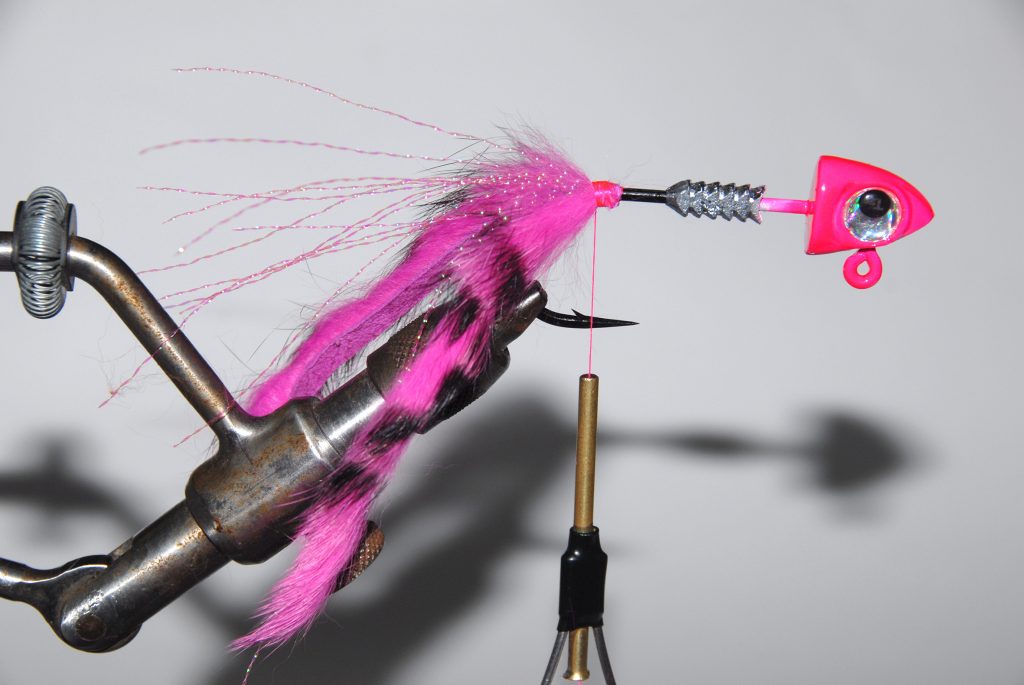
6. At this same position, secure in one end of the zonker you have chosen for the body. This can be the same colour or a contrasting colour to the first two pieces you tied in. Do a few half hitches and some glue before wrapping the thread forward until it is all the way up to the jighead.
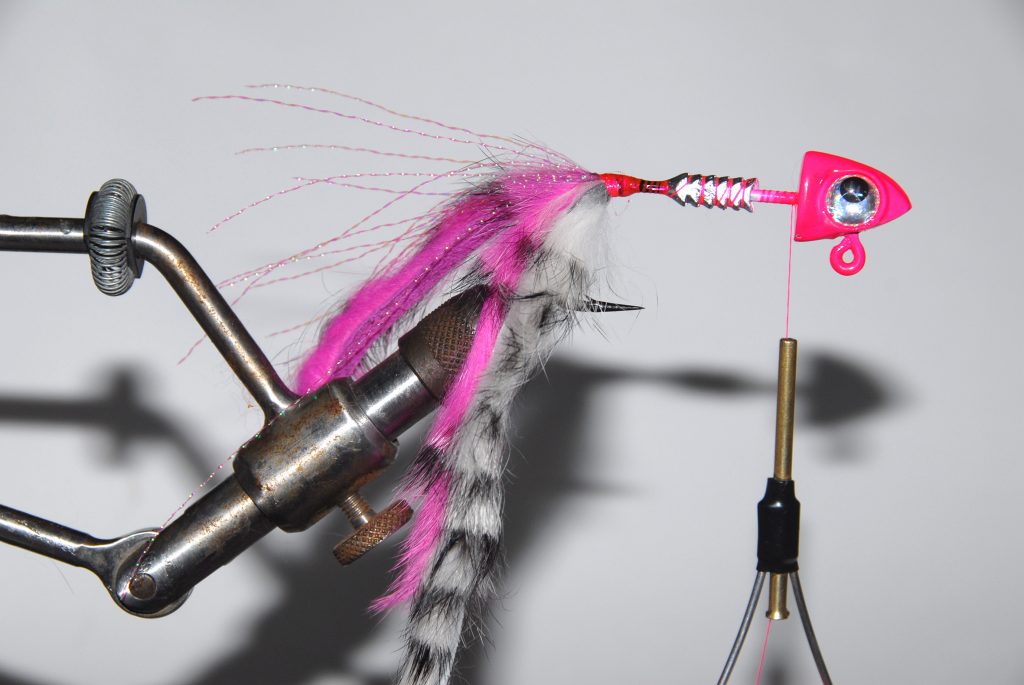
7. Begin winding the zonker strip around the hook shank firmly while keeping the skin flat to the shank. As you do each wrap, preen the hair backwards before doing the next wrap. Continue along the shank like this until you get all the way up to the rear of the jighead. Use a series of thread wraps to secure the end of the zonker strip. Cut away the remaining thread and add some glue to increase durability.

8. When completed the snapper jig presents well and looks enticing. There are no rules as to colour and it pays to make several different models. Therefore, you can try several options on any given day. Different weights can also be made depending on the water depth and current in which you are going to use them. There are a lot of options in relation to colours and you can even add numerous other materials to spruce up your jig. Once you have fished these jigs, I reckon you will agree that they are an easy-to-make and exciting jig.