by Ian Sewell •
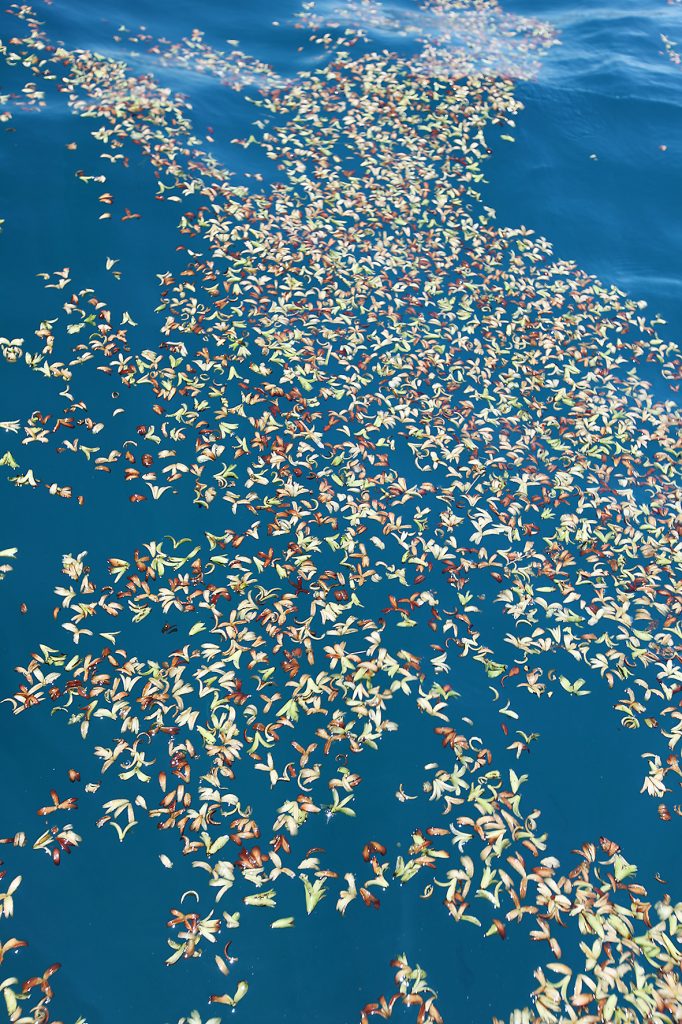
Every year as the days get warmer and the boat covers start to come off, the waters off the West Coast start to stir with a massive underwater migration.
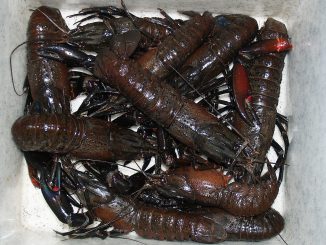
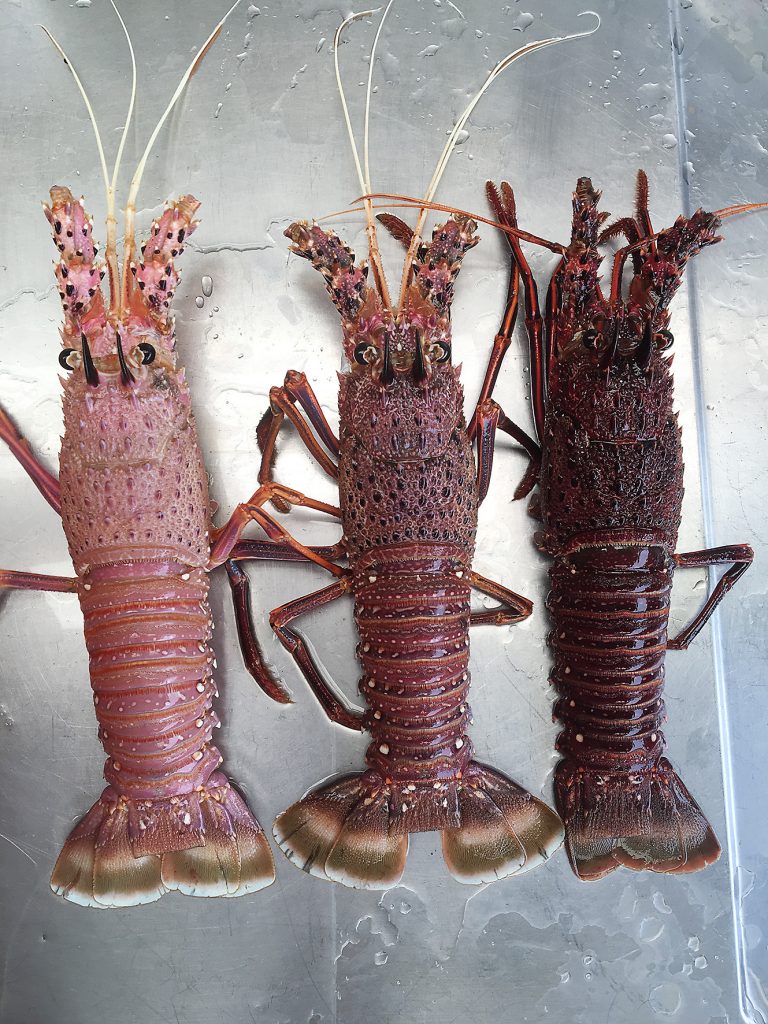
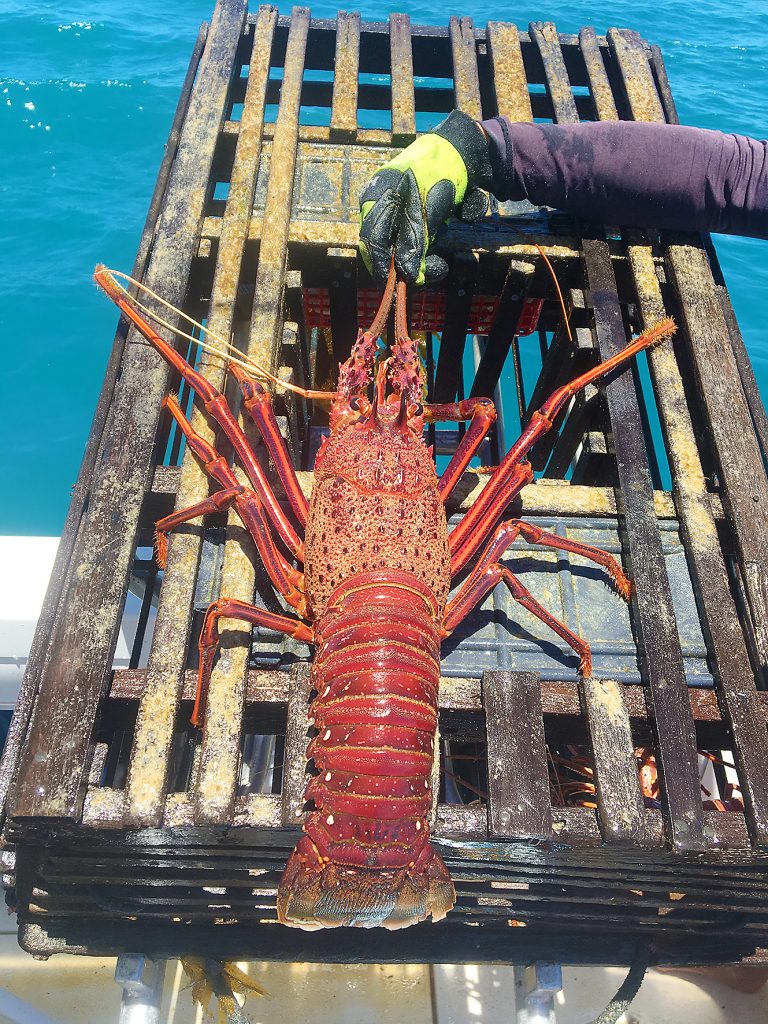
Western rock lobster start their trek from offshore reefs into the shallow inshore reefs and await the signal to start a massive synchronised malt. The exact date varies every year, but it’s safe to say late spring is the approximate time frame. At this time, western rock lobster shed their dark red shell for a light coloured pink/white shell. These lobster are most commonly referred to as ‘whites’. After a week or two, the new shell hardens enough and then just about every boat ramp in the south of the state starts to swell beyond capacity at sun-up every day for the mass migration of rec anglers making the most of the ‘white run’.
It is thought that western rock lobster take part in this mass migration event at least once in their lifetime, usually only after they become sexually mature, or a year or two after. For us as recreational fishers, it is a time of the year where we can catch a good feed of rock lobster with relatively little effort.
Back in July 2018, there was a significant rule change that allowed rock lobster to be fished all year round. This is a great outcome from years of managing the fishery so well. This fishery is so well managed it also has Marine Stewardship Council certification as a sustainable fishery. It was granted certification back in 2000 and has since been re-certified four times, the last time being in 2017.
Interestingly WA’s rock lobster industry has over 50 years of research and science behind it, which I think speaks volumes. It is also WA’s most valuable commercial fishery.
Getting pots
If you want to get in on the action this year, there are a few things you need to do and think about. The first one is that you will need to buy a recreational Rock Lobster Fishing Licence. This is different to your Boat Fishing Licence, and can be bought online from the www.fish.wa.gov.au website.
Once you have a licence you will need to buy a couple of pots, or if you are handy with your hands and have the time and the inclination, you can build your own. If you do want to build your own, be aware that there are strict rules for dimensions of the pot as well as the placing of the compulsory escape gaps. Depending on where you put the gaps, you will need three or four. These gaps have to be of a very specific size and can be bought or made. Be sure if you buy pots that they have the gaps already in them or that they are supplied when you buy it so that you can fit them yourself.
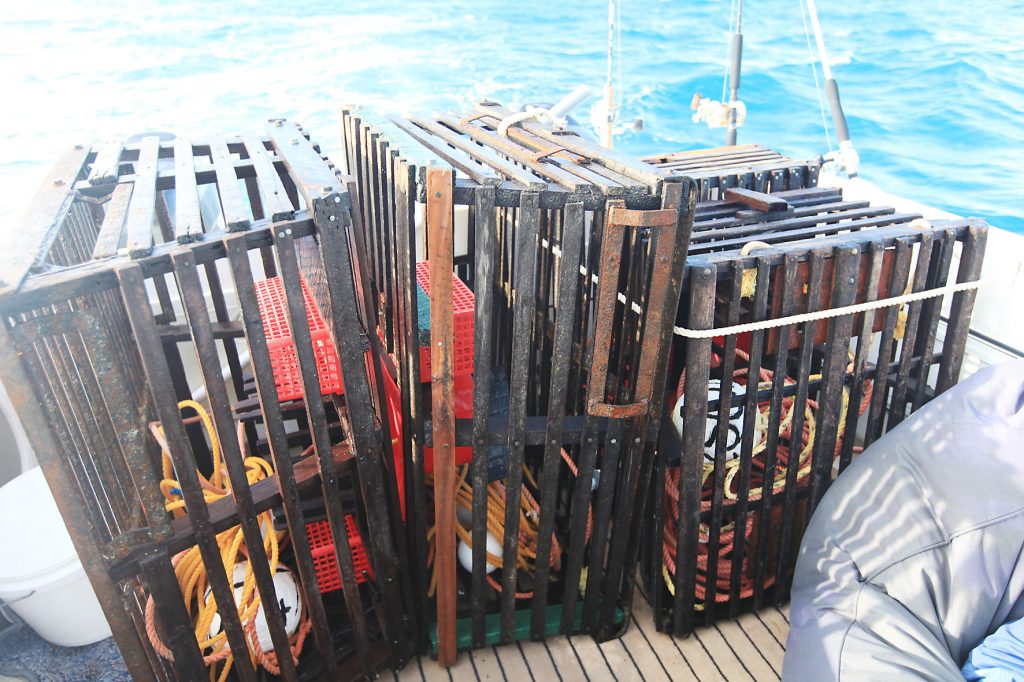
There are quite a few commercially available pots, and these are made out of various materials. There are two types of plastic pots, a wire collapsible pot, as well as commercial wooden slat pots, which can come in pine or jarrah. Pine pots are generally used for the white run and jarrah pots are usually used for chasing ‘reds’ when the white run finishes.
Then there are amateur size pots, which are also referred to as 3/4 pots, and these also come in jarrah and pine. Activ Industries produce a great range of pots that are ready to fish, are built well and work just fine. These come in three sizes right down to their smallest Mini A, which is perfect for tinnies or small boats. If buying from Gumtree, be aware that there are a lot of dodgy pot makers out there trying to make a buck. If they are new pots, ensure they have escape gaps properly fitted and are correct dimensions.
You are allowed to use two pots per licence, and you are allowed to have a maximum of six pots on a boat, but you are only allowed to pull six pots in a day with three licensed fishers on board. Two licenses would equal four pots. Recently we have also been allowed to pot share, which means you can put another licensed fishers gear ID on the same pot and this person is also able to pull the same pot. For more info on the finer details be sure to check out the regulations on the fish.wa.gov.au website.
Finer details
Next you will need some ballast for your pots, as most pots bought off the shelf either have no ballast or have not enough. When trying to work out what to use as weights for your pot, think steel!
Concrete, bricks and rocks can work, but take up a lot of space and also hold air, which will slowly bubble out. Unfortunately, for whatever reason, rock lobster shy away from bubbles. So look for steel railway fish plates or any other flat pieces of steel.
When adding the steel, there is no such thing as too heavy, just too light. The idea is that you do not want the pot to move in heavy seas or in strong sea breezes or easterlies. If the pot moves while a lobster is trying to climb in, they will generally not go in.
Going for a walk on any beach after the beginning of lobster season you will more often than not see pots washed up on the beach. These pots are the ones that had too little weight or had weight secured with cable ties. Do not use cable ties to secure ballast into pots. The impact from pushing the pot over the side when setting them will usually snap the cable ties, shooting the ballast out of the bottom escape gap.
Ballast is best secured with stainless wire, or a decent galvanised wire or bolted in place. Again, there is no such thing as too secure. Through the season it is also wise to keep an eye on the securing and watch for any corrosion or possible weakening.
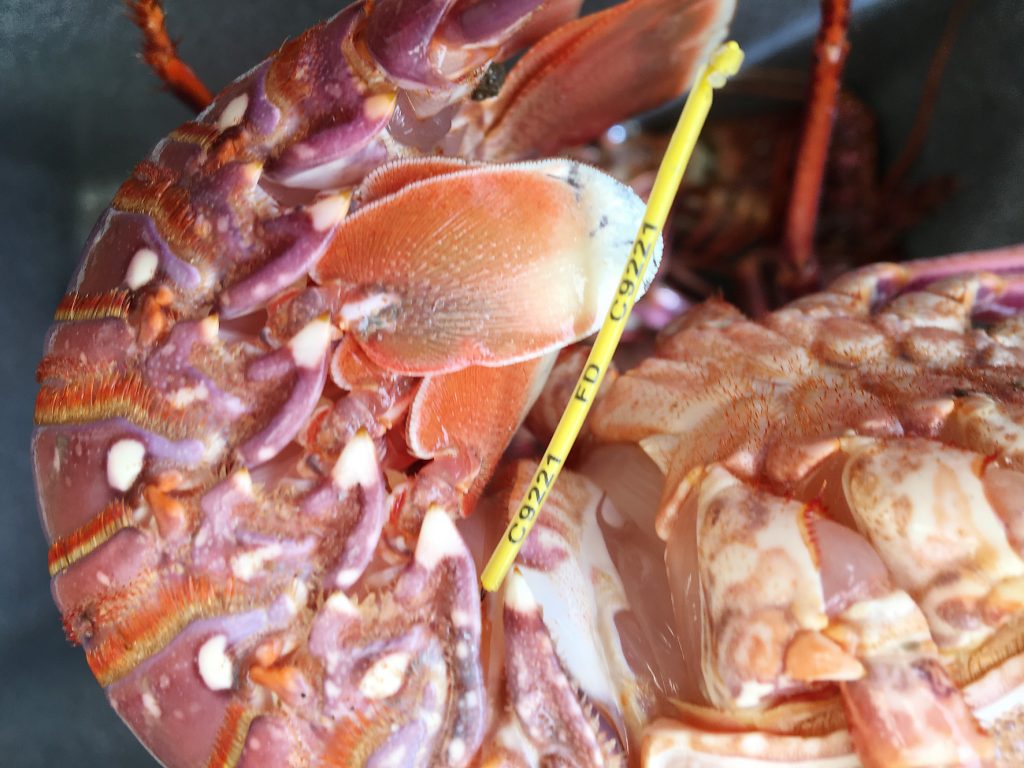
Now you have ballast and escape gaps, the next thing on the list is your rope and floats. Floats need to be a minimum 15cm in diameter, carry your gear ID number on them and if you are pot sharing you will need two floats with a licence number on each. Numbers need to be at least 6cm high and 1cm wide. The best method for achieving this is by using a soldering iron with the tip pulled out and burning the numbers into the float and then applying a dark paint into the groove left behind.
Ropes under 20m are straight forward, however ropes over 20m now have to have new rules and must have a weight put half way up the rope to hold it vertically in the water column to try and prevent whale entanglement. It does, however, have a couple of useful benefits. The first is that it keeps excess rope off the surface of the water and reduces the likelihood of boats running over and fouling or breaking off your ropes. Another benefit is that it stops the float from pulling directly against the pot in times of high wind chop. If there is no weight on the rope, you get what is called bumping, not only does this walk your pot across the bottom ever so slowly if you do not have enough weight in your pot, but the movement will again stop the lobster from entering your pot.
Baiting up
Now you have some pots ready to go, next up you will need bait. When the run starts you will need a fair bit of it too, so it is best to be prepared. Many recs just use whatever they have in storage, such as fish frames, heads and other fish that they keep aside for the purpose of filling lobster pot bait baskets. This is a great way to recycle fish waste from going to landfill and putting it back into the marine eco system. The other option is to buy boxes of commercially caught and supplied whole fish or fish heads. It is certainly more convenient, but is also quite expensive.
Pro lobster fishers usually use two types of bait in a pot, one is an oily attractor bait and the other is a tougher more resilient holding bait. Attracting baits are usually soft and oily to get plenty of smell in the water and to get the lobster into the pot, however being soft, they are decimated quite quickly, especially if there are a lot of lobster in the pot. The holding bait, which is tougher, will stay longer in the bait basket and hopefully hold the lobster in the pot for longer until the pot is pulled again. Fish heads make a good holding bait and blue mackerel make excellent attracting bait.
The main consideration in bait selection is how often you will be pulling your pot. If you intend to pull pots every day, you can get away with just using mostly attractor baits. If pulling every second or third day or longer, then holding baits are going to be a priority. Remember these are pots not traps, a pot will hold a lobster but they can and do quite easily escape if they want to, especially if there is no more food to keep them there.
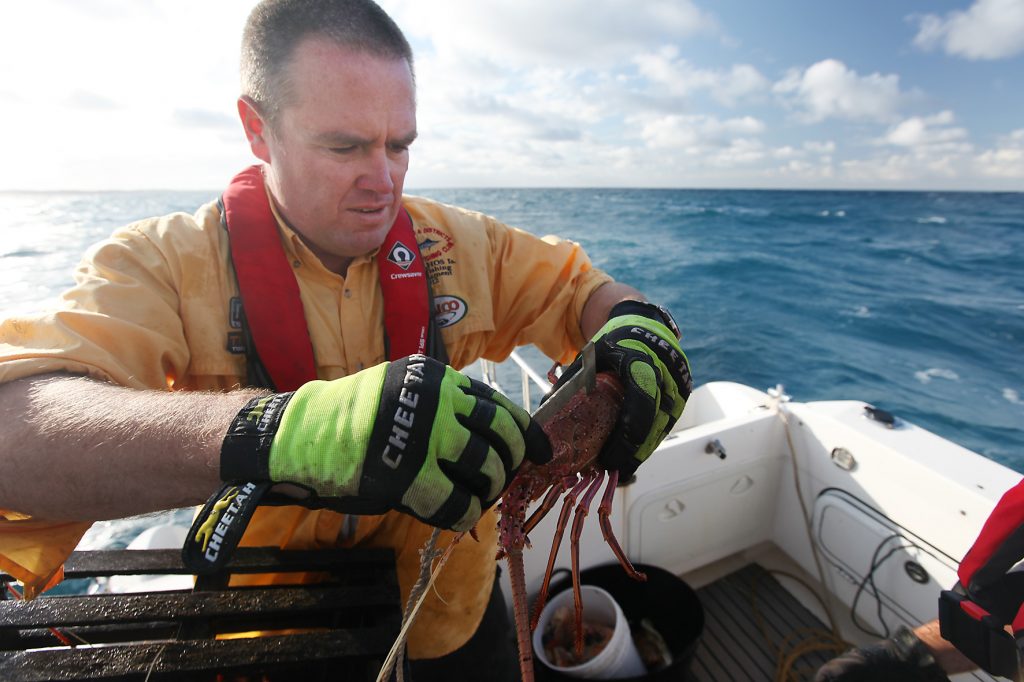
You will also need something for notching or cutting the legal-sized lobster tails, this identifies the catch as being recreationally caught ,so is therefore easily recognised if being sold illegally. The other thing you will need is a couple of pairs of gloves for removing your lobster from the pots and for measuring with a good quality and accurate cray gauge or measure, which you will also need to have on board.

Heading out
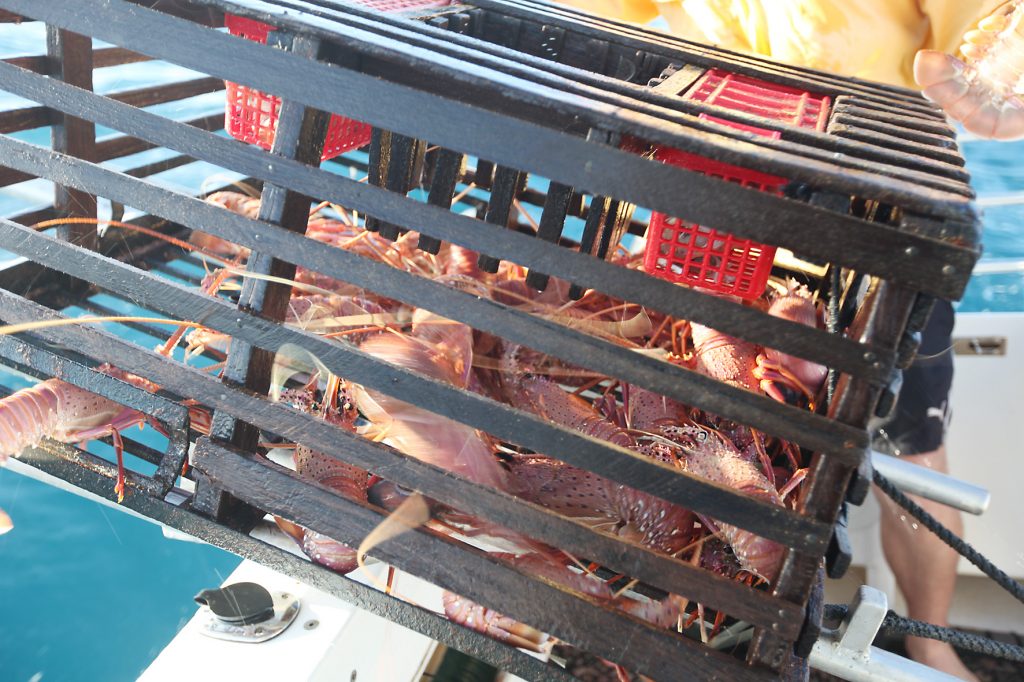
With pots, ropes and bait now all good to go, it is now time to get them into the water. If your aim is to just hit the run of whites, then your best bet will be to watch social media or your regular fishing forum, as these will have no end of brag shots as the run starts in earnest.
If, however, you are a bit more keen, you can get out there early and get into the resident lobster that are not preparing to be a part of the migration or get some of the early walkers. You could also just get set up and in position for the run of whites to start.
Pot placement for catching whites is nowhere near as critical as it is for chasing reds and resident lobster. When chasing whites it is possible to bag out with pots sitting in a big patch of sand in the middle of nowhere. However, to increase your chances, it is always good practice to have your pots close to reef.
When the migration starts, the whites will be marching across open sand areas at night with the intention to hold up on reef areas during the day (if they can find reef before sun up). Keeping this in mind, the best locations are usually on the eastern or western sides of reef outcrops, remembering that they are migrating from inshore to offshore. If they can see or hear reef, they will head to it in the hope it will offer protection and cover in case they need it. Getting in really close to the reef is not essential, as getting the pot close is usually good enough.
When the run starts you will usually get a couple of days of full pots and then you might notice the catch start to drop, especially if you fish the same spot. At this point it is time to consider moving your pots west and trying to catch up with the migration again. Alternatively you can just start moving your pots around the inshore reefs to try and find the lobster that are walking late or have decided that they have found a good spot and will stay there instead of migrating. In years of big migrations like the last few, it is not uncommon to experience a smaller mini secondary run about 4 weeks after the first initial run.
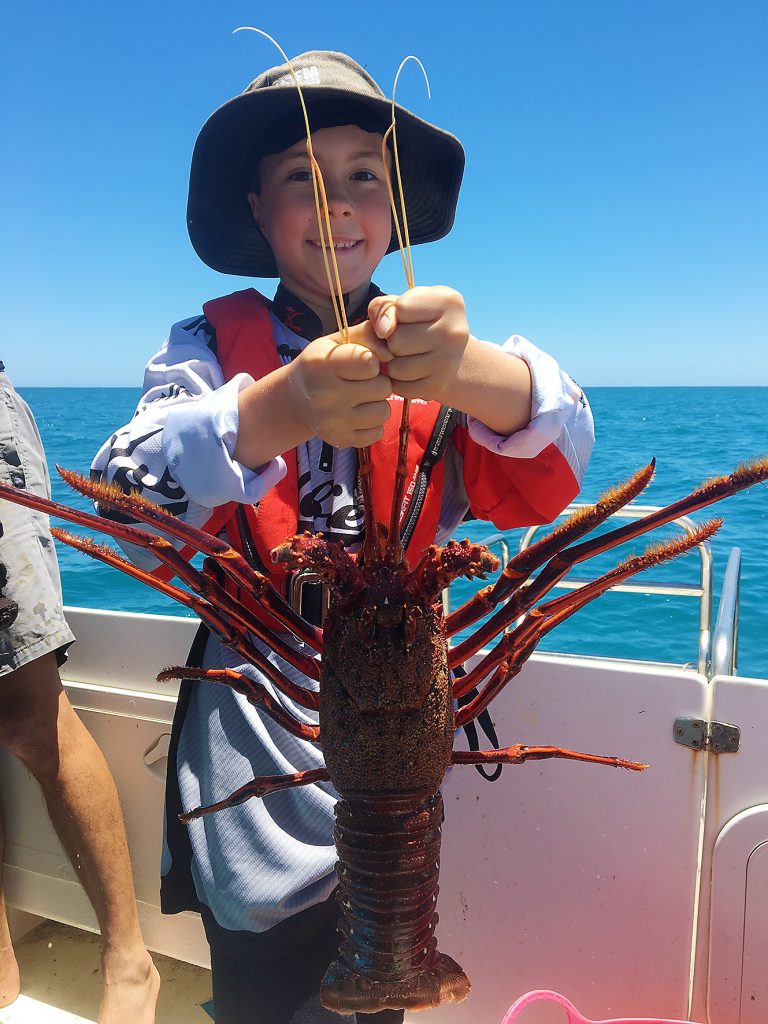
Give it a go!
Catching rock lobster is not hard to do. It does take a little bit of preparation and a bit of monetary outlay to get set up, but if you consider their value and how they taste, then it is really a no brainer. Get some mates together and get amongst one of the tastiest lobster available in the world. You can also feel at ease that it is a sustainable fishery and one we should have well into the future!
Lobster tips and facts
• Western rock lobster are more commonly referred to locally as crayfish or crays, which is incorrect. Crayfish are freshwater shellfish, while lobster are saltwater shellfish.
• A legal size lobster (76mm) is approximately 6-7 years old.
• Western rock lobster can live for up to 20 years and grow to in excess of 5kg.
• If you are caught interfering (pulling) other peoples pots, fisheries will now confiscate your boat.
• Read the fisheries rules and regulations very carefully and be sure that you understand them, all fines associated with rock lobster are very significant.
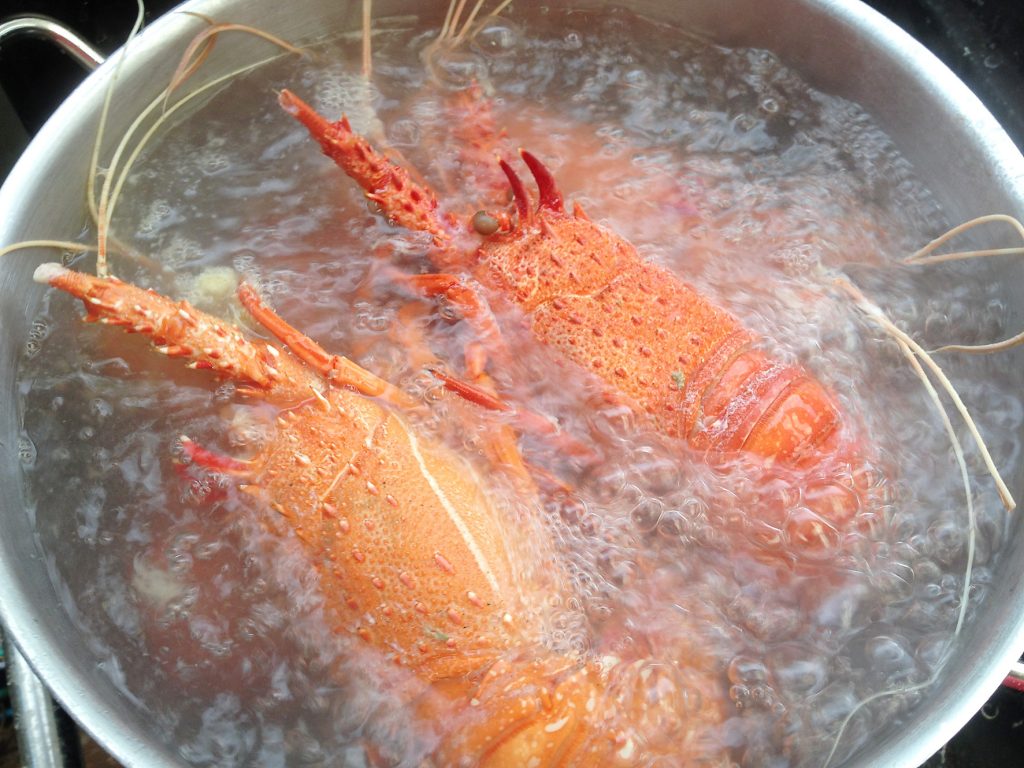
Boiled western rock lobster
For me, western rock lobster are hard to beat cooked any way you like. The key of any method is to not overcook them. For the best experience of eating fresh lobster it is hard to beat a straight up boiled lobby still hot out of the pot. Here is a recipe developed by the CSIRO social club, which took into account many things (as you can imagine when you get a bunch of scientists working out a recipe). The major consideration was flavour, but there were a few other factors included. I will say it from the start, it seems like a lot of salt, but trust me, and give it a go, you will not be disappointed!
Steps
1. Half to three quarters fill a pot big enough to boil about 4-5 crays at a time with tap water.
2. Add 50-70g of cooking salt/L
3. Add about half a cup of white vinegar (for about every 5L of water)
4. Bring the pot to a solid boil and add room temperature or slightly cool whole lobster.
5. Wait for the water to come back to the boil.
6. Once water is boiling start a timer for 7 minutes, 7 minutes is fine for legal size and slightly bigger. For obviously much bigger lobster up to 9 minutes will be needed.
7. When the timer goes off remove lobster from boiling water making sure to remove any legs that may have fallen off in the process. (The legs are my favourite especially fresh out of the pot)
8. Add next load of lobster to the already boiling pot. You can usually get about four batches or so out of the one pot of water.
9. Now rinse and scrub lobster clean under cold running water and hang the tail over a bucket or large bowl, allow to drain with the head facing down.
10. Once cool enough, peel and eat.
11. Condiments are optional.
12. Any left over can be kept in the fridge until ready.