by Gordon Macdonald •
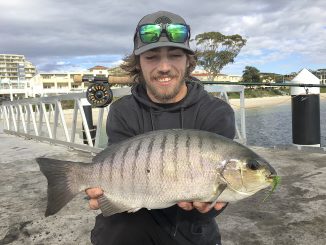
With the cooler weather upon us, it shouldn’t be long before the luderick turn up. With last year being one of the best seasons for many years, anglers will be keen to get out the long rods, centre pin reels and floats in their quest for a luderick bounty.
While luderick can be caught on almost any tackle at times, they are often extremely finicky. Finesse rigging and extreme concentration are sometimes the only way to get a solid hook-up. Floats can be extremely important for consistent results. There are a few good commercially made ones on the market, but high quality floats are hard to come by. That’s why I make my own.
One attribute that many mass production floats lack is straight sides. The luderick needs to pull the near-neutral buoyancy float down as it takes the bait, so having straight sides will mean that the resistance remains equal as the float descends, which is less likely to spook the luderick.
Additionally, these floats tend to drift at a more equal rate to the speed of the current, which will also promote takes. For my floats I like to use carbon stems as these are extremely tough. Floats can also be made using bamboo satay sticks for stems, but I find these tend to bend slightly, which often results in the floats spinning around in the current and can end in tangles.
These stems are unfortunately prone to snapping if you hit a rock when striking. In the past I have even used the end of a light graphite spin or fly rod (with the guides removed) for my stems. The 3mm carbon rods ($5.50/m at Budget Hobbies Capalaba 07 3823 3033) are the best option.
For the main body of the float I use balsa wood as it is easy to work with. A metre of this will cost you around $12 at Bunnings, or a craft or hobby shop. Pine is half the price but will require a lot more effort with sanding. You will also need to get an extra-long 3mm drill bit to drill through your float body.
You could try drilling from both ends with a standard bit and hope the holes meet in the middle. You may think that all this makes for an expensive float compared to what you can buy one for in the shops. However, these handmade floats are far superior to anything commercially made that I have found yet. They will last you a long time, whereas cheaper floats tend to break readily and some even tend to get waterlogged.
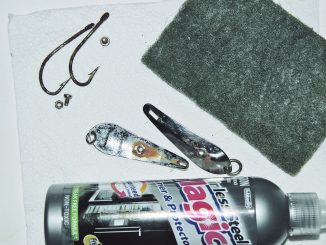
You will need a drill, an extra-long 3mm bit, a long-nose pair of pliers, some 140lb piano (hi-tensile) wire, a small nail, 40cm of 3mm carbon rod, 10cm of a round 19mm balsa dowel, some thread, epoxy or super glue, a hacksaw, light and medium grade sandpaper, some 3.5mm and 5.0mm heat shrink, black paint, red paint, a small paint brush and around a size 2 ball sinker.
Cut a 40mm length of carbon rod with the hacksaw and use some sandpaper to round off the ends. Also cut a 10cm length of the 19mm balsa dowel. Mark in 13cm from one of the carbon rods and then down another 10cm (the length of the balsa). Liquid paper is good, as it wipes off easily. Between these two marks is where the float body will sit.
Drilling directly through the centre of the balsa is probably the hardest part. The balsa is soft, but you should remove the drill bit several times as you drill through to avoid it binding. If you only have a short bit, try drilling in from each end until the holes meet.
Using a pair of pliers or multigrips to hold your sinker, drill through it with the 3mm bit. Do this in several tries, removing the bit several times to clean it as you drill through. I have used a no. 2 ball sinker here, but you may want to test the floatation to determine your desired size. You will still be adding split-shot to the leader to fine-tune your float’s buoyancy and to pull the line down to the desired depth marked with your float stopper.
Use a nail to wrap the 140lb piano wire around twice as shown. You only want this loop fairly small to avoid the swivel or your float stopper passing through.
About 12-13mm out from the front of the loop, bend the two tag ends at right angles. The eyelets must be wider than the edge of the float body when they are affixed to the stem so that the line does not hit the body.
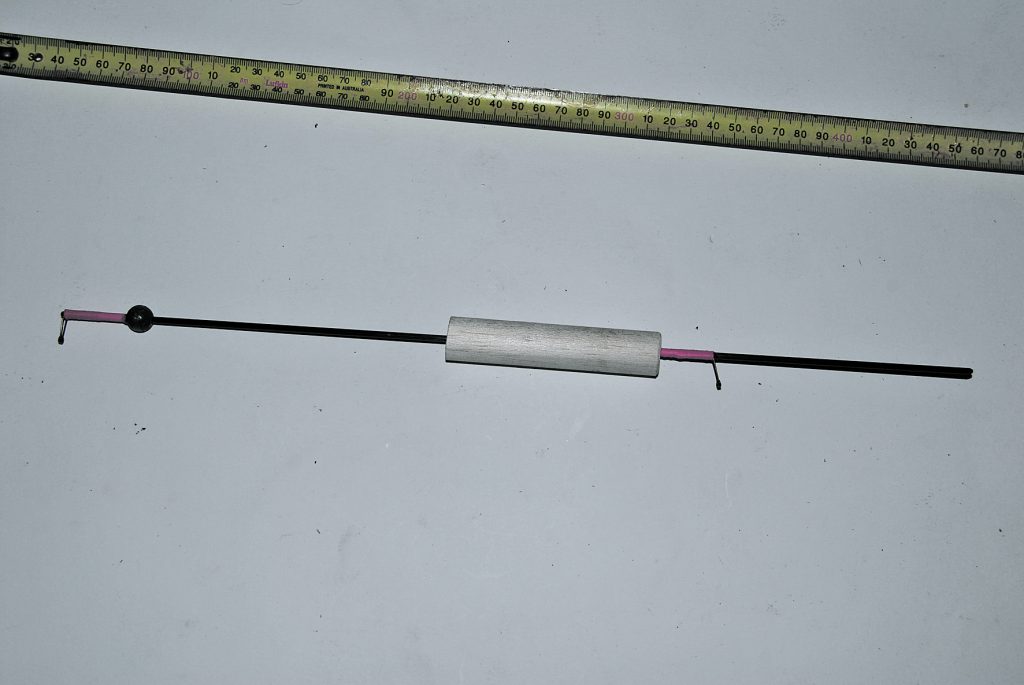
You will need two of these eyelets and they should look roughly like this when completed. The distance between the two legs should be about 3mm as this is the diameter of the carbon rod that they will be affixed to. Set up your float stem as shown with some 5mm heat shrink (a little longer than the legs of your eyelets) on the shaft. The sinker and float body are still freely sliding on the shaft at this stage.
Use some black thread (I used flat waxed nylon fly tying thread) to affix the legs of the eyelets. One will go on the bottom of the shaft on the longer end (17cm in this instance) and the other just above where the float body will be positioned.
Once both are bound on, coat with a little head cement (a fly tying product) or even some super glue and then constrict the heat shrink using a heat gun or wafting passes of a naked flame. Put a little super glue on the shaft directly above the lower eyelet and affix the sinker in place. Also put some on the shaft where it is marked for the balsa body to sit and push it in place in one quick movement. Ensure both are stuck firmly before proceeding.
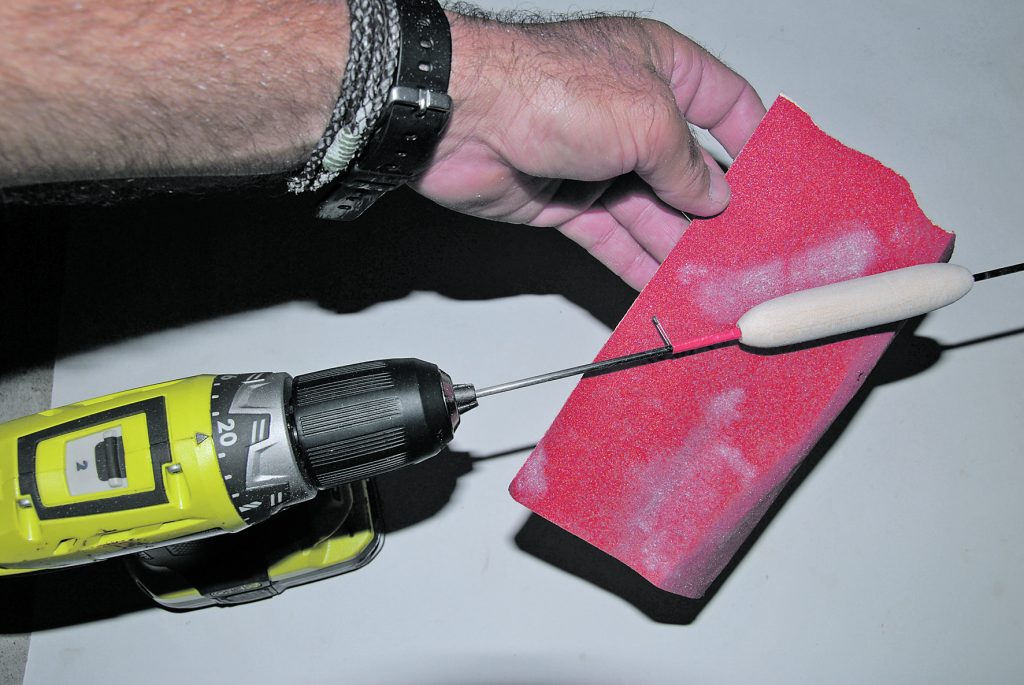
Put the top of the stem firmly into the chuck of your drill. Get the drill rotating and use your coarser sandpaper (50 grit) to begin rounding off both ends of the body. Do not push down hard enough with the sandpaper to flex the carbon stem or it may snap.
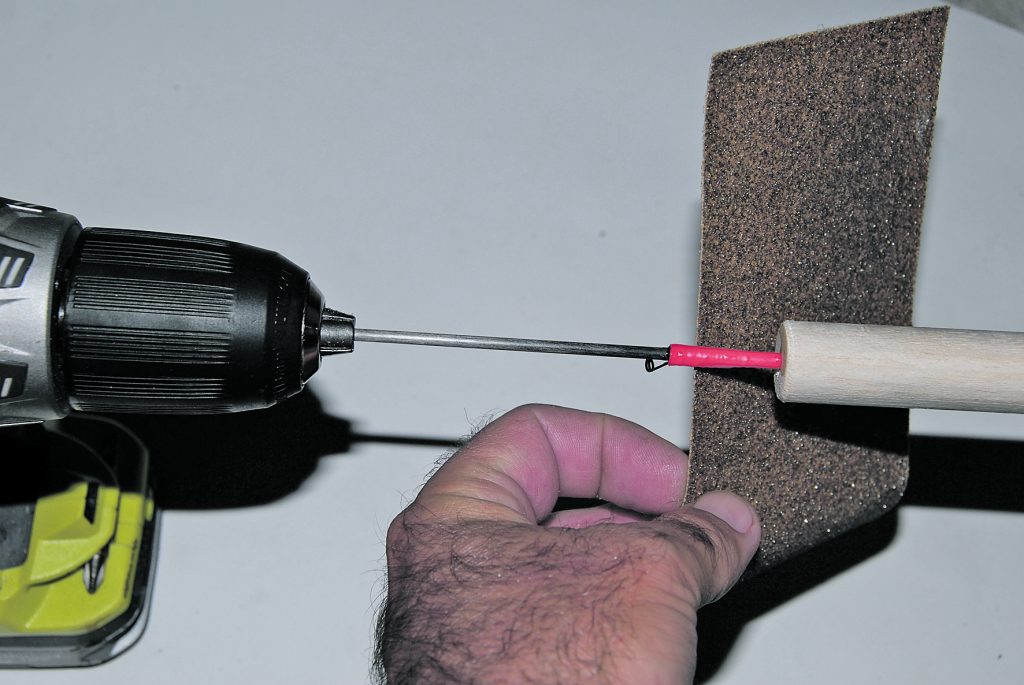
Once shaped, use the finer sandpaper (120 grit) to finish off the taper and smooth the rest of the body. (With more flexible stems it is not possible to sand the body in this manner and you will have to shape and sand the body before affixing it to the shaft).
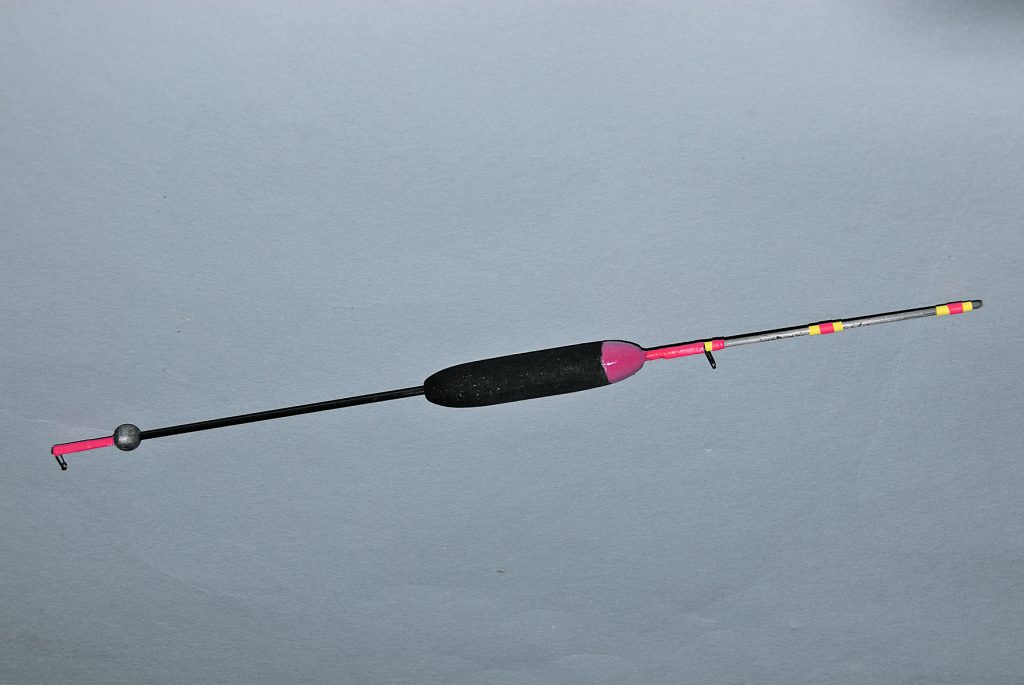
How you paint and finish your float is your choice. The main body (which will be mostly underwater) can be matte black or another dull colour to avoid spooking any fish. A bright red or yellow cap at the top will aid with visibility from above. A coat of varnish will increase durability on the body. Colour on the top stem will be the most visible part for the angler. This needs to be watched carefully to detect when a luderick eats the weed, so bright or contrasting colours are desirable. Your float is now completed and ready to be put to service.