by Gordon Macdonald •
These days theft is very common. Fishing gear, crab pots and even entire boats and trailers regularly go missing. While some thieves go to lengths to secure what they want, most only take something if it is quick and easy to take off with. Although battery-powered angle grinders and other cutting devices can sever even the toughest locks, they’ll generally attract some attention. It’s the quick grab and getaway that needs nipping in the bud. Putting hitch locks on your trailer, keyed locks on your boat hatches and not leaving anything to chance will generally be enough to stop most dishonest individuals.
Small outboards are commonly only held on by two screw mechanisms with a flat paddle on each end to allow hand tightening (and loosening) for easy attachment and removal. Many boaters overlook the need to secure their outboards to their craft. Most smaller outboards weighing less than 35kg are easy fodder for thieves. Padlocking the two nylon paddles together will offer some protection, but a single hit with a hammer or other heavy object will snap one of the paddles to allow quick removal. Numerous outboard locks are available and cost $70-150.
Recently I bought a 3.95m vee-nosed tinny for a bit of crabbing, prawning and freshwater fishing. On the transom was a 2-year-old Yamaha 25. I considered purchasing an outboard lock for it. After seeing the expense for such a simple device, I decided on a DIY project. I had all the basic tools required and was lucky to secure some aluminium offcuts from a mate. You can also get a metre of suitable box aluminium from Bunnings for around $10, which would make three brackets. Additionally, you could use tube alloy or even stainless steel. Providing it fits lengthways over the paddles on your outboard’s securing screws, it’s suitable. Let’s look at how to make this device.
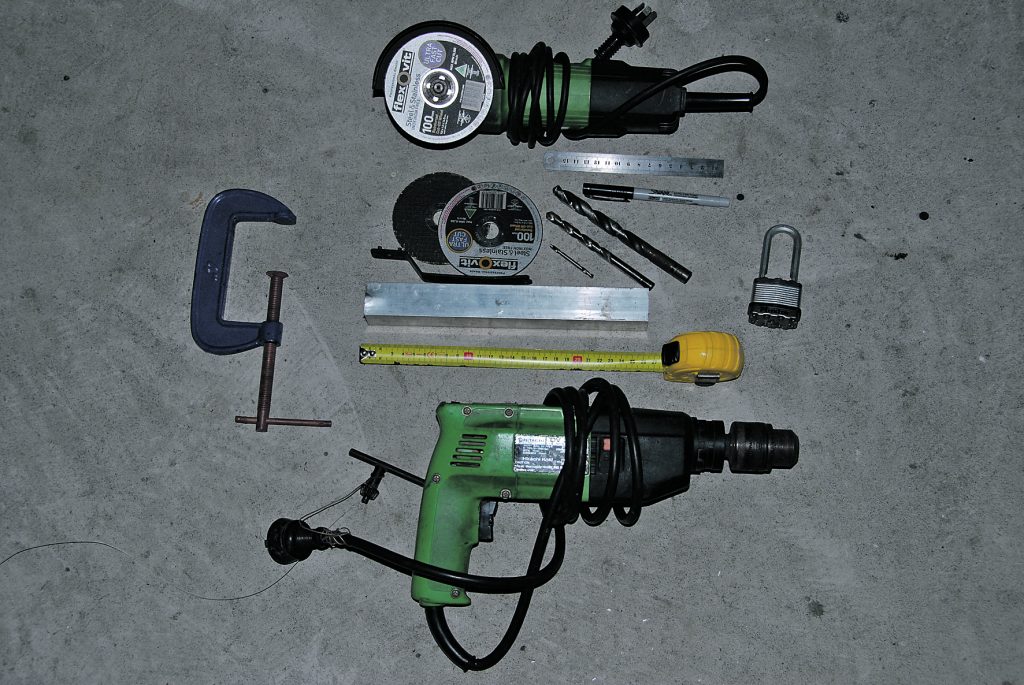
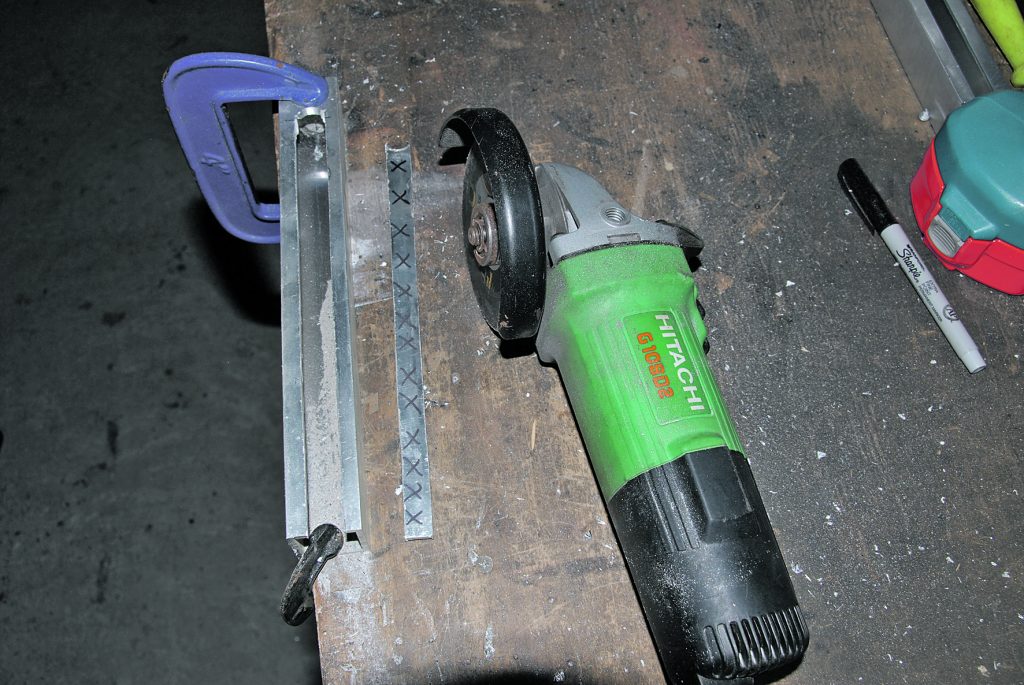
You’ll need an angle grinder with a cutting disk, safety glasses, a drill with a couple of drill bits (the largest would be 13mm), a G-clamp or two, ruler, marker pen, a file and a piece of aluminium or stainless tube or box around 25-30cm long, depending on the distance apart your tightening lugs are. You’ll also need a quality long-nose padlock. I have used one that shares a key with padlocks on my spare tyre and tow hitch.
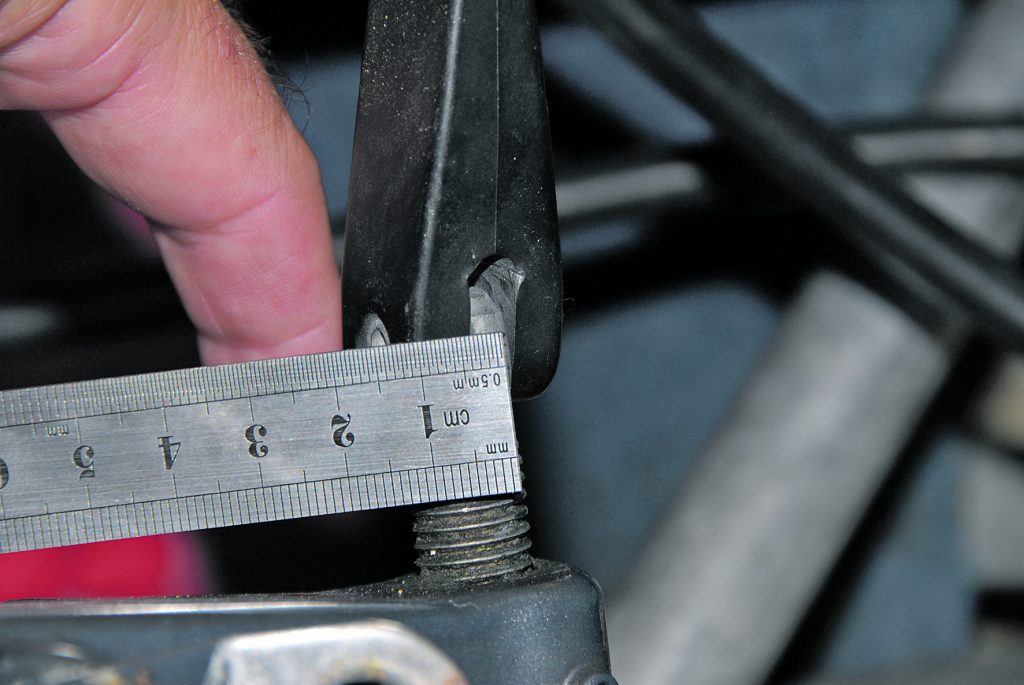
Measure the diameter of the screw on your outboard securing lugs. The majority have a 13mm slot in them, but it’s best to check.
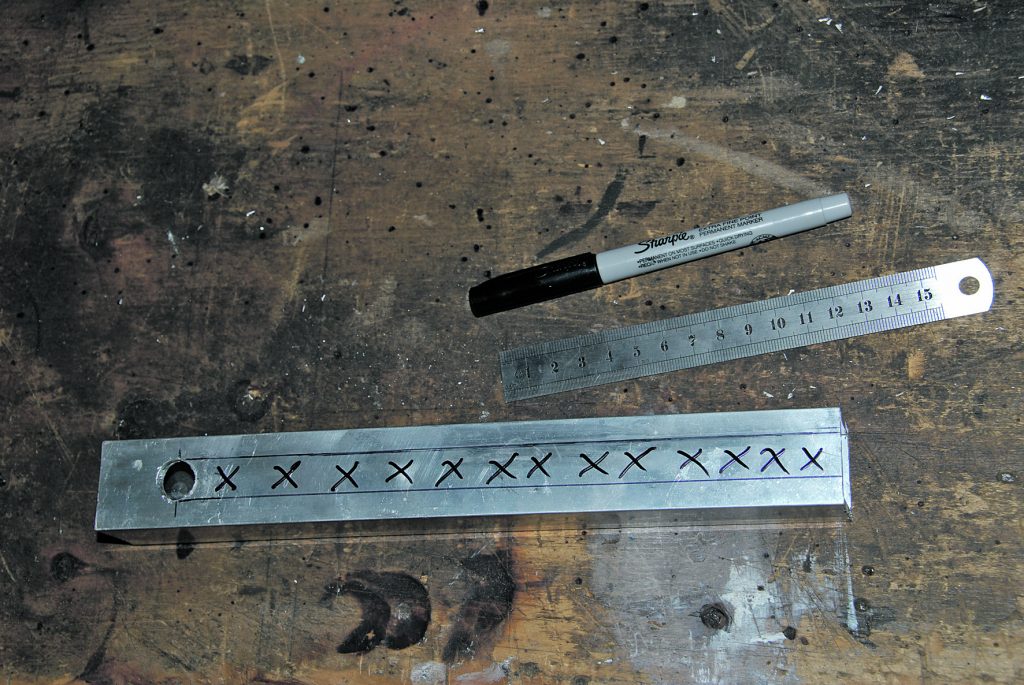
On your tubing, measure in about 30mm from one end and then find the centre. This is the position where you will drill a hole to start the lengthways slot. Using a small drill bit (5mm or less), drill through the aluminium (just through one side of the tube) at this central position. Next, use an 8-10mm drill bit to create a larger hole. Your final hole will need to be roughly 13mm wide, unless your outboard securing screws are a different size. I had a 12mm bit and rocked the bit sideways in the hole to make it slightly larger.

Use the ruler to mark a straight line down the tube from each side of the 13mm hole to indicate where the slot will be cut. The portion in the centre marked with the ‘X’s will be waste material.
Use a G-clamp or two to secure the aluminium to the bench. I used a Flexovit 100×1.0x16.0mm Ultra-Fast Cut Reinforced Cut-Off Wheel, which was less than $2 at Bunnings. Ensure the blade is securely in your grinder and don a pair of safety glasses. Start your cut from the top of the material and score just inside the line by moving the angle grinder backwards and forwards until you are all the way through.
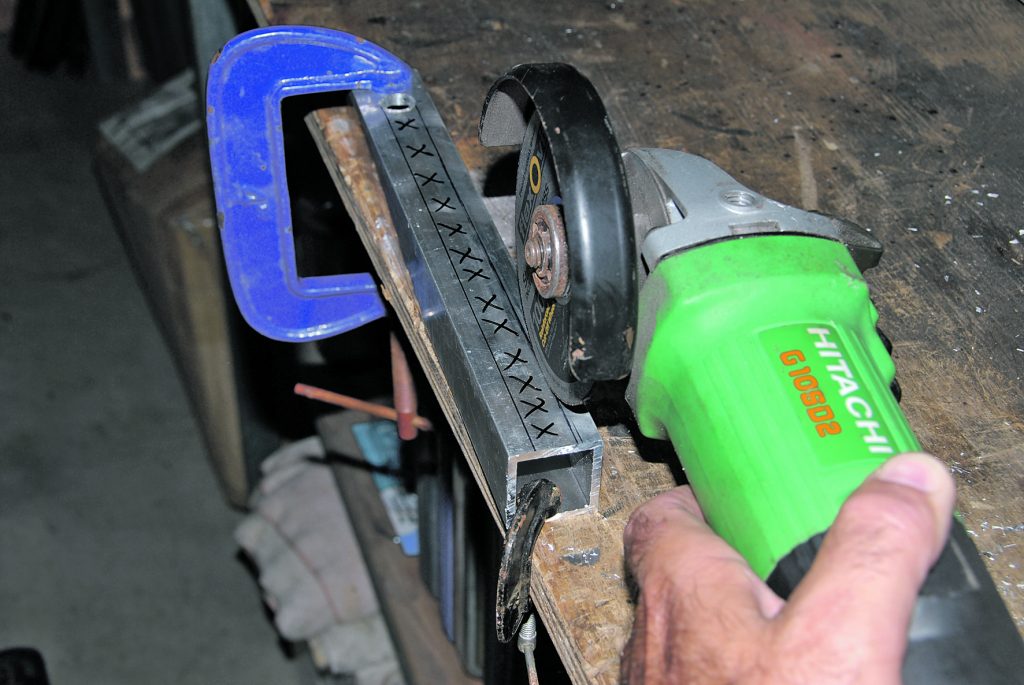
Work along each side of the designated slot, just inside the marked line, until you have cut up each side and can remove the waste section. Go gently with the angle grinder and work in a backwards and forwards motion to avoid the blade biting and gripping, which could snap the blade or make the angle grinder buck out of the slot. For maximum control, use two hands on the grinder. While it’s still clamped to the bench, use your flat hand file to neaten up the slot, both inside the tube and out.
With both lugs on your outboard screws facing inwards, slide the tube over until it’s fully on. Mark the spot just to the side of the screw on the open end of the slot where the padlock will go. I like to have the bulk of the padlock resting between the transom and the bracket. Drill through both sides of the aluminium at this position with a hole larger than the diameter of your padlock bolt. Use your file to remove any rough metal shavings.

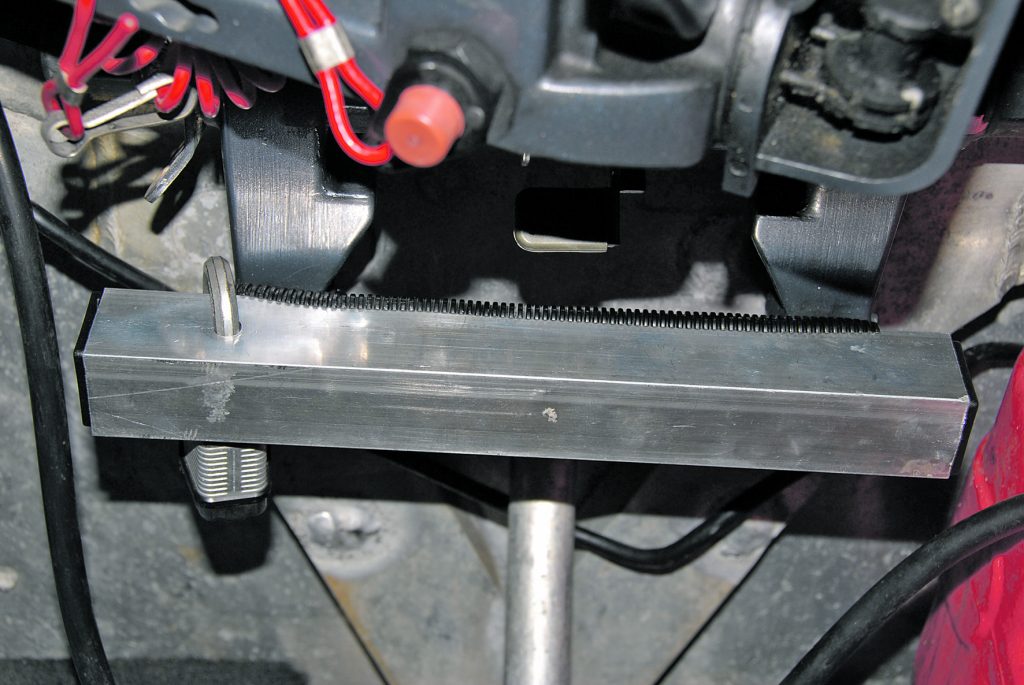
This is how your lock should now look. I used 30mm square tube and found these end plugs at Bunnings for around $1 each, which neatened up this DIY project. Your padlock will need a long throat to fit through the 30mm bar and still close. The better quality the padlock, the harder it is to cut. You can opt for a stainless steel marine padlock, but most normal padlocks will work fine with the occasional dosing of lubricant.
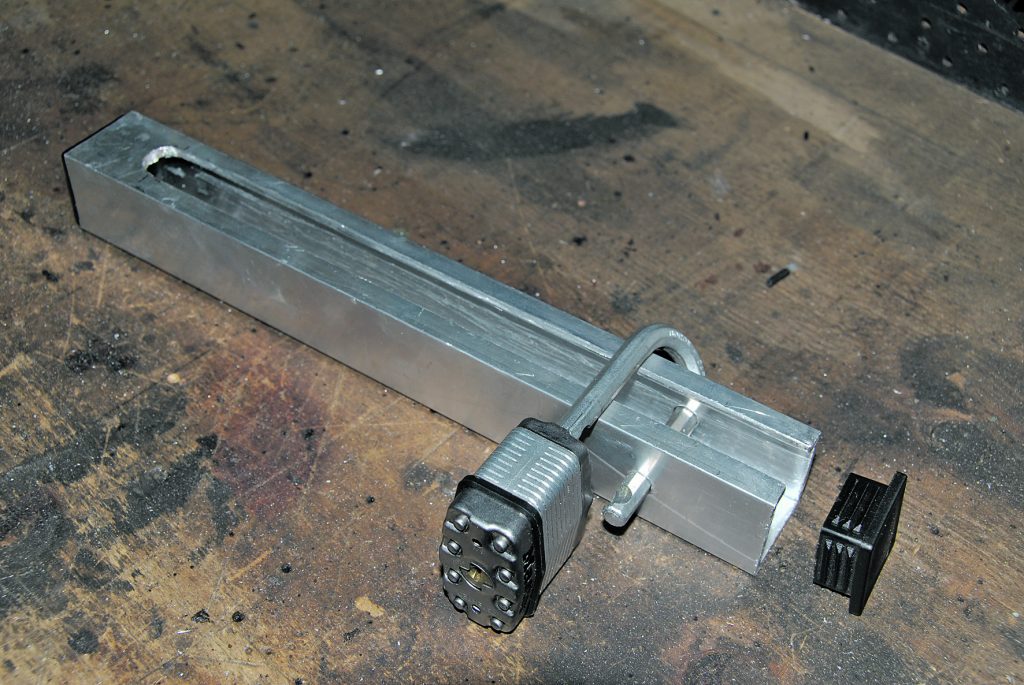
When slid over the outboard securing lugs and locked, this is how your DIY outboard lock will look. Once in position, the other end cap can be tapped in. You can add a little loom tube to the top of the slot to eliminate any rattling. This lock will stop 99% of dishonest individuals.